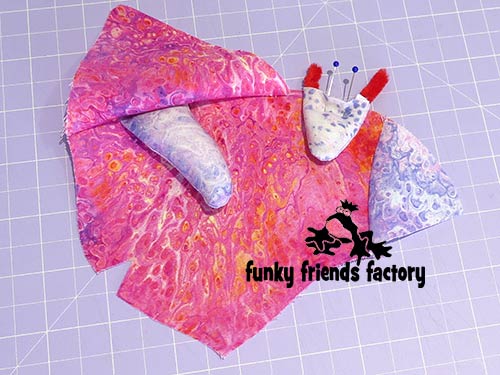
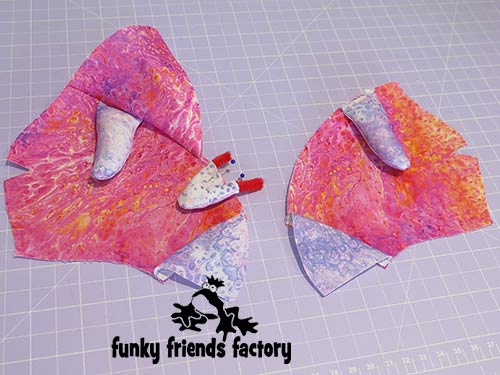
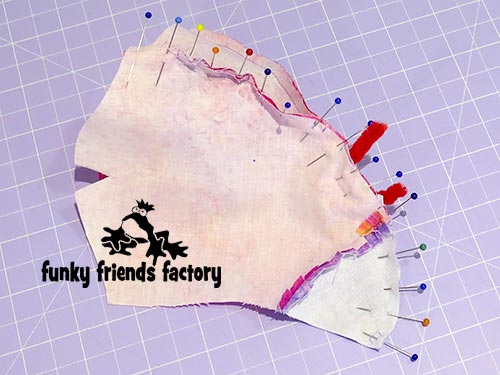
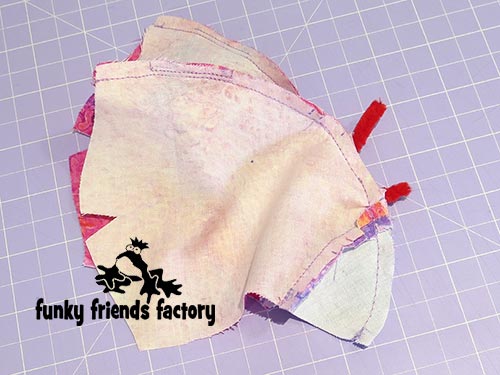
I made this photo tutorial so you can see how to sew my Triceratops Sewing Pattern ~> scroll down for step-by-step photos!
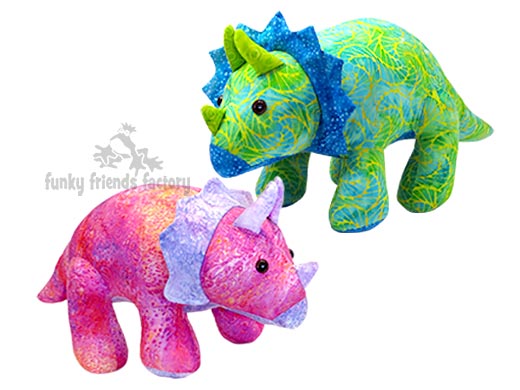
.
*** PLEASE NOTE – this is ONLY a PHOTO TUTORIAL ***
The FULL PATTERN IS NOT included here.It is NOT A FREE PATTERN!
I have made this photo tutorial so people who have purchased my Triceratops Sewing Pattern can SEE how to sew a Triceratops toy! (I wanted to explain this so you are not disappointed if you have found this page via a search engine and not from the link in my Tristan & Trixie Triceratops Sewing Pattern)
Let’s start with the HORNS:
STEP 1a
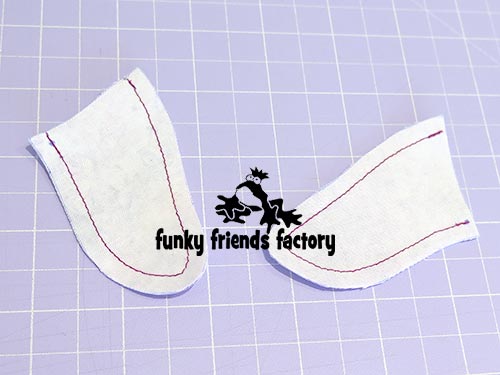
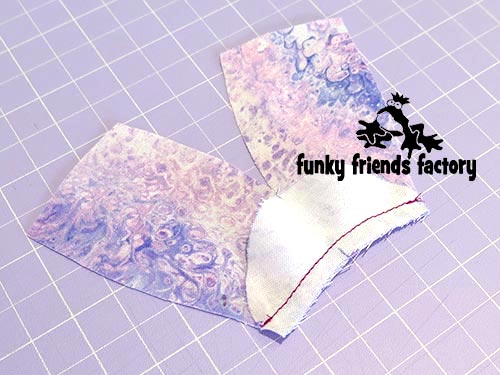
Sew the BIG HORN PIECES together in pairs to make 2 horns.
STEP 1b
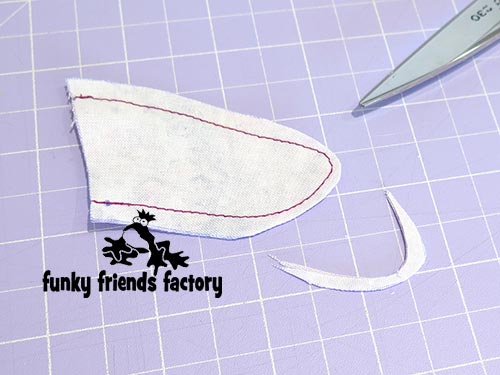
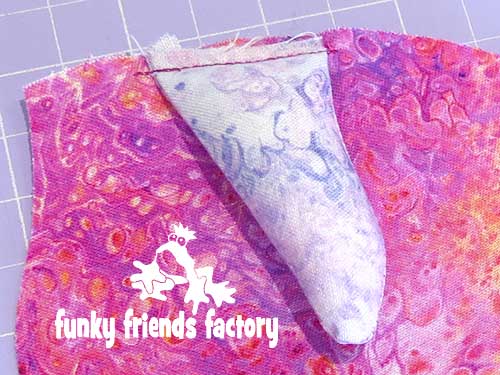
Trim the seam allowance at the ‘tip’ of the BIG HORN PIECES, then turn them right sides out.
STEP 1c
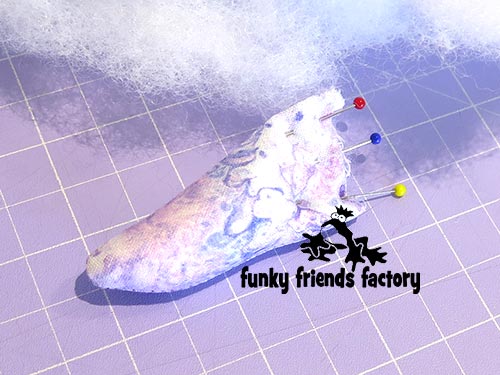
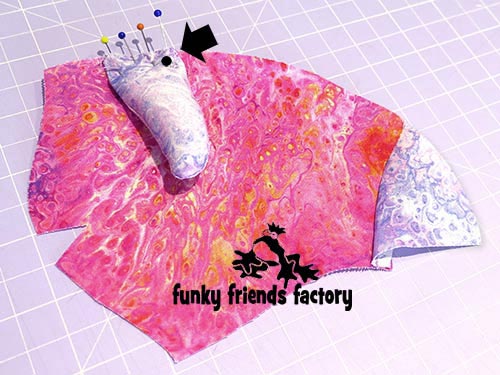
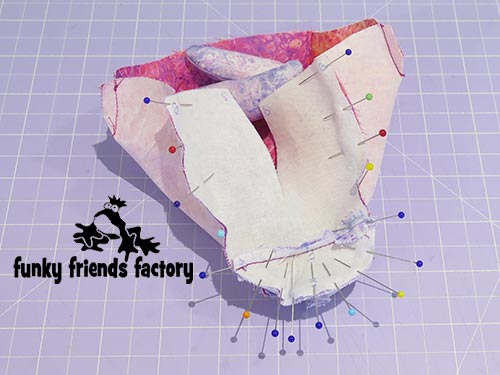
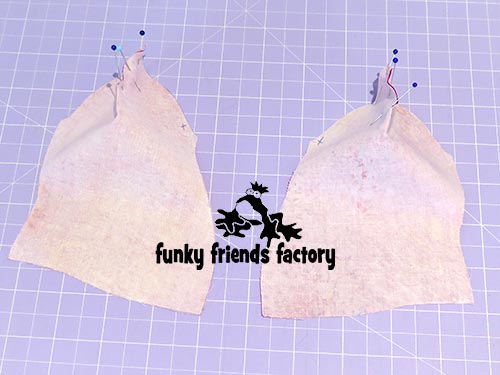
Stuff the BIG HORNS with toy stuffing and pin them closed at the straight edge.
STEP 2a
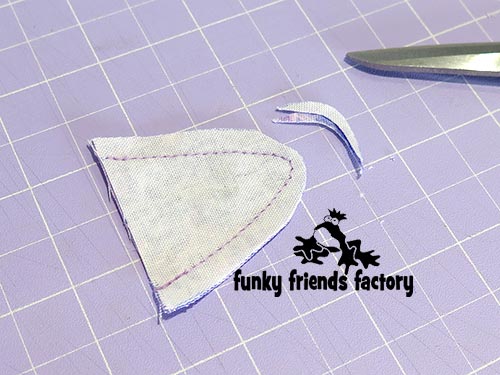
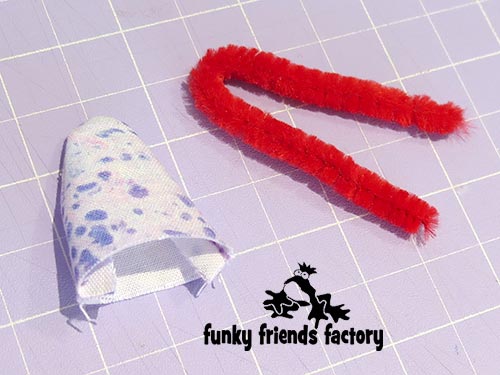
Sew the SMALL HORN PIECES together (1 horn). Trim the seams at the ‘tip’ of the SMALL HORN, then turn it right sides out.
STEP 2b
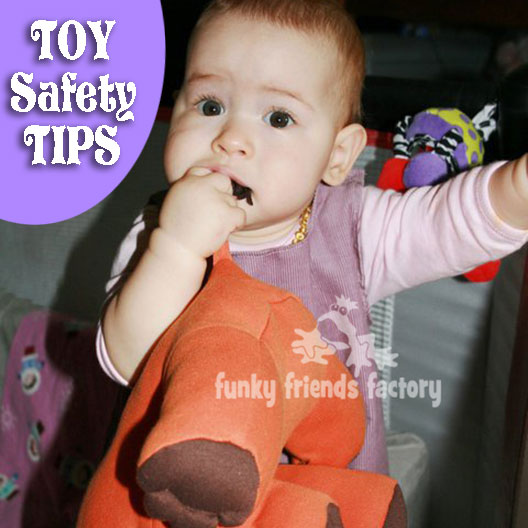
TIP: I leave this step out for children under 3 years (for safety reasons). I have a post about toy safety on my blog with more toy safety tips and guidelines.
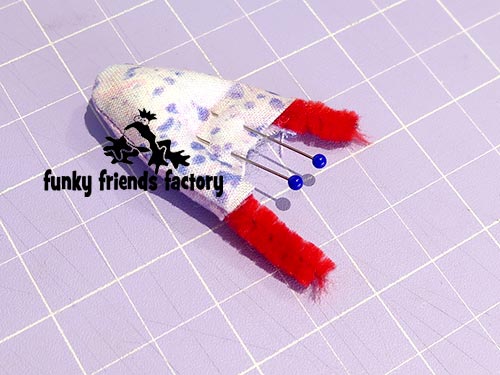
Fold a piece of wire/chenille stick in half and push the folded end into the SMALL HORN. Trim the ends of the wire so they stick out of the horn by 12mm (½ inch).
STEP 2c
Stuff the SMALL HORN with toy stuffing and pin it closed at the straight edge.
NOSE, FACE & HORNS:
STEP 3
Sew the NOSE PIECES to the FACE PIECES from A – B.
STEP 4
Pin one of the BIG HORNS to one of the FACE PIECES, using the single dot pattern marking to guide you.
STEP 5
Sew the BIG HORN in place with a 3mm(⅛inch) seam allowance to make sure it won’t slip as you sew the head together. Lop-sided horns look a little funny!
STEP 6a
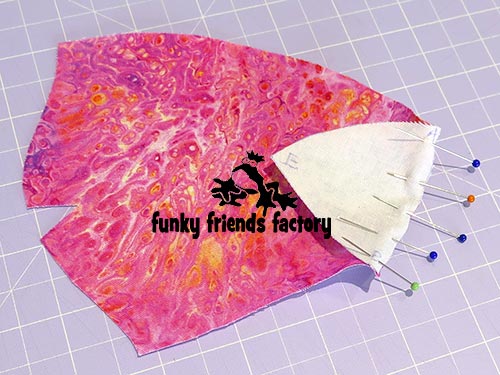
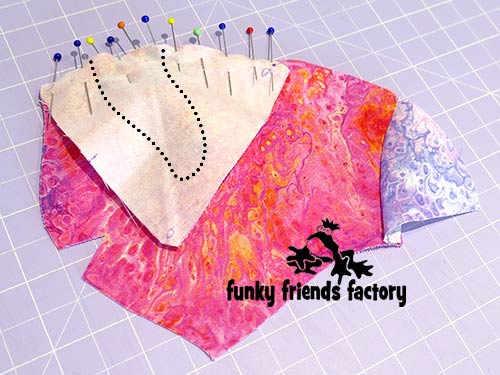
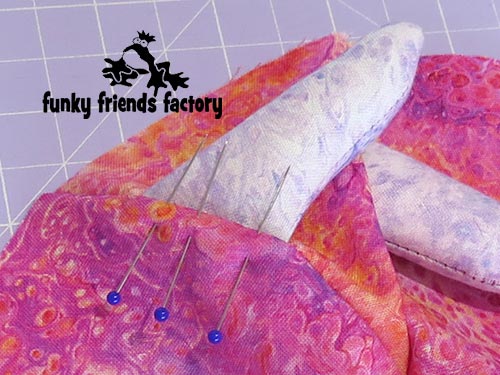
Pin the FOREHEAD PIECE to the FACE PIECE, with the BIG HORN in between.
STEP 6b
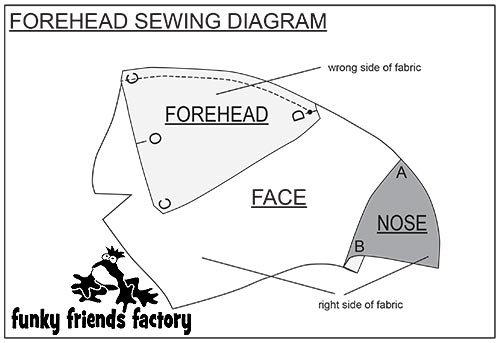
Sew the FOREHEAD PIECE to the FACE PIECE, from C – D, but do NOT sew to the edge of the FOREHEAD PIECE – stop at point D. (see diagram below)
STEP 7
Pin the SMALL HORN to the same FACE PIECE.
STEP 8
Pin and sew the other BIG HORN to the other FACE PIECE, as before.
STEP 9a
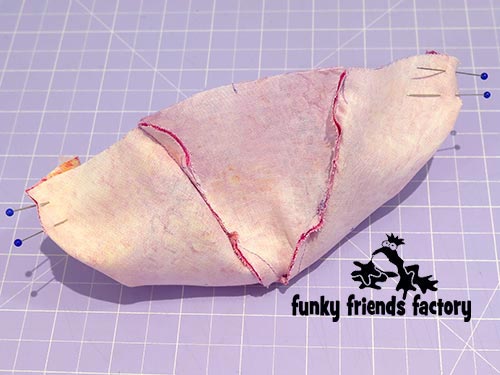
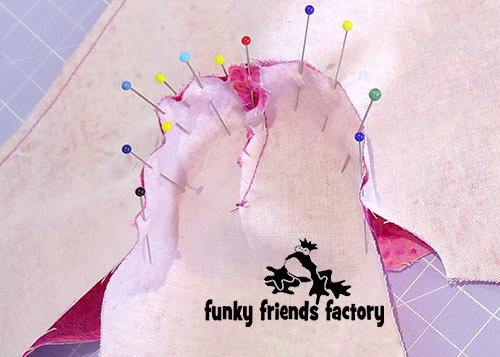
Pin the FOREHEAD PIECE and other FACE PIECE together, with the other BIG HORN in between from C – D. Continue pinning the FACE PIECES together, with the SMALL HORN in between from D – A and pin the NOSE PIECES together between A and E. (Take your time and use LOTS of pins.)
STEP 9b
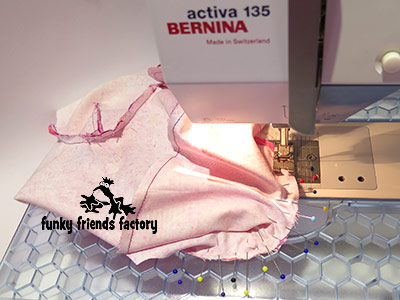
Sew the FOREHEAD, FACE and NOSE PIECES together from C – D – A – E (with the HORN in between).
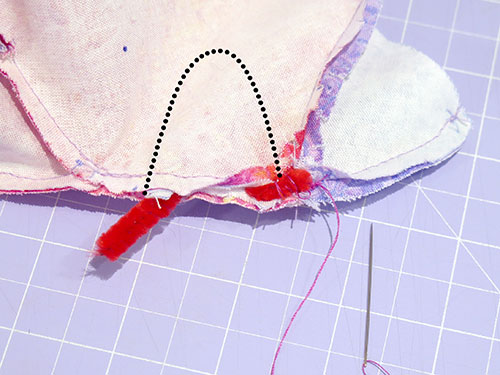
TIP: Don’t just sew normally over the wire/chenille stick – it can snap your needle and damage your eyes! Turn the wheel to ‘walk’ your machine over the wires! Fold the ends of the wire to each side and sew them to the seams on each side of the SMALL HORN.
STEP 10
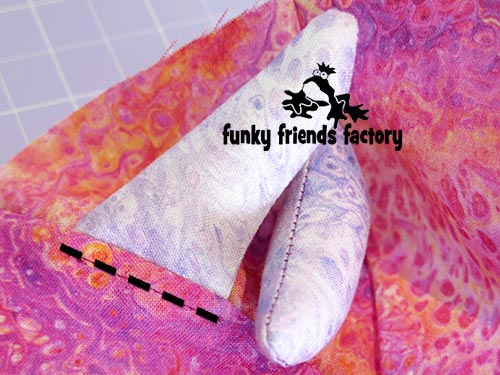
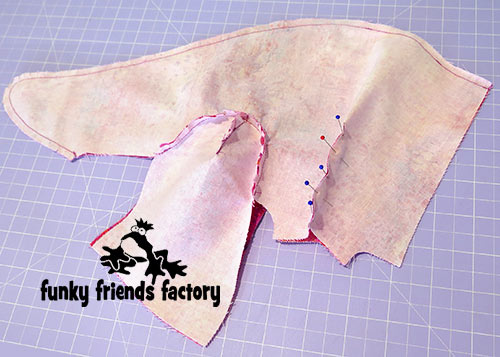
Fold the BIG HORNS to the middle (towards the FOREHEAD PIECES) so that you can sew a line of stitches across the base of each BIG HORN.
TIP: This is very important because it makes the BIG HORNS ‘stand up’ and stop them flopping to the sides.
STEP 11
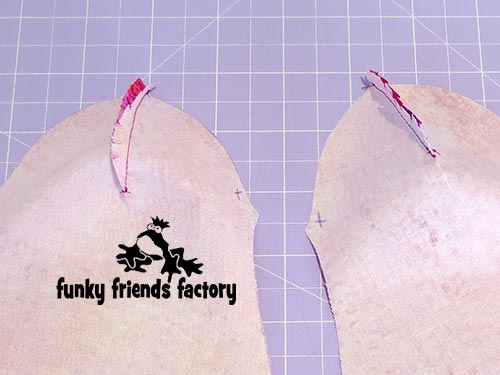
Fold the FACE PIECES with the fabric right sides together at the face darts and sew them closed.
CHIN & NECK:
STEP 12
Sew the CHIN PIECE to the NECK PIECE from B – F- B.
STEP 13
Sew the CHIN & NECK PIECES to the FACE & NOSE PIECES from G- B – E – B – G.
FRILL & EYES:
STEP 14a
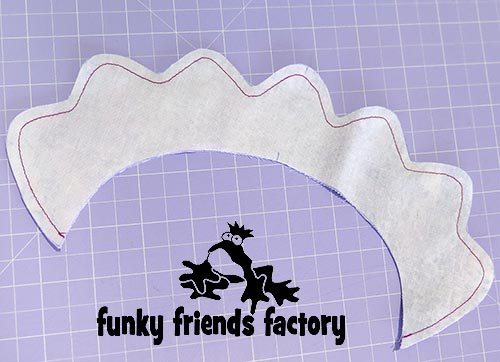
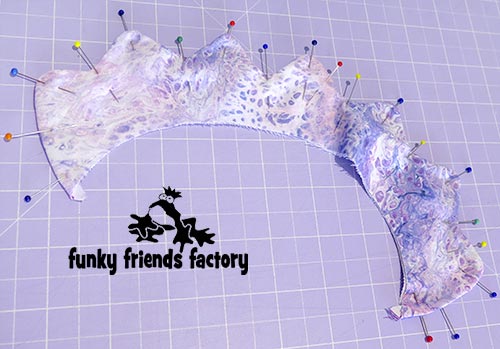
Choose ONE FRILL OPTION for each Triceratops. Sew the FRILL PIECES with right sides together.
STEP 14b
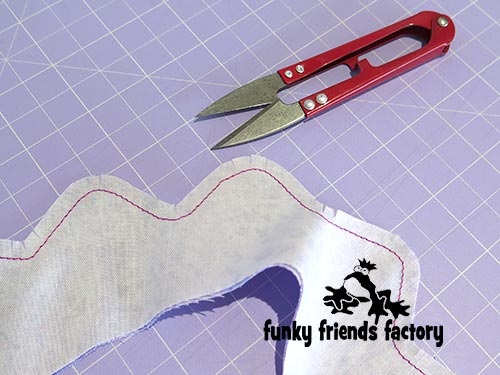
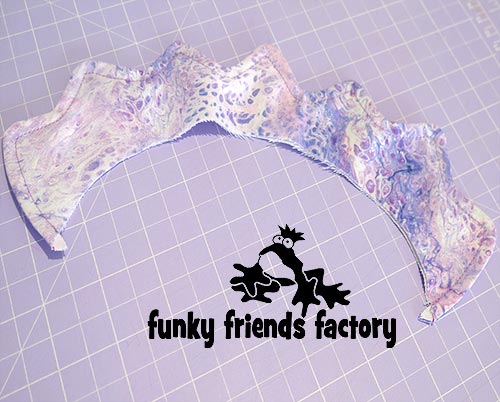
Clip the seams and snip off the points of the frill so that it will turn nicely. (Snips work really well for this!)
STEP 15a
Use a turning tool (like a wooden chopstick) to make the tips of the FRILL nice and smooth. With the FRILL PIECES right sides out, pin the outside seam so that it lies flat.
STEP 15b
Stitch around the pointed edge of the FRILL using a 5mm/¼inch seam allowance.
STEP 16a
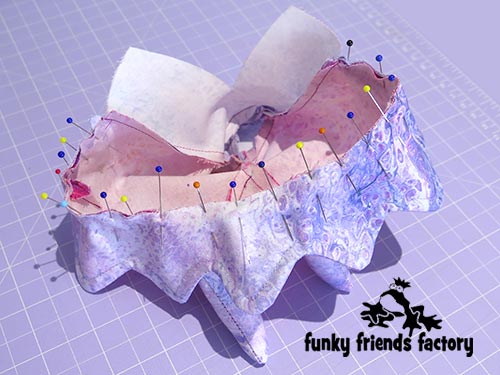
Pin the FRILL to the FOREHEAD and FACE PIECES.
STEP 16b
Sew the FRILL to the FOREHEAD and FACE PIECES with a 3mm(⅛inch) seam allowance.
EYES:
STEP 17
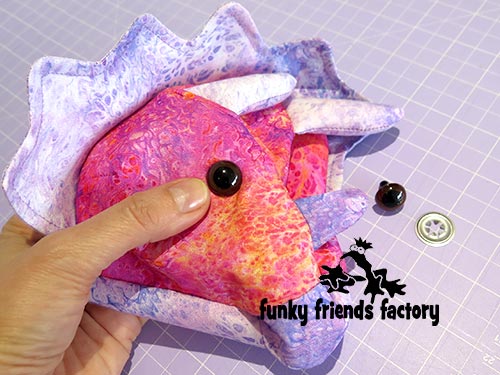
If you are using CRAFT EYES, insert them now.
TIP: I have a tutorial to show you how to insert craft eyes on my blog.
BODY, TUMMY & LEGS:
STEP 18
Sew the BODY PIECES together from O – Q.
STEP 19a
Fold the BACK LEG PIECES with the fabric right sides together and pin the leg darts closed at J.
STEP 19b
Sew the leg darts closed and clip the seams well so they turn smoothly.
STEP 20
Pin and sew the BACK LEGS to the BODY PIECES from H – J- K, matching the single cross pattern marking.
TIP: I like to sew this seam with the BACK LEG PIECE down so I can ‘wiggle’ the BODY PIECE to smooth out any wrinkles as I sew!
STEP 21
Fold the BODY PIECES, with the fabric right sides together, and sew the body darts closed at M.
STEP 22
Sew the FRONT LEG PIECES to the BODY PIECES, from L – M- N, matching the double crosses of the pattern markings.
STEP 23
Sew the TUMMY PIECES together from Q – T, leaving the gap open for stuffing. Do not sew them closed at the front between S and T. (This is to make it easier to sew the HEAD to the BODY later.)
STEP 24
Sew the INNER LEG PIECES to the TUMMY PIECES matching the double dots of the pattern markings.
TIP: Stop and check the front of ALL of the legs are forwards, it’s very easy to sew the
LEGS back to front! (I know!)
SIDE SEAMS:
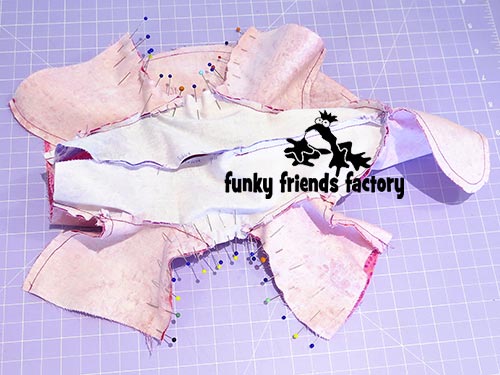
STEP 25
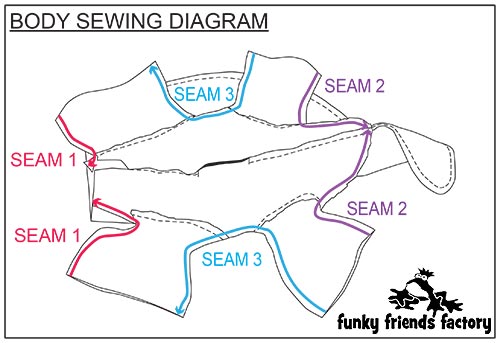
Study the diagram below. This shows the 3 Steps for sewing the TUMMY & INNER LEG PIECES to the BODY, BACK & FRONT LEG PIECES :
STEP 26a
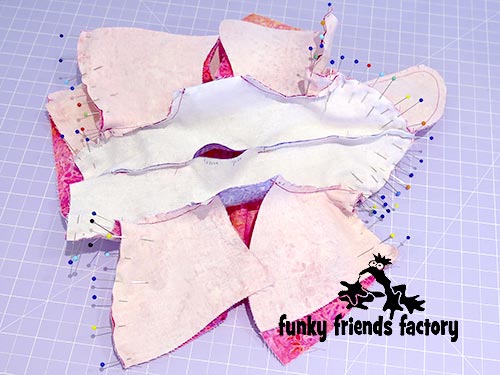
I like to pin STEP 1 and STEP 2 at the same time – I think it holds the pieces together nicely and makes the seams easier to sew!
STEP 26b
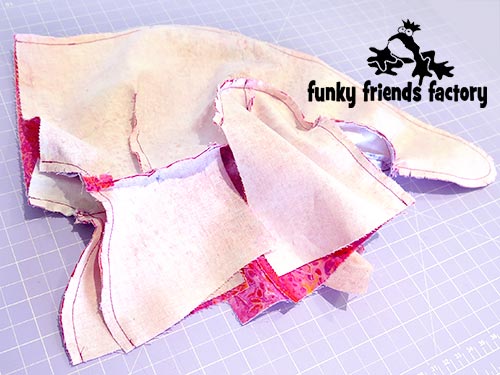
STEP 1. Sew from U – L – G (up the front of the front legs, one at a time).
In the photo below you can see I have sewn both sides.
STEP 27
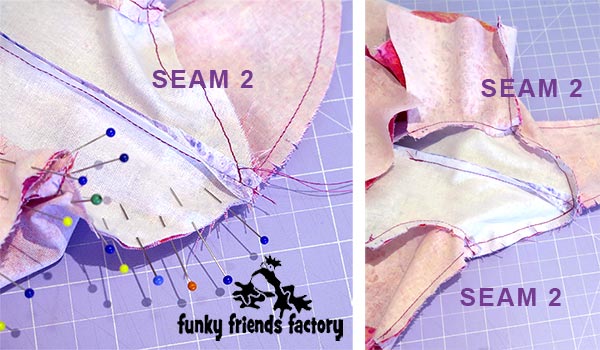
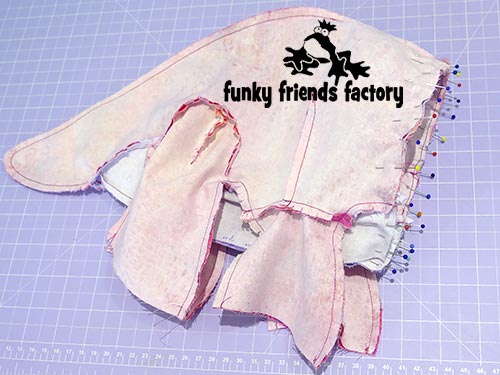
STEP 2. Sew from X – K – Q (up the back of the back legs, one at a time).
STEP 28
STEP 3. Sew the sides closed from V – N- H – W (between the front and back legs).
SEW THE HEAD TO THE BODY
STEP 29
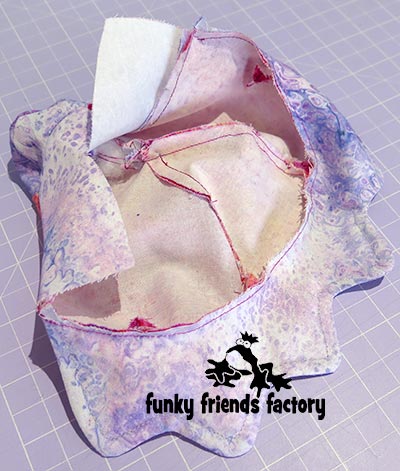
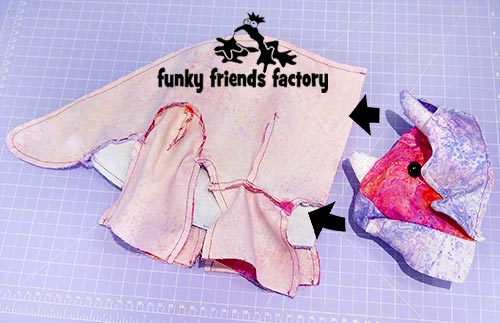
Join the head to the body next. Pin the NECK, FOREHEAD & FACE PIECES to the TUMMY & BODY PIECES with the FRILL in between. Sew the neck seam from S – G – O – G – S.
TIP: I find the best way to do this is to place the head ‘inside’ the body so it is facing back into the body.
STEP 30
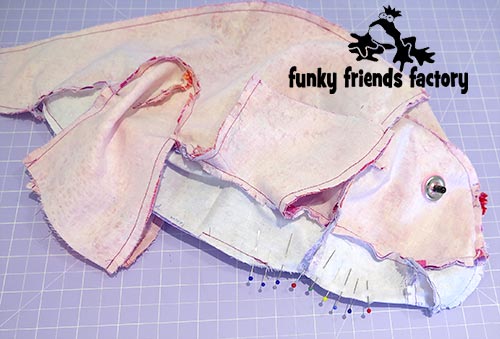
Pull the head back out of the body. Sew the NECK and TUMMY PIECE closed (under the chin) from R – S – T.
FOOT PADS
STEP 31
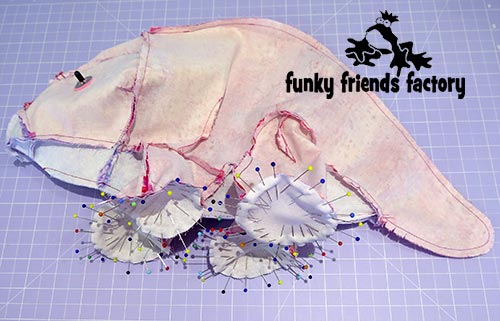
Pin the FOOT PADS in place. Use lots of pins to prevent wrinkles! Clip the seams well.
ASSEMBLY
STEP 32
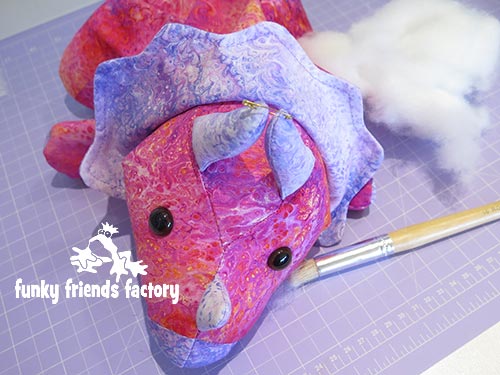
Turn your triceratops right sides out and use a turning tool to make sure the pointy bits like the tail and horn are nicely turned. Stuff the head, tail and legs firmly with toy stuffing. Fill the neck and the rest of the body nice and firmly with stuffing. If you are embroidering the EYES , sew these now.
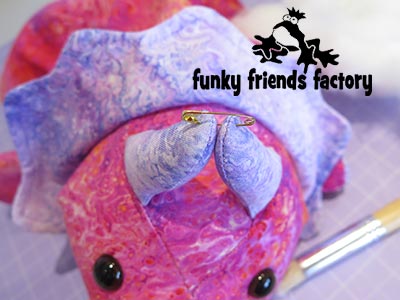
TIP: I like to use a safety pin to pin the tips of the BIG HORNS together – this helps to keep the HORNS even as I stuff the toy. 🙂
STEP 33
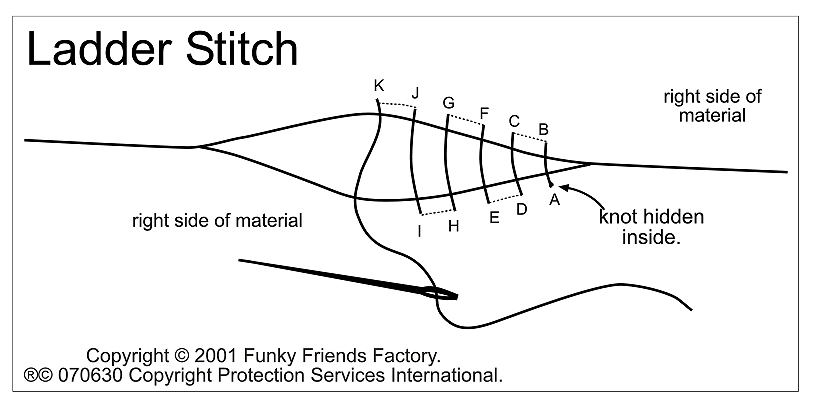
Use a ladder stitch to close the opening on the TUMMY PIECES.
Your Triceratops is ready to LOVE!
Come join the fun on Facebook!

I LOVE to see how your Funky Friends toys turn out!
When you’ve made your own stuffed toy Triceratops you can come show them off ~>
Post a photo on my Funky Friends Factory Facebook page for me to see and YOU could win a FREE PATTERN!
Till next time,
Happy Sewing,
Pauline
![]()


