
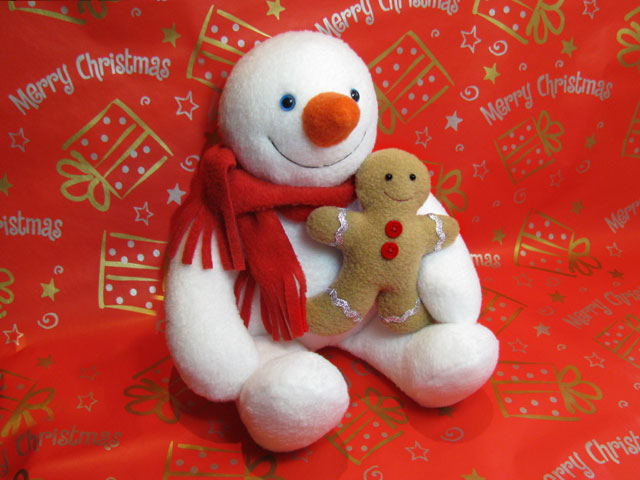
I made this photo tutorial so you can see how to sew my Snowman Pattern ~> scroll down for step-by-step photos!
*** PLEASE NOTE – this is ONLY a PHOTO TUTORIAL ***
The FULL PATTERN IS NOT included here.It is NOT A FREE PATTERN!
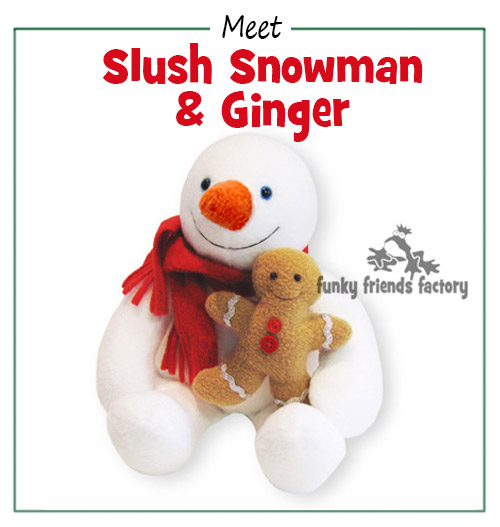
I have made this photo tutorial so people who have purchased my Slush Snowman & Ginger pattern can SEE how to sew this soft toy! (I wanted to explain this so you are not disappointed if you have found this page via a search engine and not from the link in my pattern.)
Let’s get sewing!
STEP 1
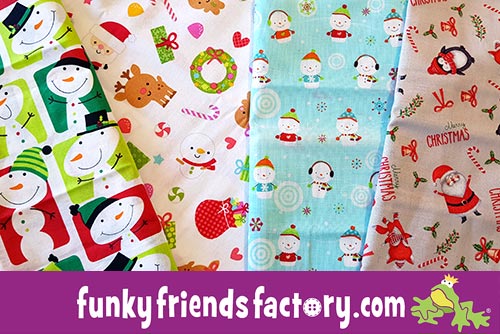
Choose some fabric. A snowman doesn’t have to be white. He looks great in bright Christmas fabrics too.
Look how cute a snowman toy looks
~> made up all in AQUA!☃️
In fact ~>
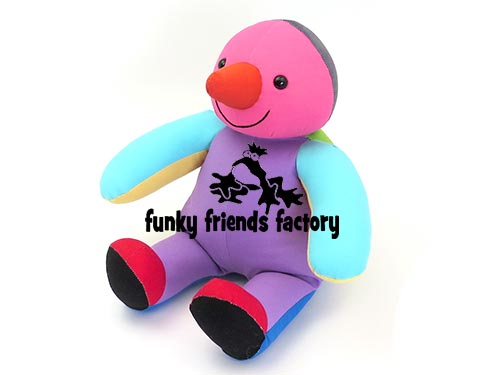
I decided to make the pieces from LOTS of bright, solid fabrics for this tutorial – instead of ALL white. (I actually did this to make it easier for you to see how the different pieces go together…. but he looks so cheery!)

FACE & HEAD:
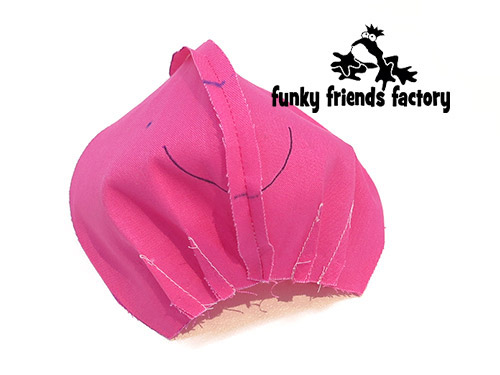
STEP 2
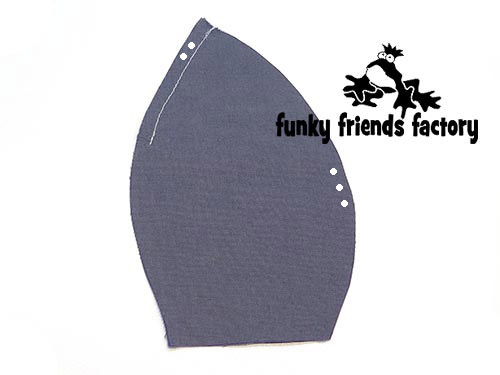
Sew the FACE PIECES together from A – B, matching the 1 dot pattern marking(the white dot in the photo below).

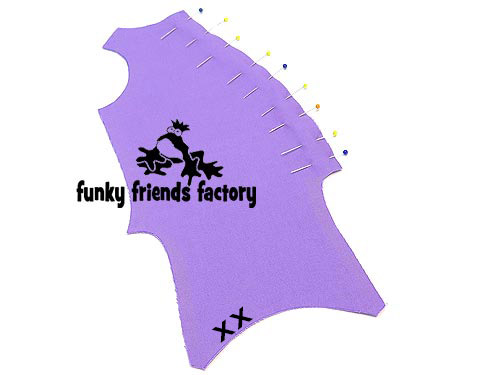
STEP 3
Fold the fabric right sides together and sew the darts in the FACE PIECES (2 on each piece, 4 altogether).
TIP: I find it’s easiest to sew ONE dart at a time because they are close together. If you pin all of the darts at once it makes the darts very hard to sew! Look, I tried it and I decided NOT to do this again!!!!

STEP 4
Sew the HEAD PIECES together from A – D, matching the 2 dots of the pattern markings.
STEP 5
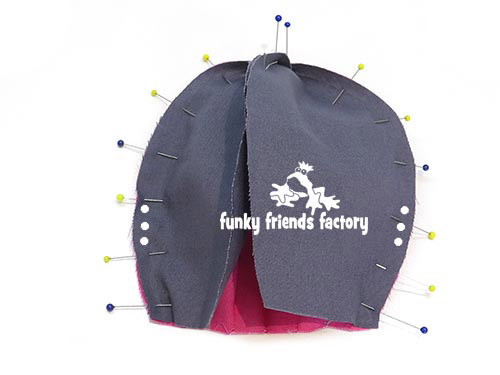
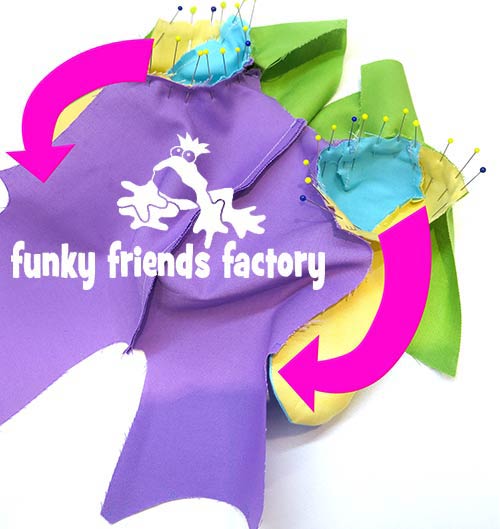
Sew the HEAD PIECES to the FACE PIECE from E – A – E, matching the 3 dots of the pattern markings.
EYES:
STEP 6
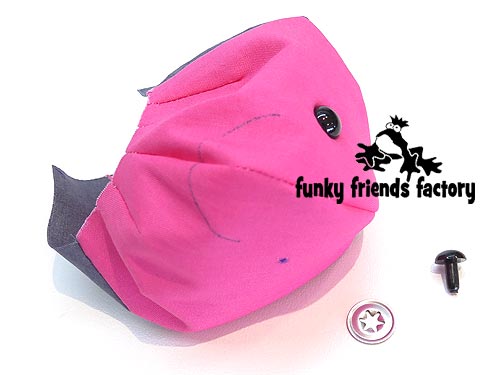
Insert the CRAFT EYES at this stage if you are using them. (If you are using beads for your ’s eyes you will sew them on AFTER he is stuffed).
TIP: I have a tutorial to show you how to insert craft eyes on my blog.

BACK & TUMMY:
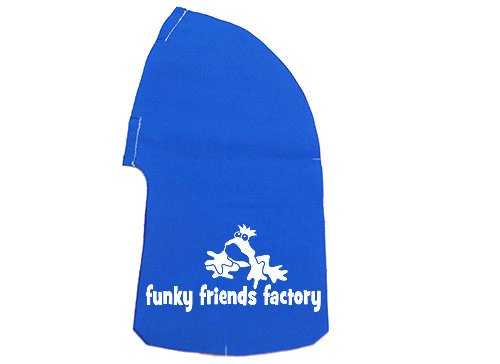
STEP 7
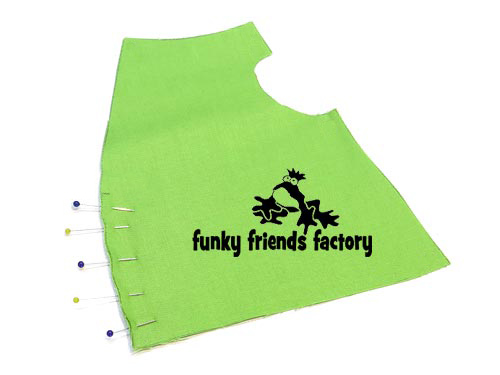
Sew the BACK PIECES together from F – G.
STEP 8
Sew the TUMMY PIECES together from B – H, along the front seam.
STEP 9
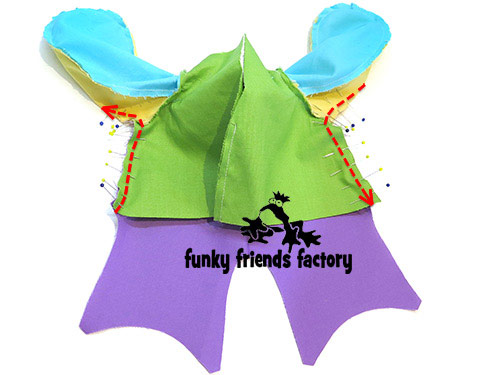
Sew the TUMMY and BACK PIECES together from E – J.

ARMS:
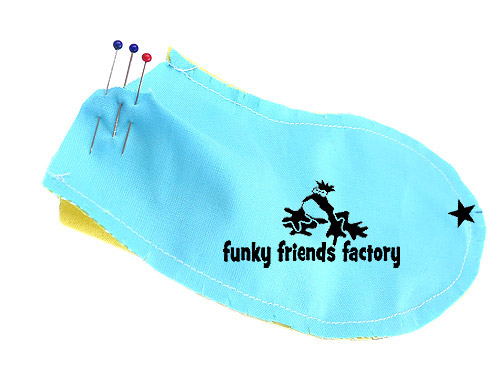
STEP 10
Pin the OUTER ARM PIECES to the INNER ARM PIECES in pairs, matching the star pattern marking and sew them together from K – L.

STEP 11a
Fold and sew the dart closed at the top of each OUTER ARM PIECE at J.
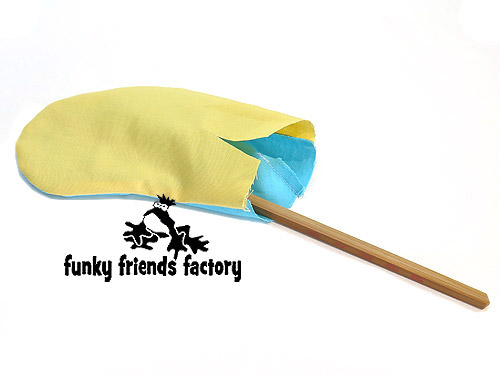
STEP 11b
Turn the ARMS right sides out. (I like to use my chopstick turning tool to smooth the seams).
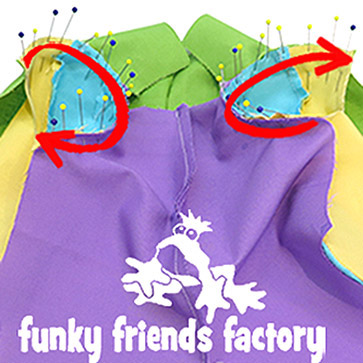
STEP 12
Sew the ARMS to the TUMMY and BACK PIECES matching point J and M.
Here’s a close up of this step for you!
TIP: Check that the ARMS curve towards the TUMMY PIECE or they will be facing the back!

SIDE SEAMS:
STEP 13
Turn the arms back the other way (with the right side in) and sew the TUMMY and BACK PIECES together from O – M and continue sewing along the side seam of the INNER ARM PIECES, from M – P.
FOOT:
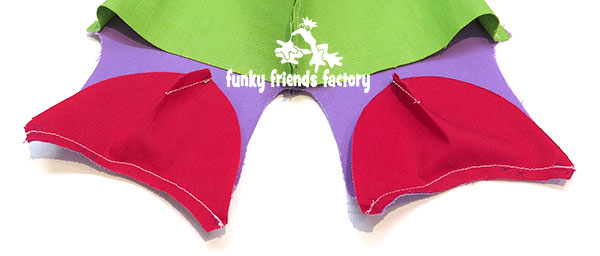
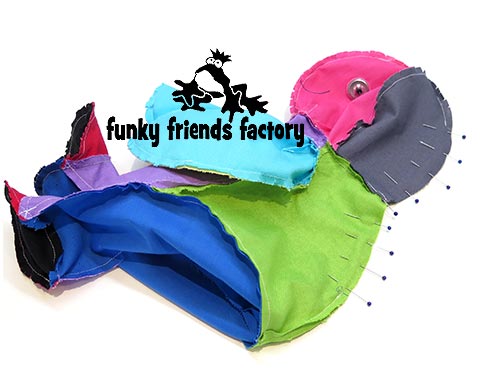
STEP 14
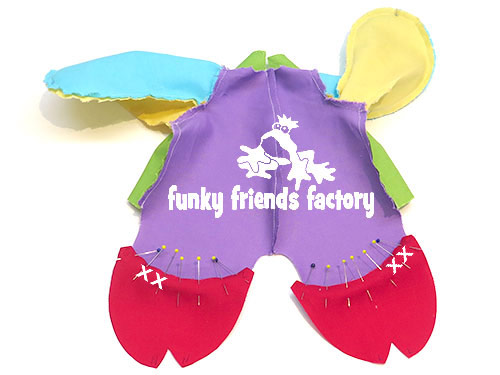
Sew the TOP FOOT PIECES to the TUMMY PIECES from Q – R, matching the double cross pattern markings.
*** It’s not obvious from this photo – so make sure you sew these pieces with the fabric right sides together!
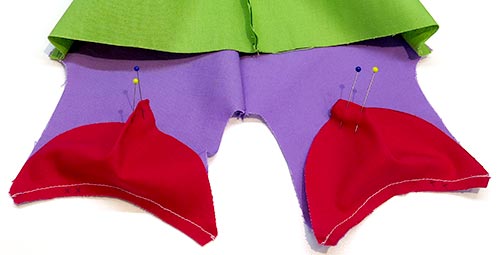
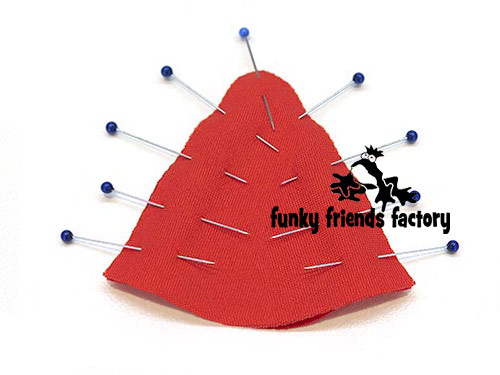
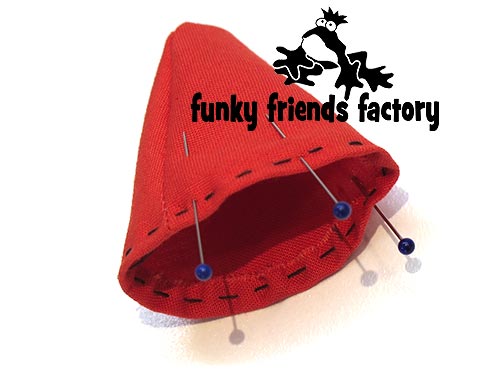
STEP 15
Fold and sew the dart closed at the front of each TOP FOOT PIECE at S.
Here the darts are – PINNED…
and here they are
SEWN!
BASE and FOOT PADS:
STEP 16
Sew the BASE PIECES together from F – H, leaving the gap open for stuffing.
STEP 17
Sew the BASE PIECES to the BACK & TUMMY PIECES, from Q – O – F – O- Q.
STEP 18
Sew the legs closed at the center by sewing the BASE PIECE to the TUMMY PIECES from R – H – R.
STEP 19
Sew the FOOT PAD PIECES in place matching point S on the TOP FOOT PIECES and U on the BASE PIECES.

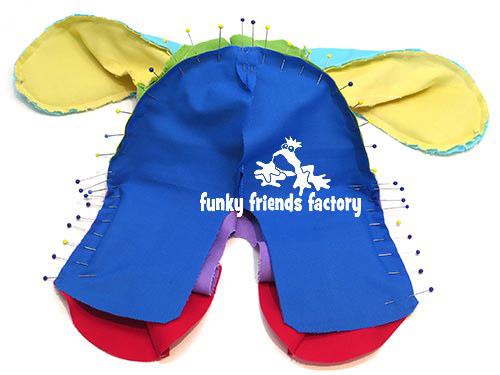
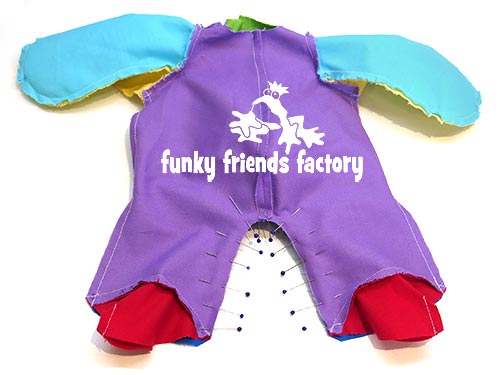
NECK SEAM:
STEP 20
Sew the head to the body next. (I find it’s easiest to turn the head right sides out and place it facing into the body when you pin and sew the neck seam.)
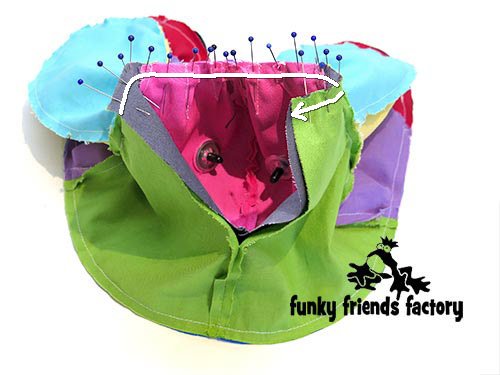
STEP 21
Push the head back out of the body again, then sew your closed from D on the HEAD PIECES to T (at the neck) and then to G on the BACK PIECES. (Sew from D – T – G.)
CARROT-NOSE:
STEP 22a
Sew the CARROT-NOSE PIECES together.
STEP 22b
Fold under a 5mm/¼inch seam at the base of the CARROT-NOSE and hand-sew this to hold it under.
STEP 22c
Stuff the CARROT-NOSE first with toy stuffing, making sure it is nice and firm.

ASSEMBLY:
STEP 23
Turn rights sides out and stuff the head first. (It must be very firm and round!) Stuff the feet, legs, arms and then the rest of the body (Don’t stuff the top of the legs too much or he won’t be able to sit up nicely).

STEP 24
Pin the nose onto the FACE PIECES. Stitch the CARROT NOSE in place using a ladder stitch.
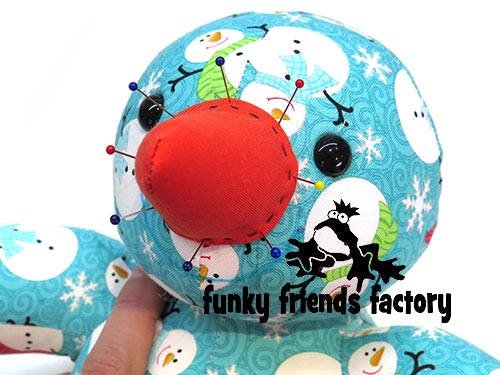

STEP 25
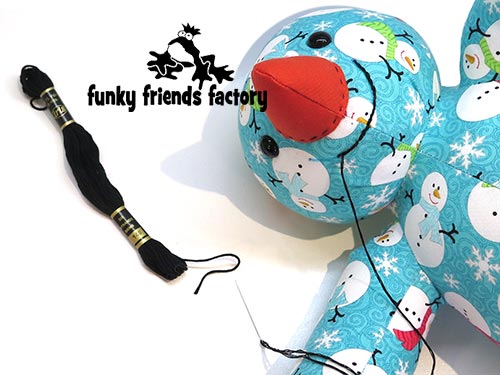
If you are using beads (or buttons) for the eyes sew them on now. Sew on a mouth using embroidery thread and a back-stitch.
STEP 26
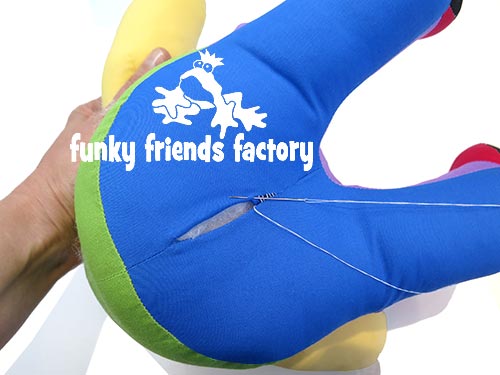
Use a ladder stitch to close the opening on the BASE PIECES.
STEP 27
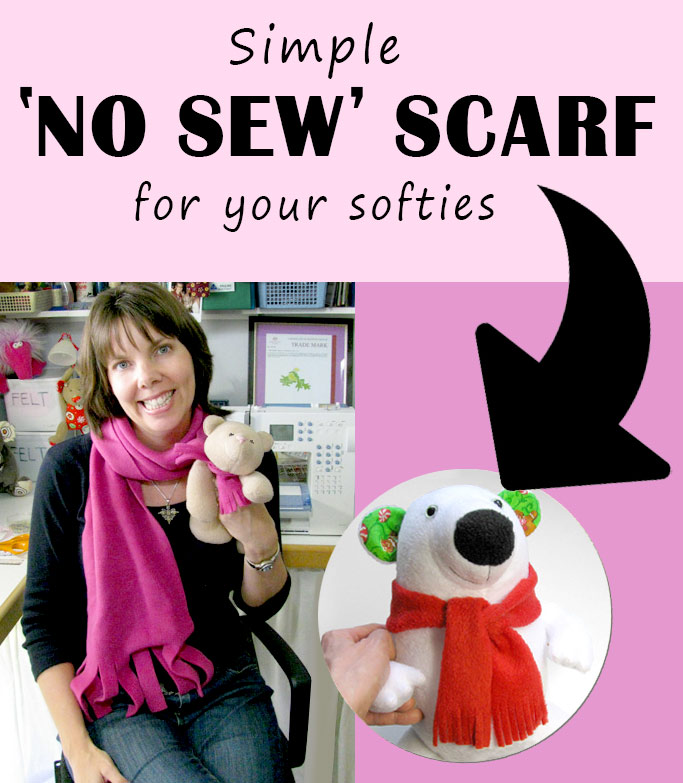
Tie a piece of Christmas ribbon around your Snowman’s neck for a scarf. I have a blog post tutorial to show you how to make a NO-SEW scarf for your Funky Friends toys… and yourself!
STEP 28
Decide which method to use – depending on the fabric you have chosen.
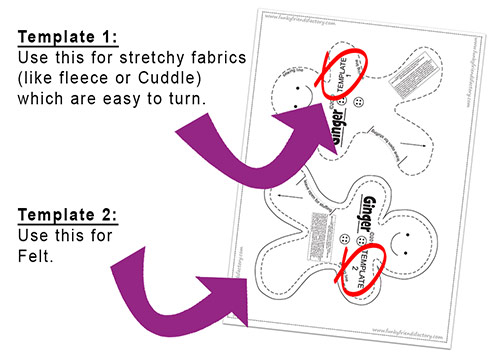
STEP 29 – Template 1: For knit fabrics
If you are using TEMPLATE 1 – fold the fabric with the right sides together and trace TEMPLATE 1 onto the wrong side of the fabric. Do NOT cut out your pieces now.
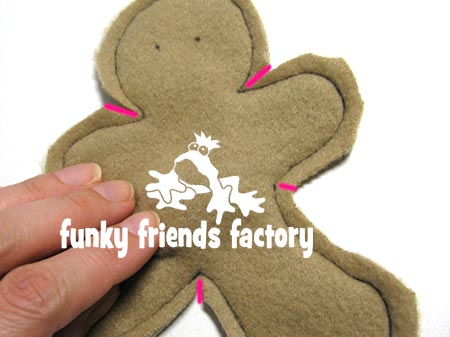
Sew on the sewing line, and remember to leave a gap for turning and stuffing.
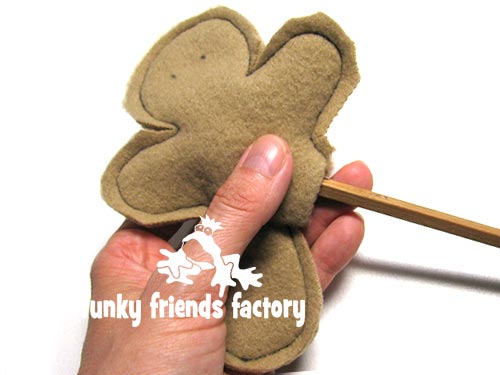
Cut the pieces out with a 5mm/¼inch seam allowance around your sewing line. I added some pink lines to show you where I clipped the seam allowance.
Turn your Gingerbread Man right sides out.

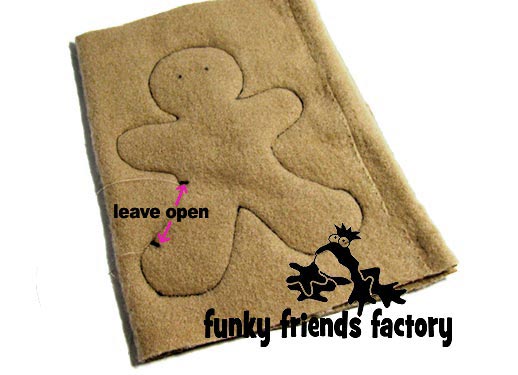
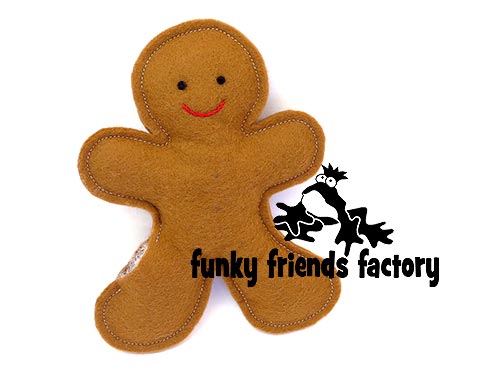
STEP 30 – Template 2: For felt
If you are using TEMPLATE 2 – cut out 2 pieces and sew them together with a 5mm/¼inch seam allowance, remembering to leave a gap for stuffing.

ASSEMBLY – (Both TEMPLATE 1 & 2)
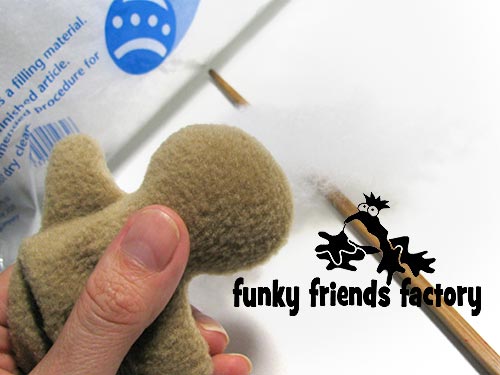
STEP 31
Stuff Ginger with toy stuffing – just enough so he’s not flat (or too fat!).
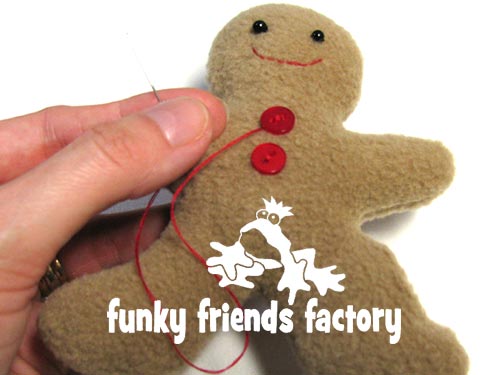
STEP 32a
Use red embroidery thread to sew on a SMILE and black embroidery thread to sew French knots for the EYES. (*See the tip below about toy safety!)
STEP 32b
Sew on 2 buttons…
TIP: * I used 3mm(1/8inch) black beads for the eyes. Don’t use beads or buttons if your toy is going to be for a child under the age of 3 years, because they would be a choking hazard. I have a post about toy safety on my blog with more toy safety tips and guidelines.
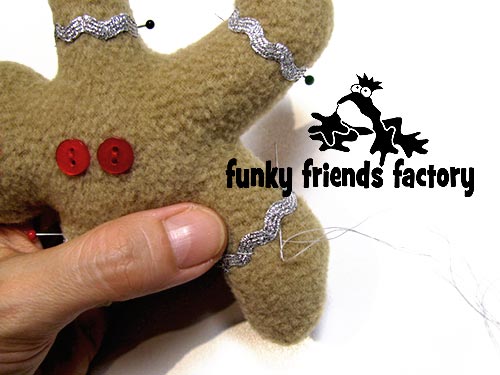
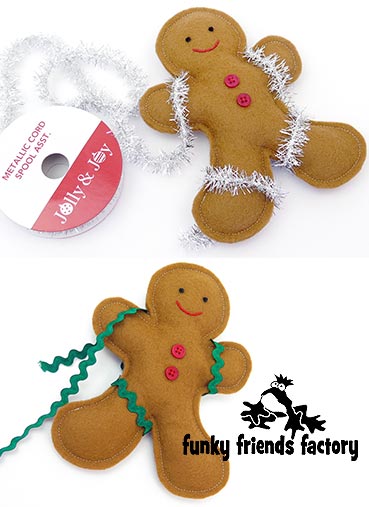
STEP 32c
Decorate his arms and legs with silver, gold, green or red ric-rac.
OR any trim that you think will make him look
FESTIVE!!!

STEP 33
Sew the stuffing gap closed. (I did this on the sewing machine for TEMPLATE 2 and by hand for TEMPLATE 1).
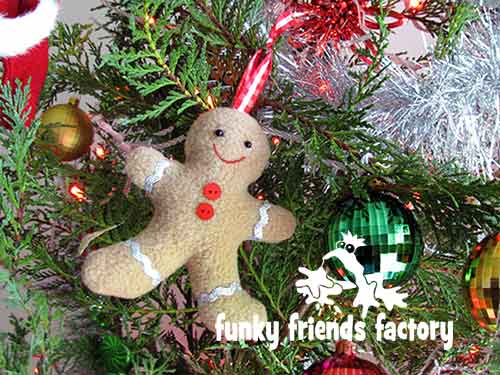
TIP: You can also use this pattern to make Christmas Tree decorations! Look how sweet Ginger looks hanging on my Christmas tree! 🎄

Your new Funky Friends
are ready to LOVE!❤️
Want to win a
FREE toy pattern?
It’s so EASY to enter our Pattern GIVEAWAY!
![]()
ALL you need to do is post a photo of a FUNKY FRIENDS FACTORY toy that you have made on the Funky Friends Factory Facebook Page .
At the end of each month I draw a winner and post the winner’s name on the Blog the following MONTH. I have an Album on Facebook for all the MAKEROFTHEMONTH winners. You can check it out HERE!
NOT on Facebook? ENTER by email! 😀
*** You can send me your photos by email too!
So come on! Share your photos ~>
The next winner could be YOU!!!
 .
.
Till next time,
Happy Sewing,
Pauline
xxx
![]()
