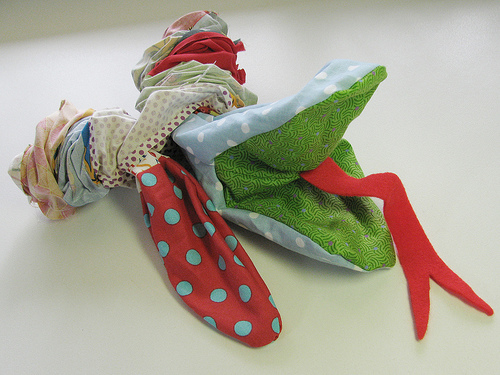
I made this photo tutorial so you can see how to sew my Tom Turkey Sewing Pattern ~> scroll down for step-by-step photos!
This fabric snake pattern is so quick and simple you can whip up as a last minute gift and the bonus is – ANY fabric scraps can be used! The pattern is simple enough (and manly enough!) for a boy to make for himself!
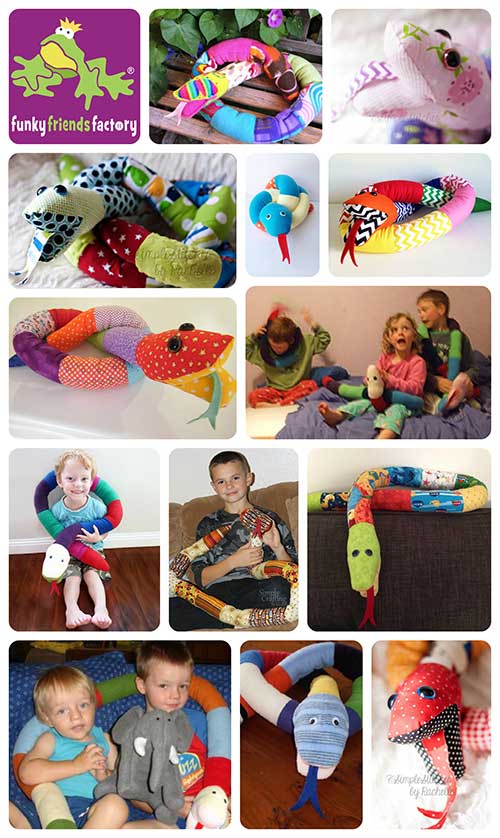
Funnily enough, the youngest person ever to sew one of my patterns was an 8 year old boy who featured in this blog post about stuffed toy crafting with kids!
OK, let’s get cracking…
with the TUTORIAL!
Step 1:
Get yourself some BRIGHT boy-ish fabrics. I used this fabulous Flaming Cherry Tattoo fabric from Voodoo Rabbit fabric… and added some bright fabrics from my scrap basket.
Step 2:
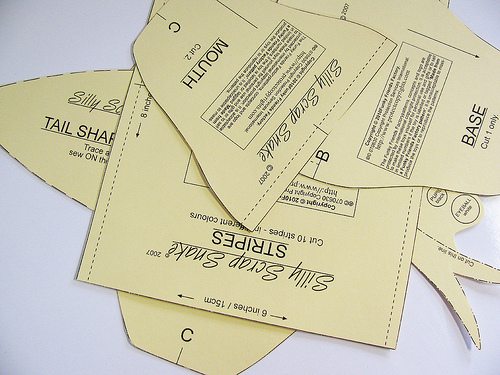
Glue or print the pattern pages onto card or thick paper and cut out the pattern pieces to make your templates.
Step 3:
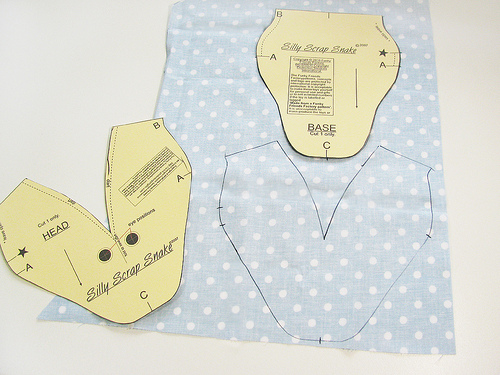
Lay the fabric right side down. Place your templates onto the WRONG side of the fabric and trace the templates with a permanent marker and cut out your pieces. You can also use a fabric marker or a H2 pencil.
Step 4:
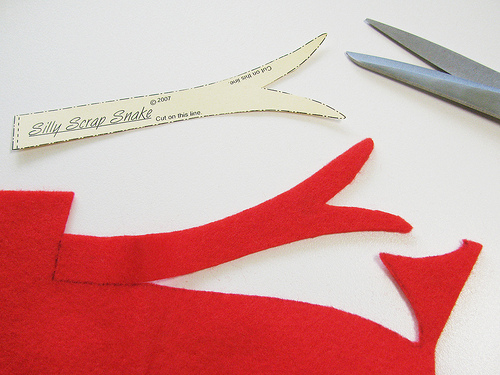
Use the template to cut out a TONGUE PIECE from felt.
Step 5:
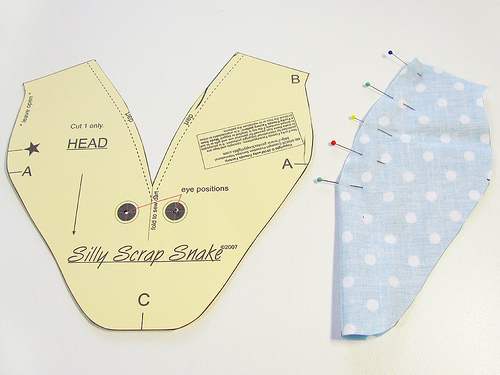
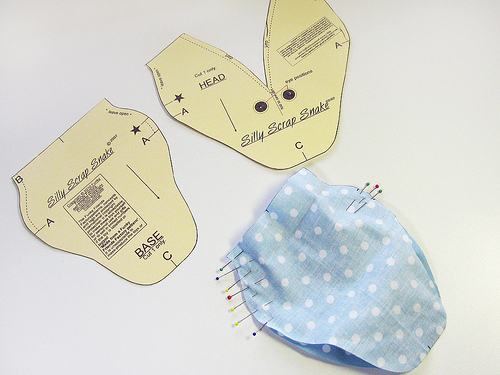
Fold and sew the dart on the HEAD PIECE.
Step 6:
Sew the HEAD PIECE to the BASE PIECE from A – B on one side, and from A to the star on the other side (where I have pinned!).
Step 7:
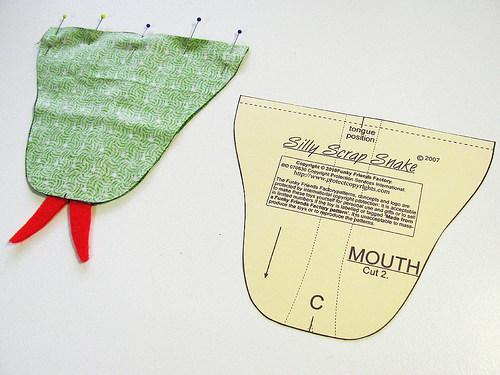
Sew the MOUTH PIECES together with the felt tongue in between, as shown on the pattern markings.
Step 8:
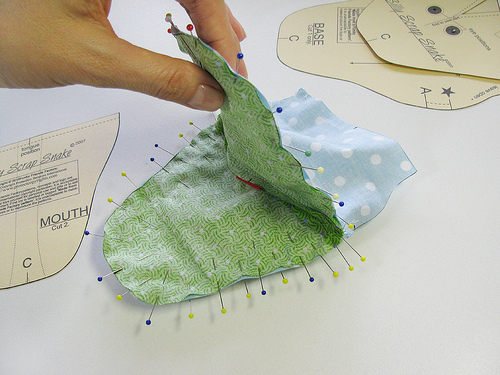
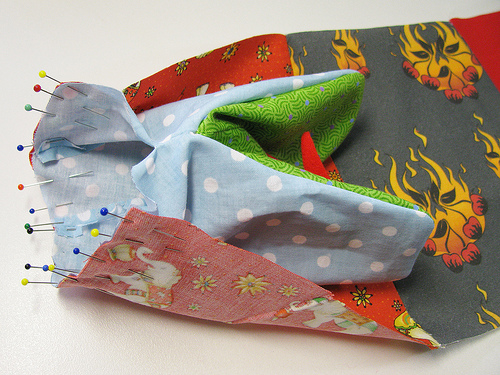
Sew the MOUTH PIECES to the HEAD PIECE and BASE PIECE, (with right sides together so the tongue is inside!)
Step 9:
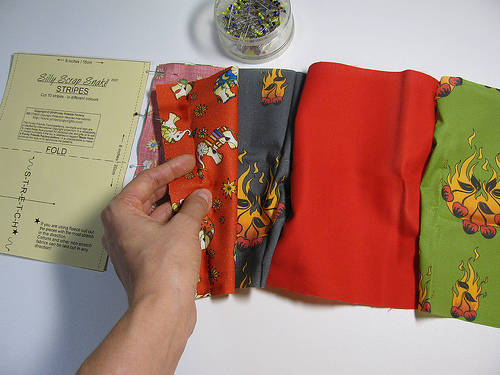
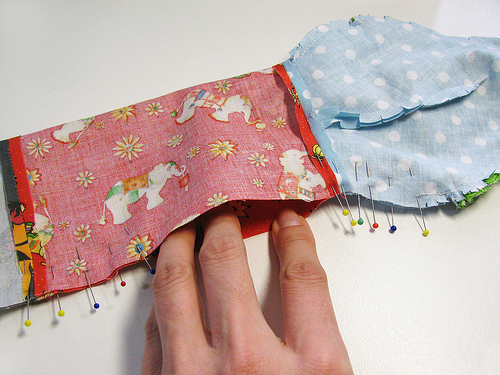
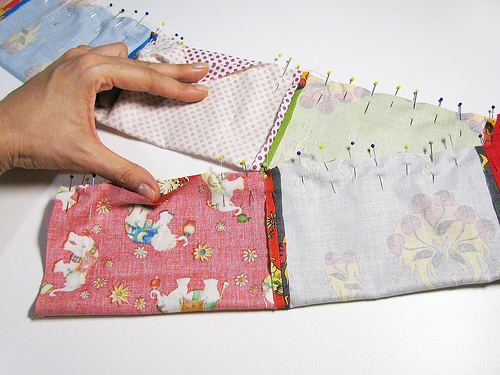
Sew the STRIPE PIECES to each other (along their LONG sides!) to make the snake’s body.
Step 10:
Turn the head ‘right-side-OUT’ and sew it to the first STRIPE PIECE with the head facing back/towards the tail end.
Step 11:
Turn the HEAD and BASE PIECES ‘right-side-IN’ again, and sew them closed along the side. Sew from the star, and stop a little way along the first STRIPE PIECE.
Step12:
Sew the body closed down its length.
* It makes it much easier to stuff the Snake if you LEAVE A GAP
for stuffing the head on the1st stripe, and for stuffing the tail on the 2nd last stripe.
(I also leave a gap on the center stripe as well.)
Step13:
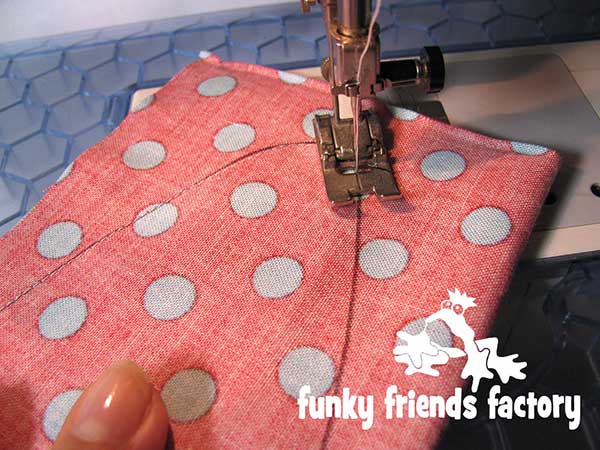
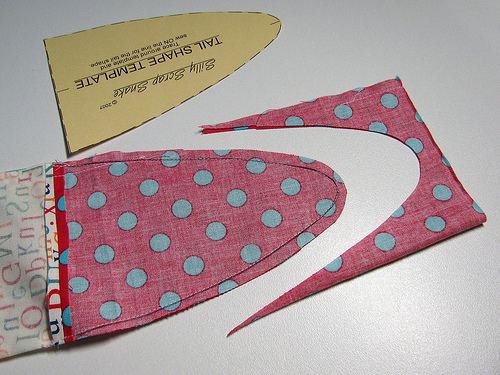
BEFORE you turn your snake right sides out, use the TAIL SHAPE TEMPLATE PIECE to draw a line on the last stripe. Sew on this line…
…and then cut around the sewing line, leaving a 5mm/¼inch seam allowance.
Step14:
Pull the tail and head through the gap on the centre stripe to turn your snake ‘right-way-out’.
Step15a:
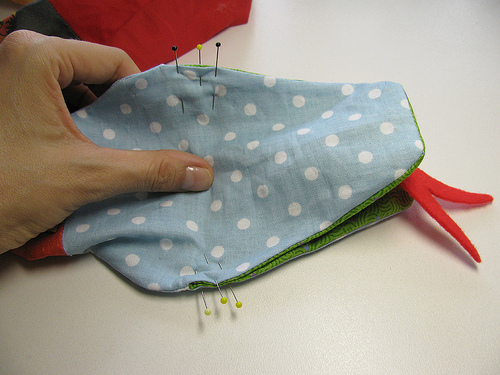
Pin the sides of the mouth together so that the mouth will be closed at the sides.
Step 15b:
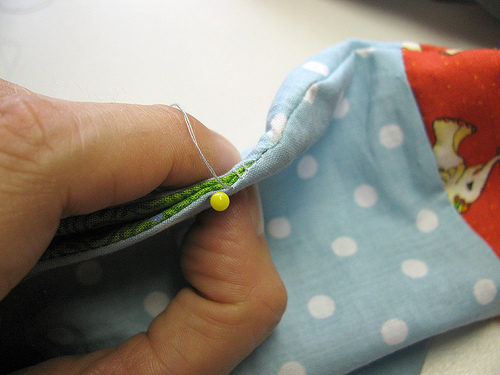
I sew the mouth closed on the side for about 1cm /½ inch. I sew by hand with sewing-machine thread and using a ladder -stitch.
Step 16:
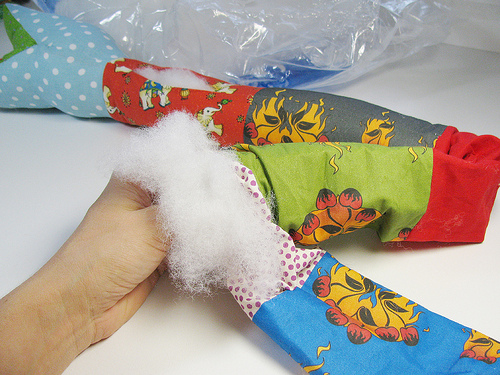
Use polyfil toy-stuffing to stuff your snake.(It’s nice and light and fluffy!)
Step 17:
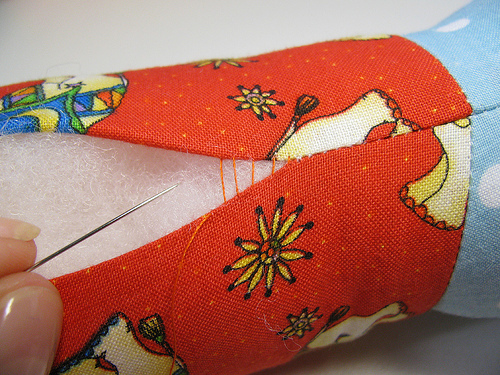
Use a ladder-stitch to sew the stuffing holes closed.
Step18:
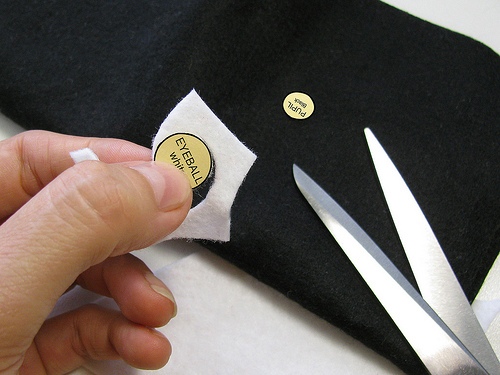
Cut some black and white circles from felt for the snake’s eyes. You can glue these in place, but I just sew them on with black thread on the black felt, to keep both bits in place.
ALL done!
You’re ready to go and play with your Silly Scrap Snake!!!!!

Come join the fun on Facebook!

I LOVE to see how your Funky Friends toys turn out!
When you’ve made your own stuffed toy Lions you can come show them off ~>
Post a photo on my Funky Friends Factory Facebook page for me to see and YOU could win a FREE PATTERN!

Till next time,
Happy Sewing,
Pauline


