
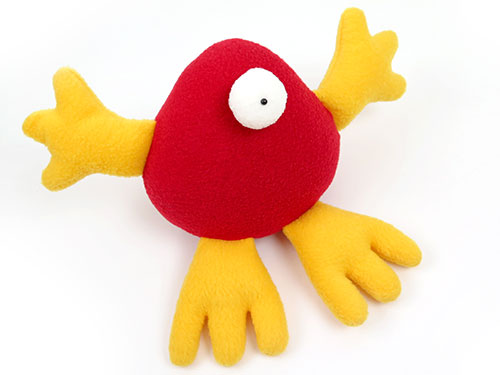
I made this photo tutorial so you can see how to sew my Mix & Match MONSTERS Sewing Pattern ~> scroll down for step-by-step photos!
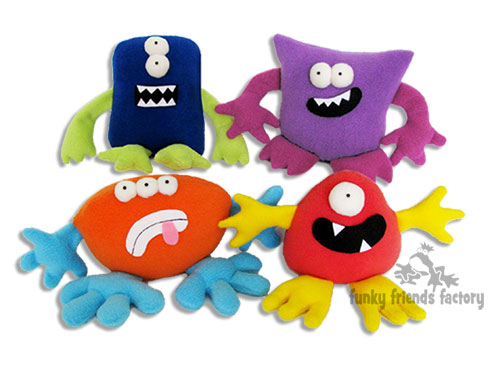
This easy pattern is fun for children and beginners. The Mix & Match Monsters can be made in all kinds of fabrics (BUT the small parts like fingers, toes and eyes will be MUCH EASIER to turn with stretchy fabrics like cuddle and fleece). They look awesome in any colour so
…have fun mixing and matching!
*** PLEASE NOTE – this is ONLY a PHOTO TUTORIAL ***
The FULL PATTERN IS NOT included here.It is NOT A FREE PATTERN!
I have made this photo tutorial so people who have purchased my MONSTERS Sewing Pattern can SEE how to sew monster toys! (I wanted to explain this so you are not disappointed if you have found this page via a search engine and not from the link in my Mix&Match MONSTERS Sewing Pattern)
Right, Let’s get started!
ARMS
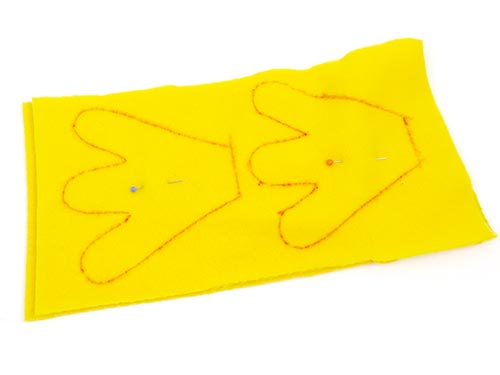
STEP 1
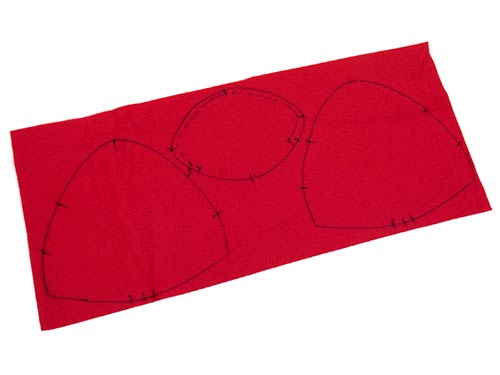
The dotted lines that you trace for the ARM PIECES are the sewing lines. Sew the ARM PIECES in pairs, on a double layer of fleece, leaving the straight edge open for turning.
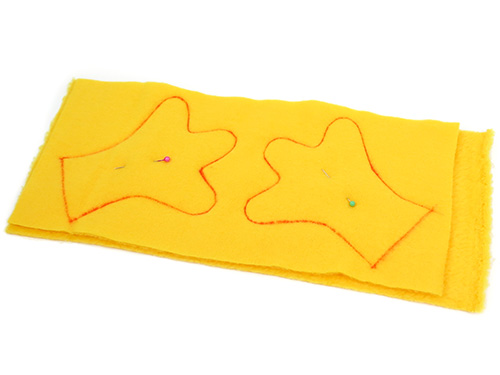
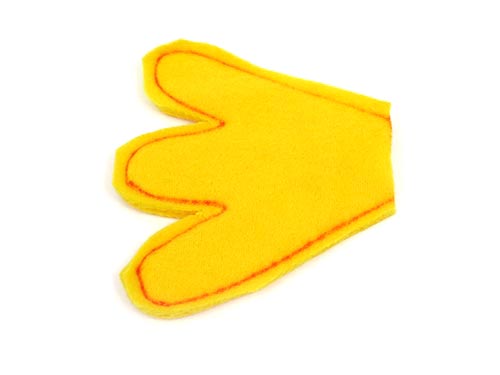
STEP 2
Cut out the ARM PIECES with a seam allowance of about 3mm (1/8inch) around the sewing line, don’t add extra seam allowance to the straight edge or the ARMS will be too long!
TIP: Don’t forget to leave the straight edge open for turning!
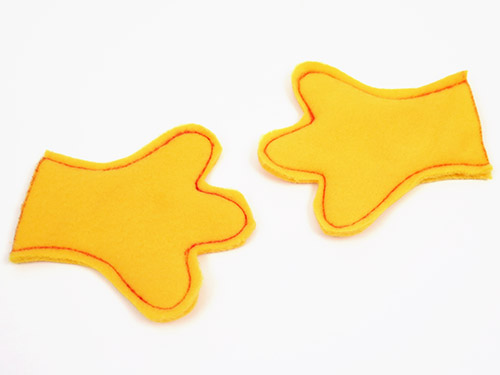
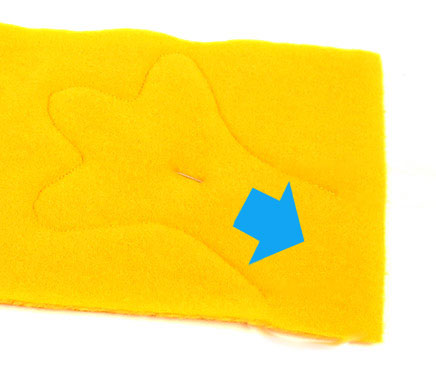
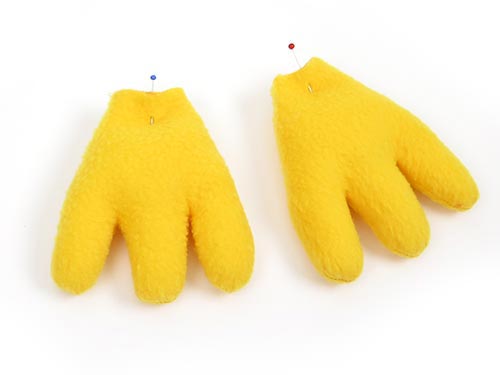
STEP 3
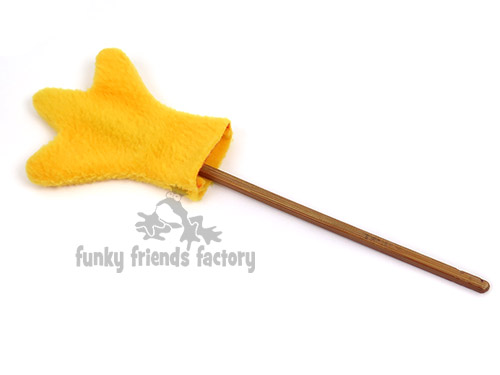
Clip the curved seam allowance between the ‘fingers’ and turn the ARM PIECES right sides out.
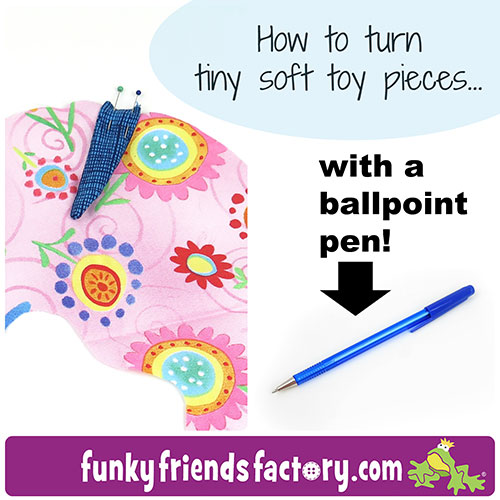
TIP: I use a wooden chopstick to make sure the seams are turned out nicely, especially at the ‘finger tips’! I have a blog post to show you my special trick for turning small soft toy pieces ~>
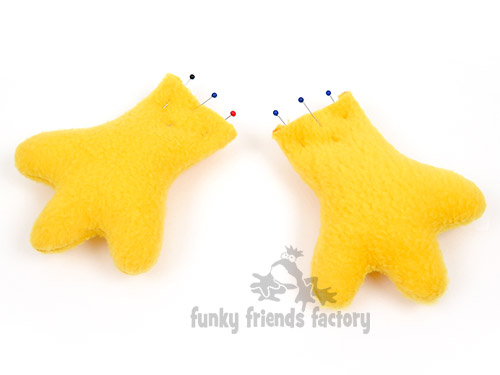
STEP 4a
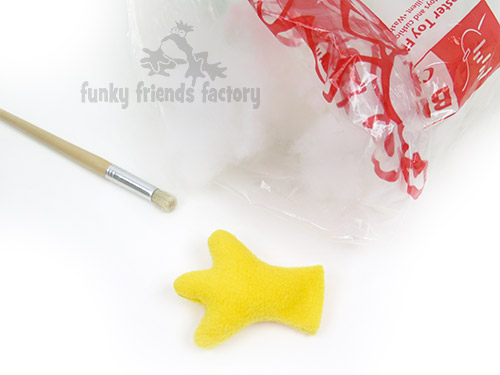
Stuff the ARMS using little bits of toy stuffing for the ‘fingers’.
STEP 4b
Leave the last 12mm (½inch) unstuffed (empty) and pin the ARMS closed at the straight edge.
LEGS
STEP 5
The dotted lines that you trace for the LEGS are the sewing lines. Sew the LEG PIECES in pairs, on a double layer of fleece, leaving the straight edge open for turning.
STEP 6
Cut out the LEG PIECES with a seam allowance of about 3mm (1/8inch) around the sewing line, don’t add extra seam allowance to the straight edge or the LEGS will be too long!
STEP 7
Clip the curved seam allowance between the ‘toes’ and turn the LEG PIECES right sides out, using your turning tool to making sure the turn the ‘tip of the toes’ nicely. Stuff the LEGS using little bits of toy stuffing for the ‘toes’. Leave the last 12mm (½inch) unstuffed (flat) and pin the LEGS closed at the straight edge.
BODY
STEP 8
Cut the BODY PIECES and BASE PIECE from a single layer of fleece.
STEP 9
Pin the arms in position between the BODY PIECES using the pattern markings to guide you.
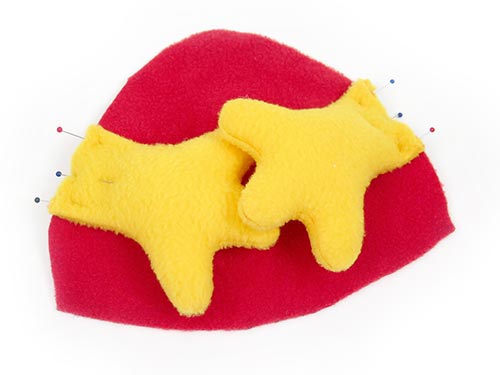
STEP 10a
Pin the BODY PIECES together from A around the top to B on the other side, with the ARMS in between them.
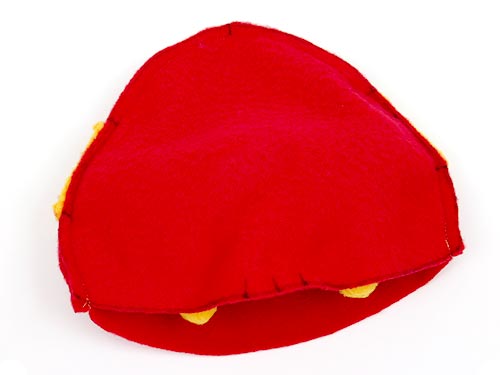
STEP 10b
Sew the BODY PIECES together from A around the top to B on the other side, with the ARMS in between them.

STEP 11
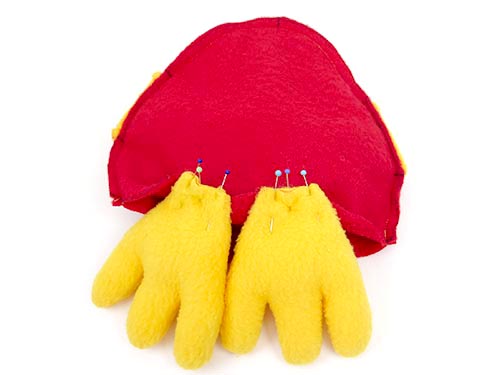
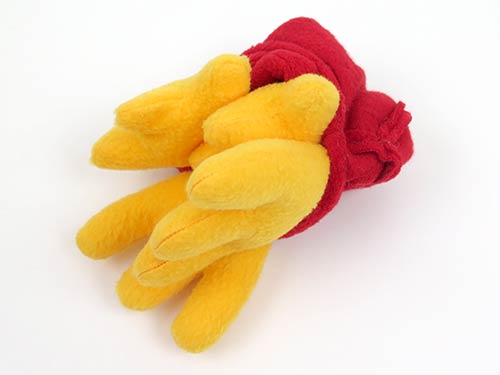
Pin the FOOT PIECES to one of the BODY PIECES using the pattern markings to guide you, then push them ‘toes first’ into the BODY.
BASE
STEP 12
With the BODY still inside out, pin the BASE PIECE to the BODY PIECES matching points A and B. (The HANDS and FEET should be ‘inside’ the BODY)
STEP 13
Sew the BASE PIECE to the BODY PIECES, leaving the gap open at the back, to turn your monster right side out!
EYEBALLS
STEP 14
Decide how many eyeballs to make for your monster – you can have as many as you like and the same or different sizes too! Cut the EYE PIECES from fleece or similar stetchy fabric if you have.
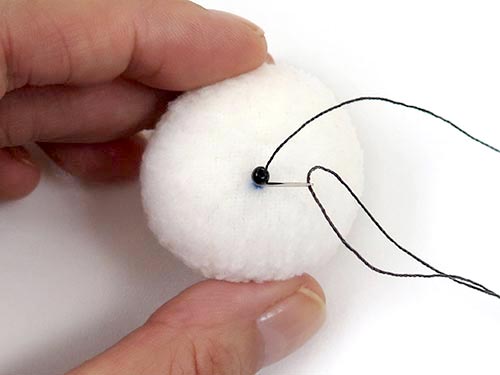
TIP: I have used brown thread so you can see what I am doing in these photos – you should try to match the thread to your EYE PIECE and use white!
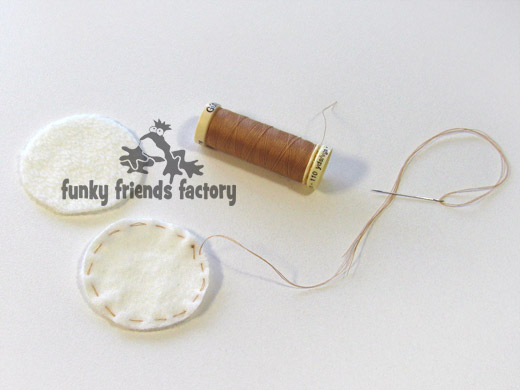
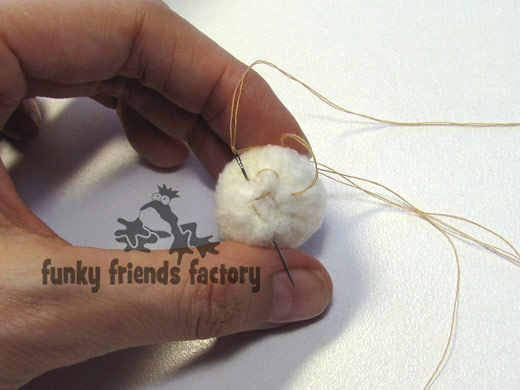
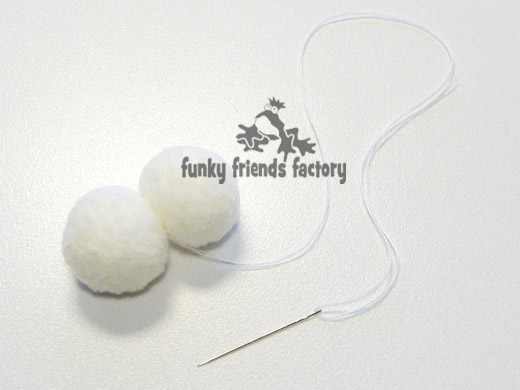
STEP 15
Use a strong thread and a running stitch to gather each EYE PIECE to form a cup shape. Fill this with toy stuffing and pull tightly to gather the EYE PIECE to form an eyeball. Sew each eyeball closed with a couple of strong stitches, using your stitches to pull the eyeball into a nice round shape.
STEP 16
If you have more than one EYE, sew them together at the side, so they stay close together when you sew them onto your monster.
ASSEMBLY
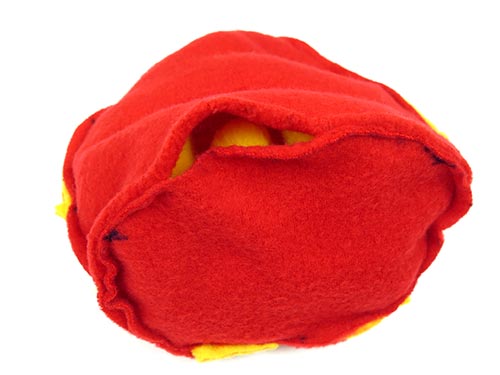
STEP 17
Turn your monster right side out through the gap at the back of the monster.
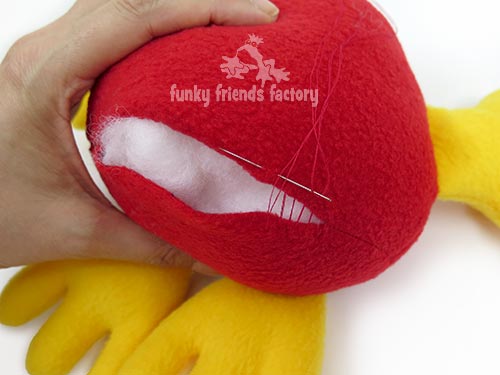
STEP 18
Fill the BODY PIECES quite firmly with toy stuffing.

STEP 19
Use a ladder stitch to sew the turning gap on the BODY PIECES closed.
EYES
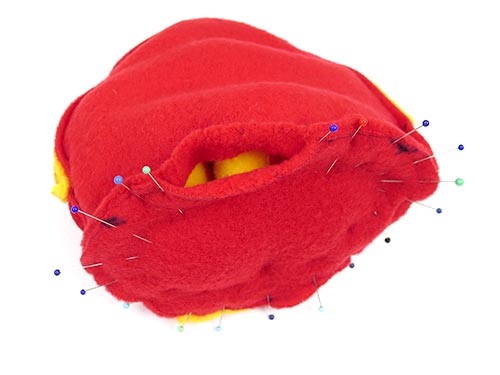
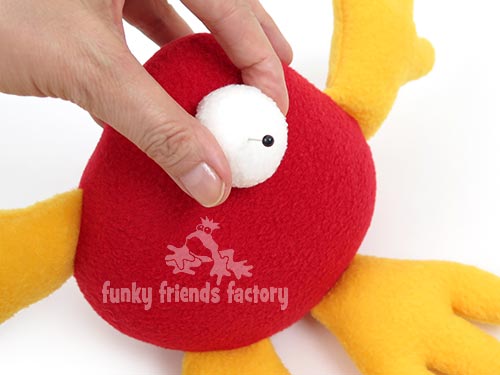
STEP 20a
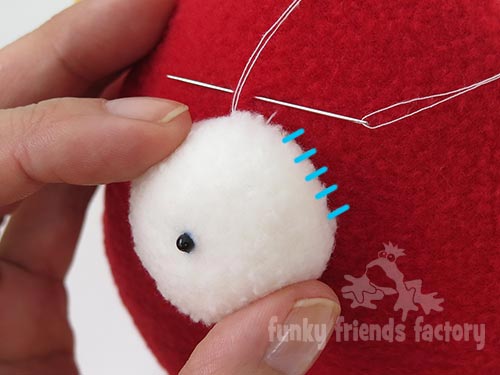
Using the photos as a guide, pin the EYES in position. Use glass pins with large black heads (berry pins) to experiment with the position of the EYE’S pupil/s (the black dot of the eye). This will dramatically change the expression of your Monster’s face.
STEP 20b
When you are happy with the way the EYES look (or are looking!) mark the position of the pin/s with a permanent marking pen.
STEP 20c
Sew 3mm beads in place for the pupils of the EYES.
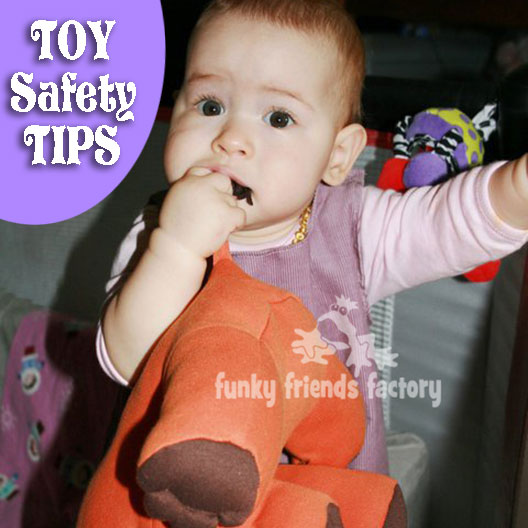
TIP: If the toy is for a young child use embroidery thread to sew a French knot instead of a bead. I have a blog post about toy safety on my blog with more toy safety tips and guidelines.
STEP 21
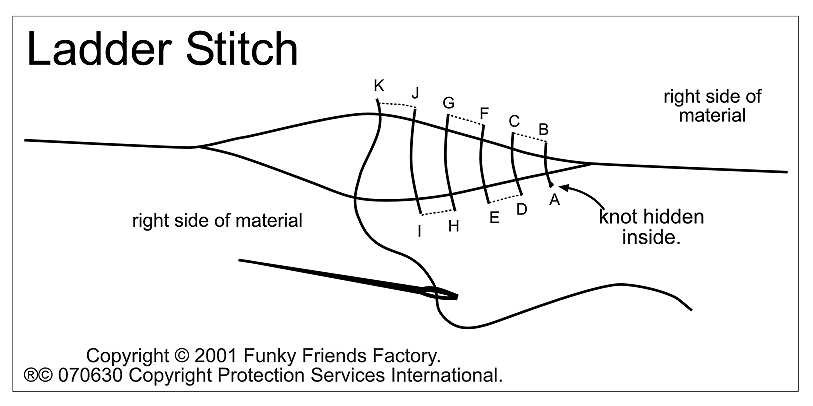
Sew the EYES to the BODY PIECE using a ladder stitch.
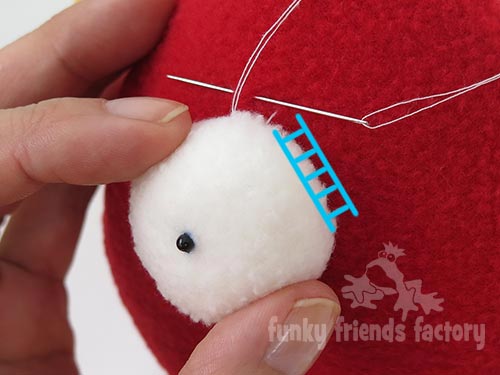
I thought I’d explain a bit more about the ladder stitch for you… When you sew the ladder stitch – the stitches that you see “above the fabric” (on the outside) – look like the ‘steps’ of the ladder.
I have used blue lines to highlight the steps of the ladder.
If you join these up on the sides, you can see why they call this a LADDER stitch! Pretty cool hey? 🙂
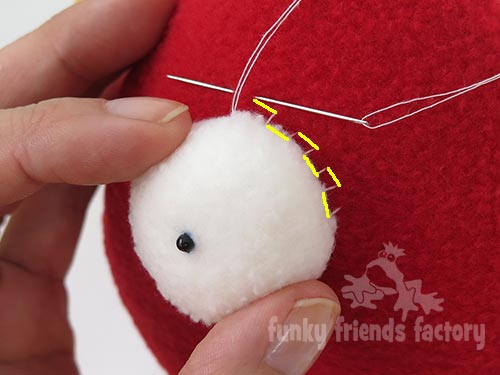
TIP: TIP: I have also used yellow lines (in the photo below) to show where the thread goes UNDER the red fleece of the BODY PIECE (inside the toy) and UNDER the white fleece of the EYE PIECE (inside the eyeball).

STEP 22
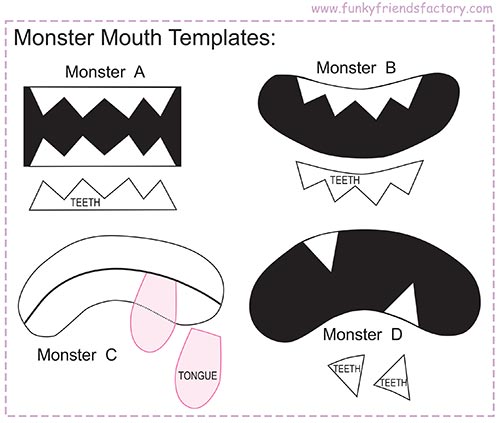
MOUTH, TEETH & TONGUE
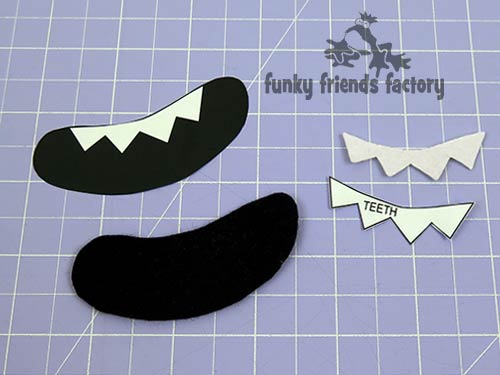
Choose one of the MOUTH shapes for your monster and decide if you are going to give it a TONGUE or TEETH.
STEP 23
Cut the MOUTH, TONGUE or TEETH PIECES from felt using the Mouth Templates.
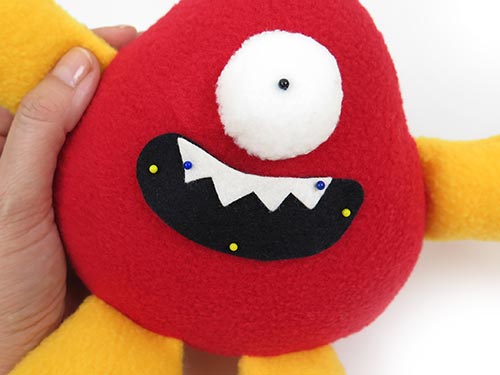
STEP 24
Use non-toxic craft glue to hold the MOUTH and TEETH PIECES in place, then hand sew these on with embroidery thread. I like to use a blanket stitch or a simple running stitch. Any stitch will do, they simply secure the felt pieces more firmly in place, but you can choose to make it decorative if you like.
Your Monster is ready to LOVE!
REPEAT for as many Mix & Match Monsters as you can think of! 😀
Come join the fun on Facebook!
![]()
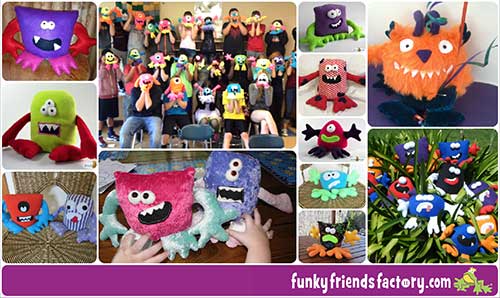
I LOVE to see how your Funky Friends toys turn out!
When you’ve made your own stuffed toy monsters you can come show them off ~>
Post a photo on my Funky Friends Factory Facebook page for me to see and YOU could win a FREE PATTERN!

Till next time,
Happy Sewing,
Pauline
![]()
