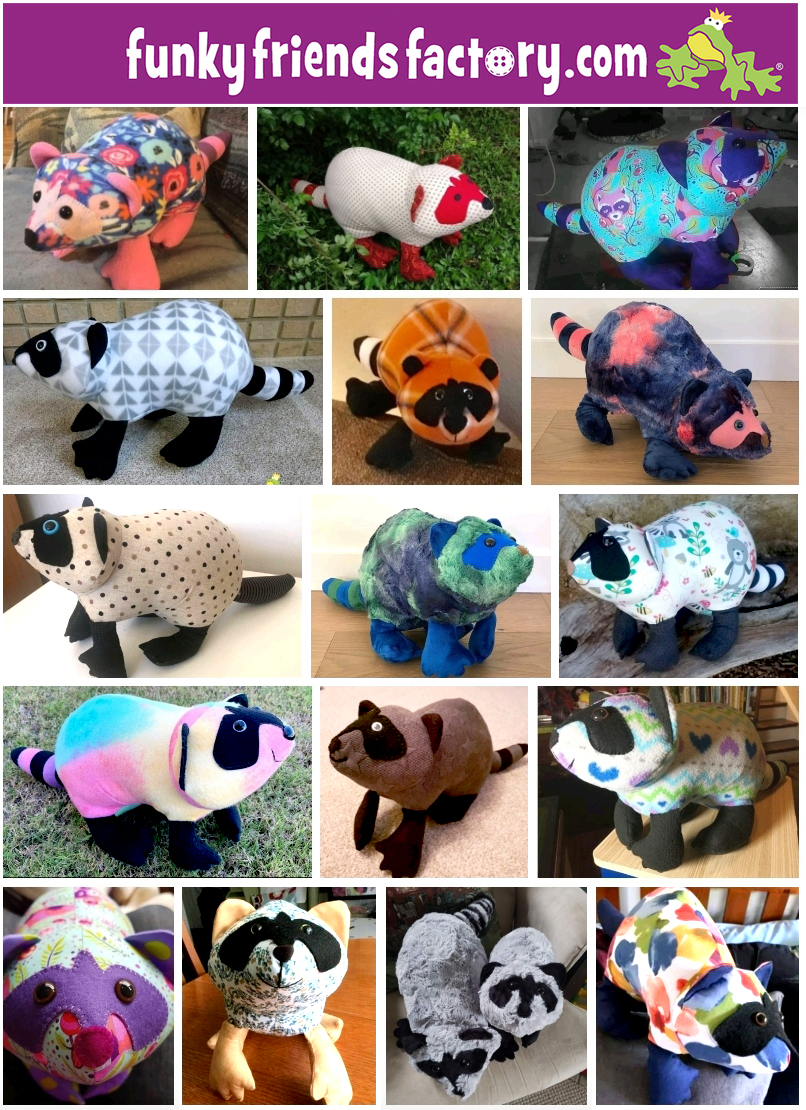
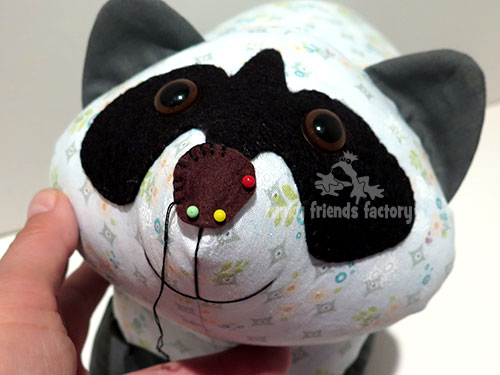
I made this photo tutorial so you can see how to sew my Racoon Sewing Pattern ~> scroll down for step-by-step photos!
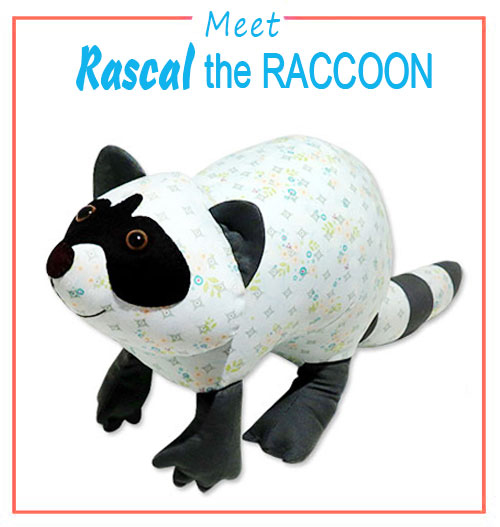
.
*** PLEASE NOTE – this is ONLY a PHOTO TUTORIAL ***
The FULL PATTERN IS NOT included here.It is NOT A FREE PATTERN!
I have made this photo tutorial so people who have purchased my Raccoon Sewing Pattern can SEE how to sew a raccoon soft toy! (I wanted to explain this so you are not disappointed if you have found this page via a search engine and not from the link in my Rascal Raccoon Sewing Pattern.)
* The Raccoon Pattern is available to buy, from the Funky Friends Factory website as an Instant Download e-Pattern.
First choose some fabric…
STEP 1
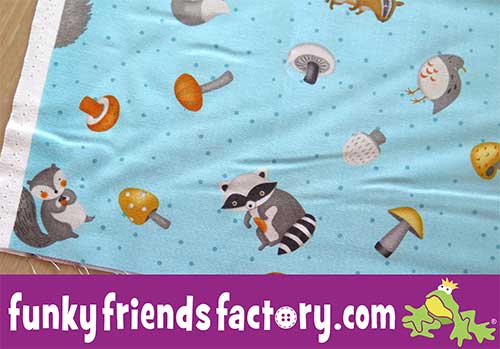
A raccoon will look great in ANY fabric…
If you like, it’s quite fun to use raccoon fabric for your raccoon, if you can find it!
EARS & HEAD:
STEP 2a
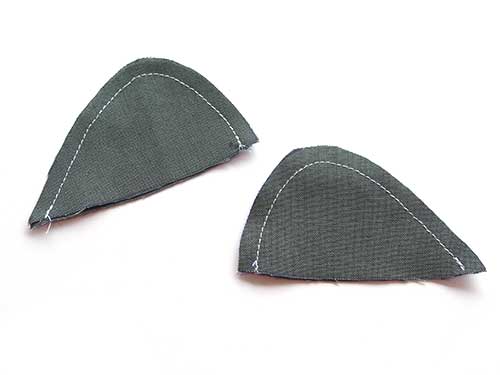
Sew the EAR PIECES together in pairs leaving the straight edge open.
STEP 2b
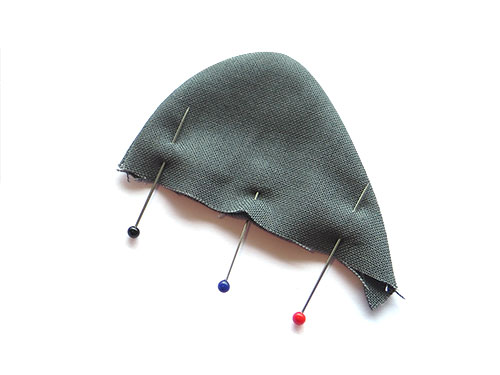
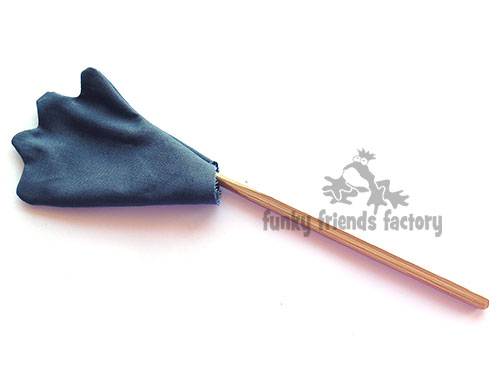
Turn the EARS right sides out and pin them closed at the straight edge.
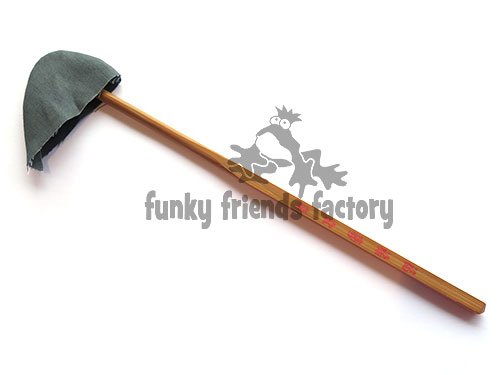
TIP: I use a chopstick to push the seams out nicely. Run the end of the chopstick along the seam from inside the EARS.
STEP 3a
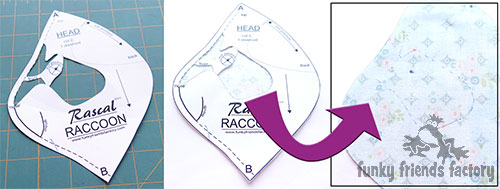
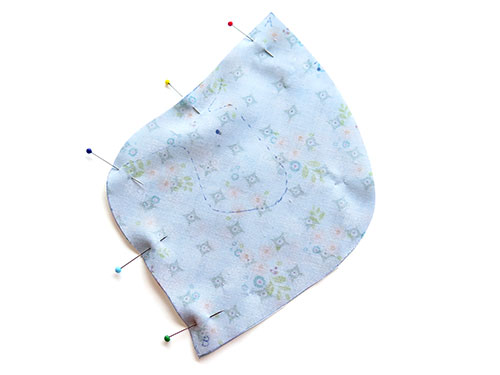
Transfer the pattern markings to the HEAD PIECES so you can see where the EYE MASK will go.
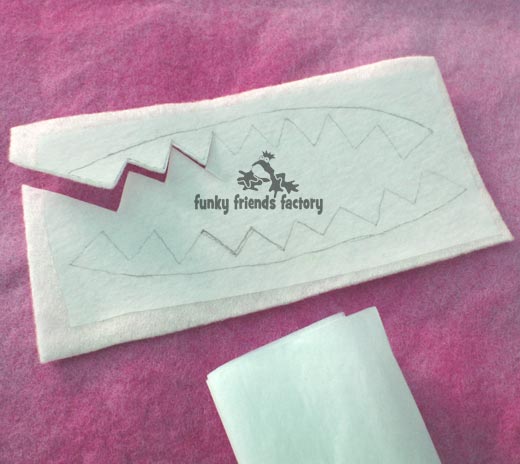
TIP: Use a fine pointed pair of scissors (or a craft knife) to cut out most of the EYE MASK in the HEAD PIECE TEMPLATE so you can draw the shape of the EYE MASK onto the right side of the fabric on both HEAD PIECES.
STEP 3b
Sew the HEAD PIECES together from A – B.
EYES & EYE MASK:
STEP 4a
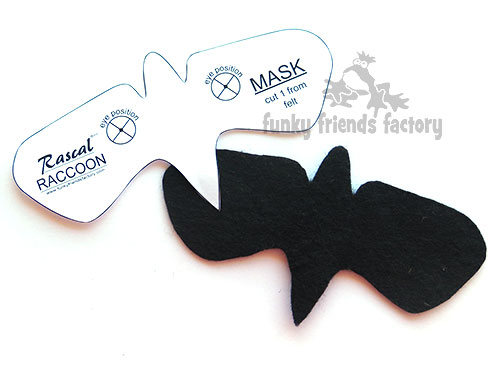
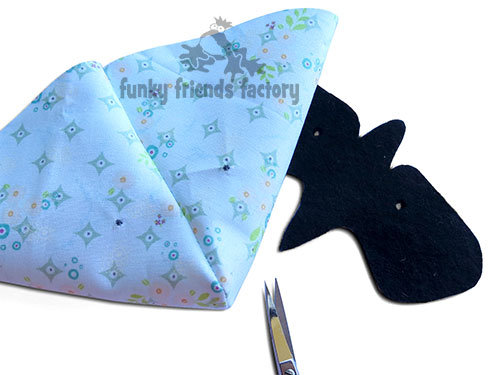
Cut the EYE MASK PIECE from black felt.
TIP: I have a post on my blog with tips for cutting out felt. ~
https://www.funkyfriendsfactory.com/blog/how-to-cut-out-felt/
STEP 4b
Cut the holes for the craft eyes in the felt EYE MASK and the HEAD PIECES using the pattern markings to guide you.
STEP 5a
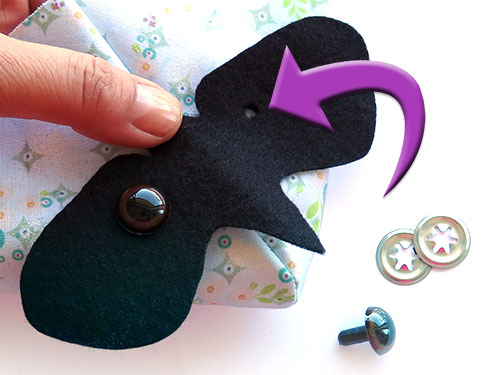
Push the shaft of the craft eyes through the felt EYE MASK and then the HEAD PIECES from the ‘outside’ (right side of the fabric).
STEP 5b
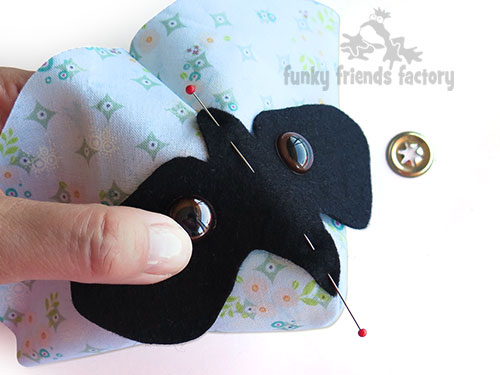
Pin the EYE MASK to make sure it’s nice and straight… (Remove the pins after you put the washers on!) 😀
STEP 5c
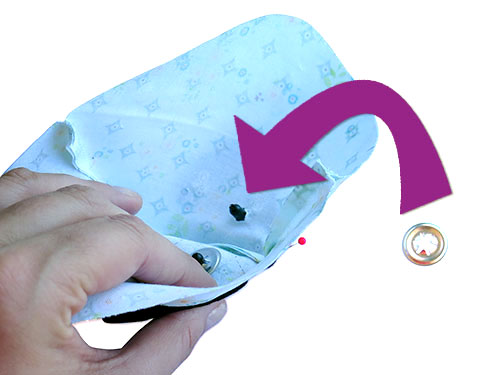
…before you push the washers onto the back of the craft eyes (inside the HEAD).
*** Note: Do not glue or sew the EYE MASK to the HEAD now. Do it AFTER the HEAD is stuffed.***
NECK & BODY
STEP 6
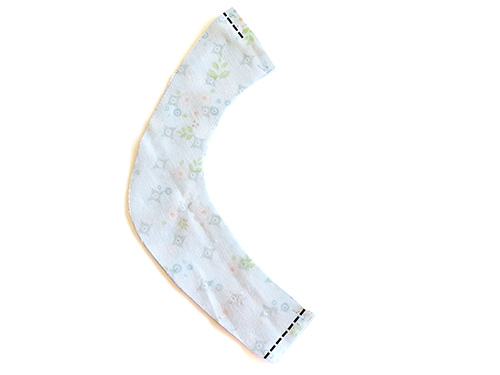
Sew the NECK PIECES together at the top from A – C. Stop at C . (Don’t sew them together between C and W.)
Sew the NECK PIECES together at the bottom from B – D.
STEP 7a
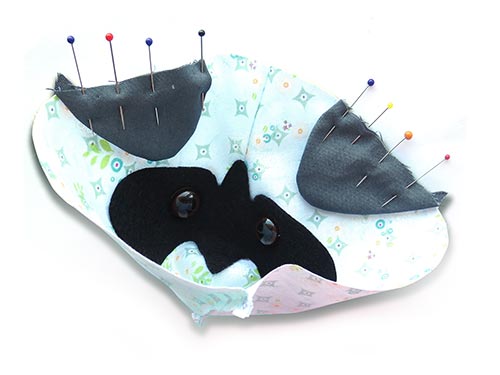
Pin the EARS to the HEAD PIECES using the pattern markings to guide you.
STEP 7b
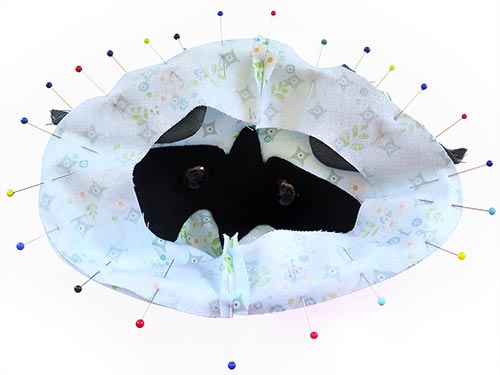
Pin the NECK PIECES to the HEAD PIECES, matching point A and B, with the EARS in between.Sew the NECK PIECES to the HEAD PIECES, sewing right around the head seam, from B – A – B.
STEP 8a
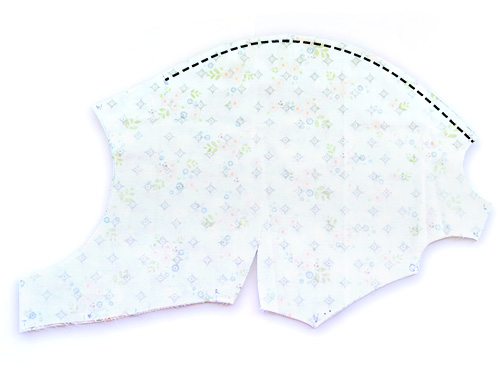
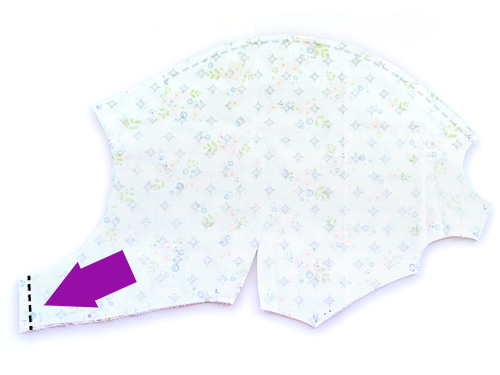
Sew the BODY PIECES together from E – F along the top, leaving the PIECES open between W and E. (Don’t sew them together between W and E.)
STEP 8b
Sew the BODY PIECES together from D – T at the front.
STEP 9
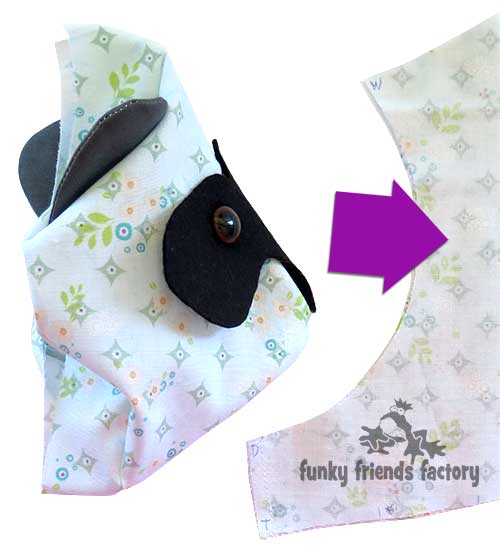
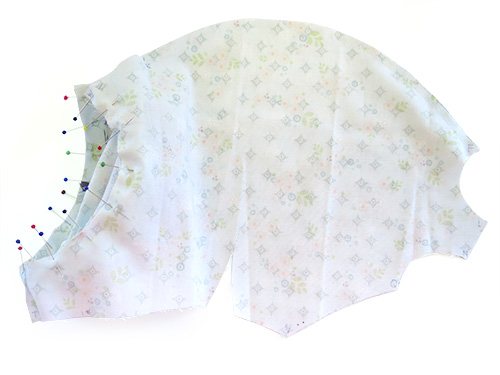
Turn the head right sides out… so you can pin and sew the NECK PIECES to the BODY PIECES, along the neck seam, from W – D – W.
… so you can pin and sew the NECK PIECES to the BODY PIECES, along the neck seam, from W – D – W.
STEP 10
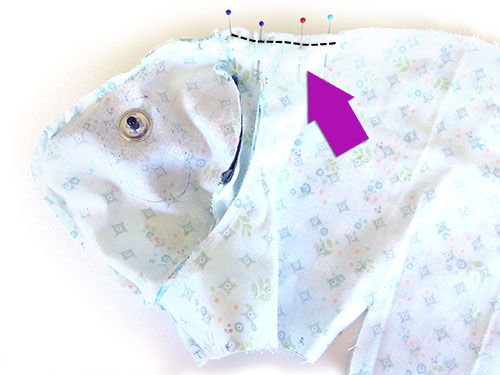
Pull the head back out of the body and pin the NECK PIECES together between C and W AND pin the BODY PIECES together between W and E. Sew the racoon closed at the top. Sew from C – W – E.
STEP 11
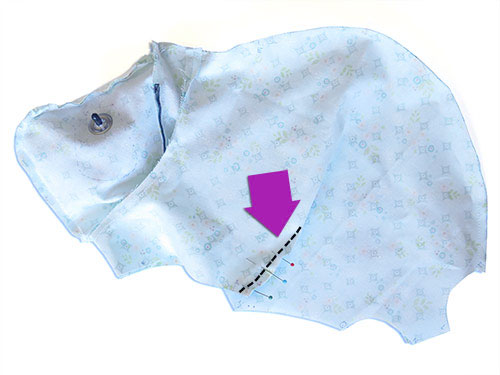
Fold the BODY PIECES with the fabric right sides together and sew the darts closed on the BODY PIECES.
TAIL
STEP 12
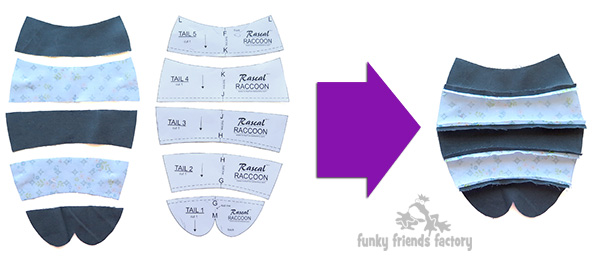
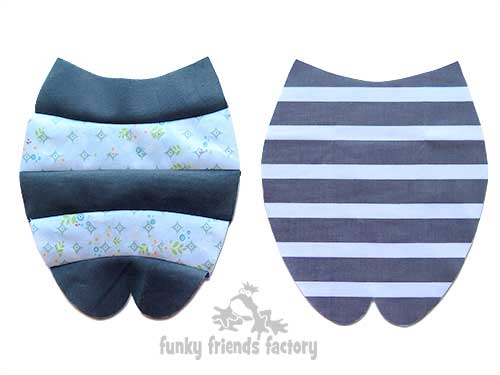
Lay out the TAIL PIECES and sew them together to matching point G, H,. J and K to make the STRIPED tail.
TIP: I have included a COMBINED TAIL PIECE in the pattern. You can use this to make the TAIL with striped fabric.
STEP 13
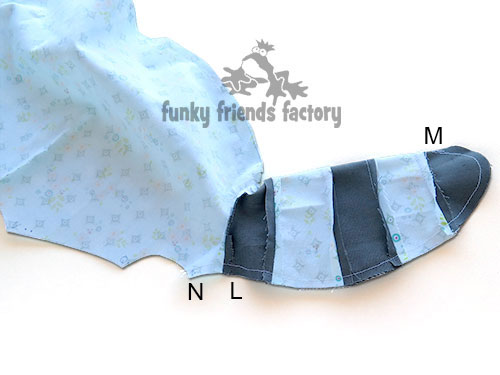
Sew the TAIL 5 PIECE to the BODY PIECES from L – F – L.
STEP 14
Fold the TAIL PIECES on the fold line and pin them closed from M to L. ALSO pin the BODY PIECES together from L – N. Sew the TAIL and BODY PIECES closed from M – L and L – N.
TUMMY & CHEST
STEP 15
Sew the TUMMY PIECES together from P – N, leaving the gap open for turning.
STEP 16
Sew the TUMMY PIECES to the CHEST PIECE from R – P – R.
LEGS
STEP 17
Sew the OUTER LEG to the BODY PIECES matching the 2 dots pattern markings.
TIP: The INNER and OUTER LEGS both have V and Q at the top – so please use the dot markings to make sure you sew the LEGS to the right PIECES
STEP 18
Sew the INNER LEG to the TUMMY PIECES matching the 3 dots markings.
STEP 19
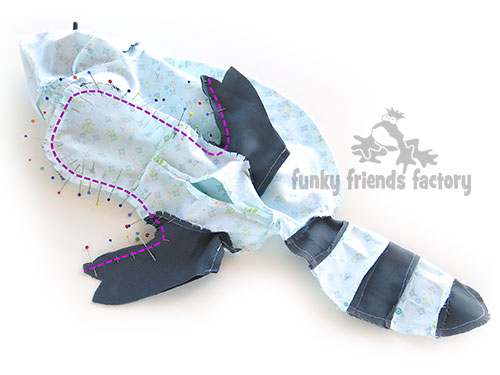
Pin the INNER LEG & TUMMY PIECES to the OUTER LEG & BODY PIECES and sew them together at the back (under the tail) from S – Q – N – Q – S.
TIP: Use lots of pins and ease the ‘opposite curves’ together between N and Q. Don’t worry if you get some wrinkles here.
ARMS
STEP 20
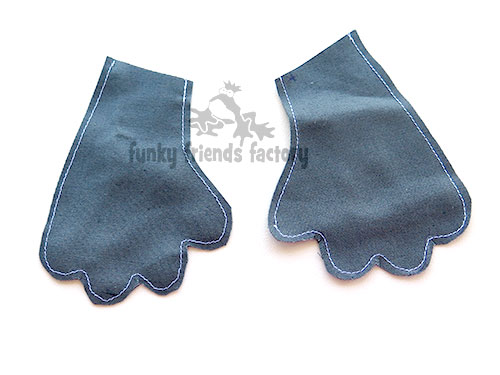
Place the fabric for the ARMS right sides together and trace the ARMS onto the fabric. Sew the ARMS together on the sewing lines. Cut out the ARMS with a 5mm/¼inch seam allowance (outside the sewing line).
STEP 21
Clip the seams well especially around the very curved parts around the ‘fingers’, the turn the ARMS right sides out.
STEP 22
Stuff the ARMS with toy stuffing, leaving the top 12mm/half inch empty. Pin the ARMS to the BODY PIECES, matching point star pattern marking, so the ‘thumb’ is towards the middle.
TIP: Sew the ARMS to the BODY PIECES with a 3mm (⅛ inch) seam allowance to hold them in place. This adds strength to the seam holding the ARMS in place. If the toy will be for a young child you can also zig-zag across the top of the ARMS!
STEP 23
Push the ARMS ‘inside’ the BODY PIECES and pin the CHEST PIECE to the BODY PIECES matching point T at the front, with the arms in between.
ALSO pin the INNER and OUTER LEGS together at the front between U – V and pin the TUMMY to the BODY PIECES from V – R.
Sew the CHEST PIECE to the BODY PIECES AND sew the LEGS and BODY closed by sewing from U – V – R – T – R – V on the other side.
TIP: I find it much easier to sew this seam with the CHEST and TUMMY PIECES facing down. Use lots of pins to stop the pieces slipping as you sew.
FOOT PADS
STEP 24
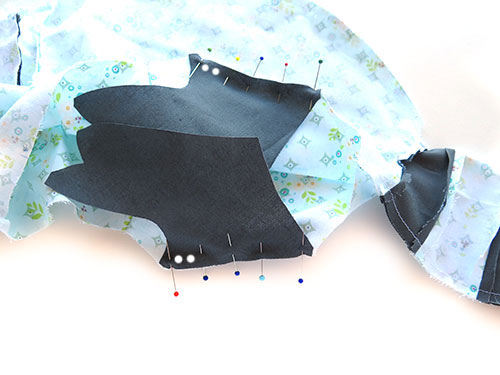
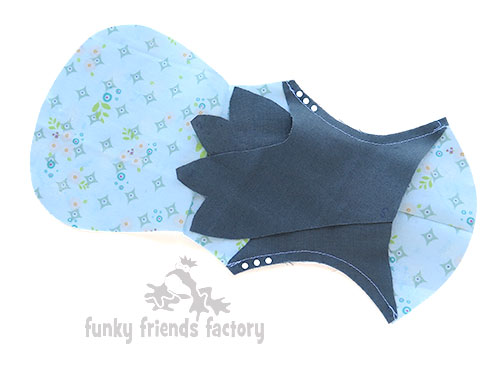
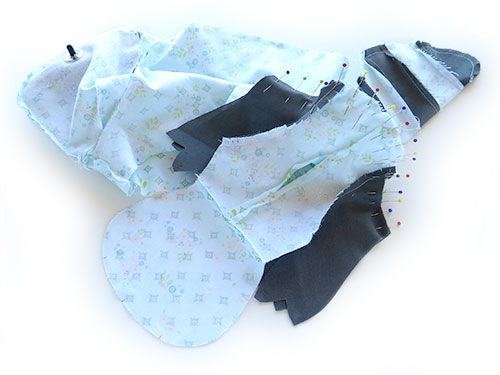
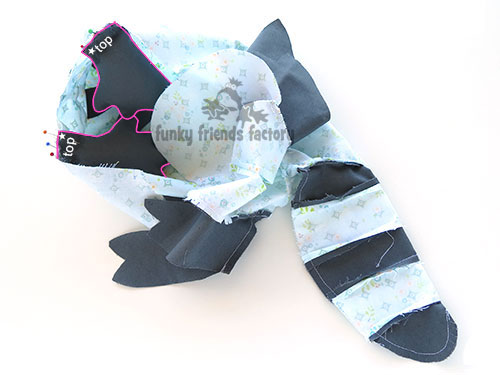
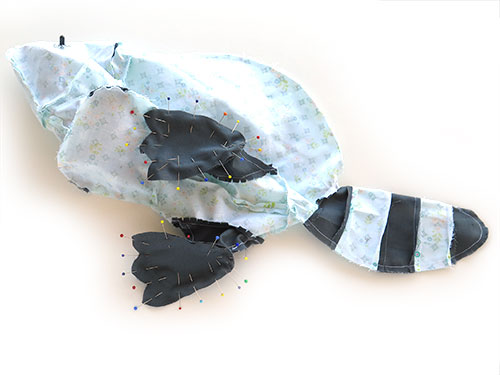
Pin the FOOT PADS to the LEG PIECES matching point U and S. Sew the FOOT PADS to the LEG PIECES.Clip the seams well between the ‘toes’ and trim the fabric at the tips of the toes.
TIP: Use lots of pins to stop the ‘toes’ slipping as you sew.
ASSEMBLY
STEP 25
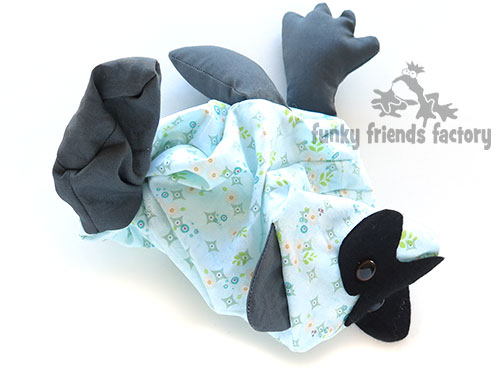
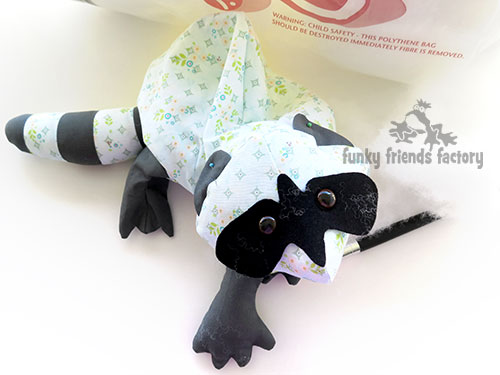
Turn the raccoon through the hole on the TUMMY PIECES.
STEP 26
Stuff the HEAD and TAIL firmly stuffed then stuff the legs and finish with the body.
TIP: Take your time, and stuff really carefully so you don’t miss any spots. Stuff the LEGS firmly so the racoon can stand up on his LEGS.
STEP 27
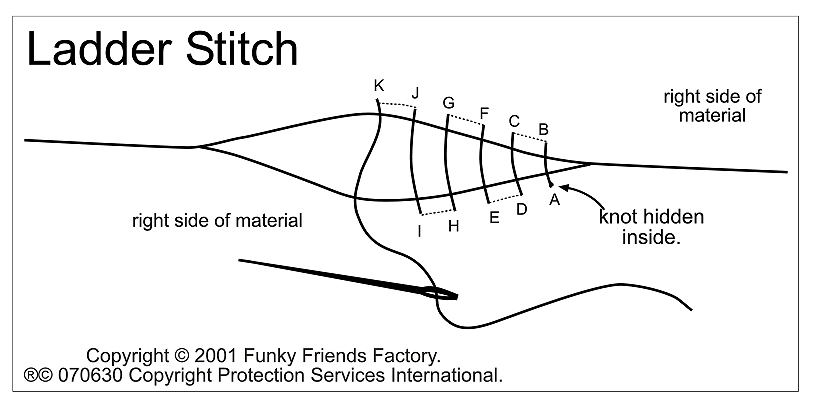
Use a ladder stitch to close the opening on the TUMMY PIECES.
EYE MASK, MOUTH & NOSE
STEP 28
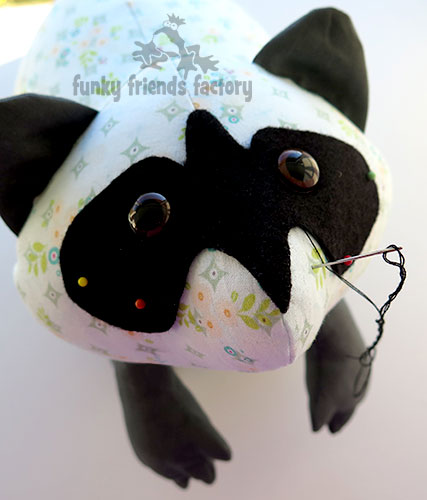
Glue or sew the EYE MASK in place with embroidery thread and a blanket stitch.
TIP: Hide the starting and finishing knots under the felt pieces!
STEP 29
Using the pattern markings as a guide sew the mouth with black embroidery thread then sew a long straight stitch to join the mouth to the nose position. Cut the NOSE from brown felt and glue or sew it in position so it covers a little bit of the EYE MASK felt, in the centre.
Your Rascal is ready to LOVE!

Come join the fun on Facebook!
When you’ve made your own toy raccoon – come post a photo of your NEW Funky Friend for me to see on my Funky Friends Factory Facebook page. *
* You could WIN a FREE PATTERN in the MAKER OF THE MONTH Pattern Giveaway!
I can’t wait to see the Funky Friends you sew!
bye for now,
Pauline


