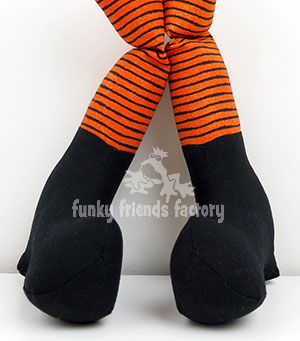
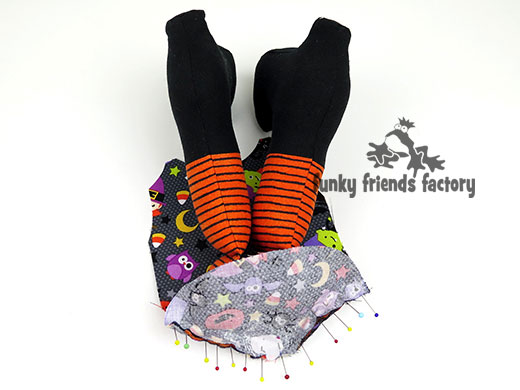
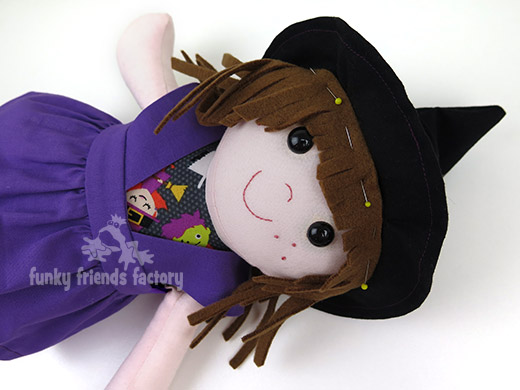
I had so much fun designing my Witch sewing pattern, choosing the Halloween fabrics for her and sewing her together.
I made this photo tutorial so you can see how to sew my Sewing Pattern ~> scroll down for step-by-step photos!
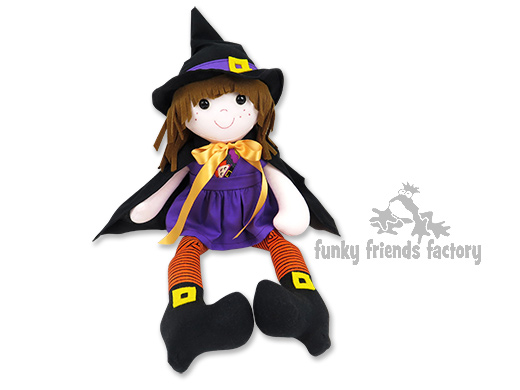
*** PLEASE NOTE – this is ONLY a PHOTO TUTORIAL ***
The FULL PATTERN IS NOT included here. It is NOT A FREE PATTERN.I have made this photo tutorial so people who have purchased the pattern can SEE how to sew this witch doll sewing pattern! (I wanted to explain this so you are not disappointed if you have found this page via a search engine and not from the link in my Whitney Witch sewing pattern!)
Right, let’s sew a cute
Halloween witch!
WE’LL START WITH THE FACE…
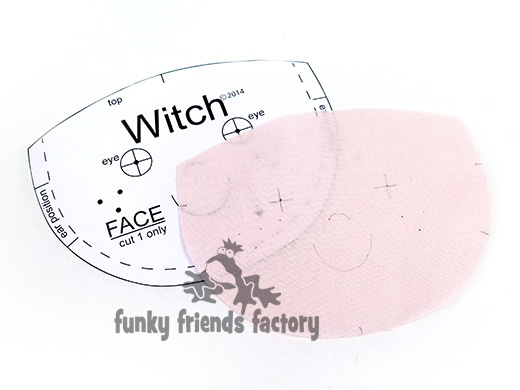
STEP 1
Trace the pattern markings for the witch’s FACE PIECE onto the *** RIGHT*** side of the fabric!
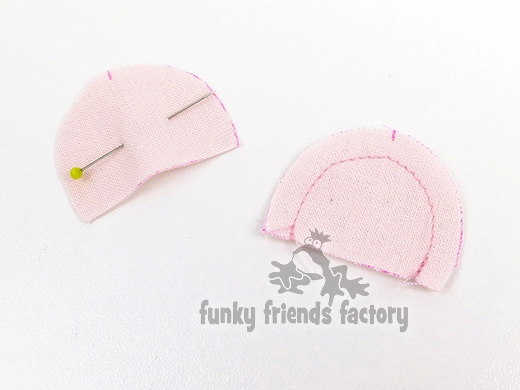
STEP 2
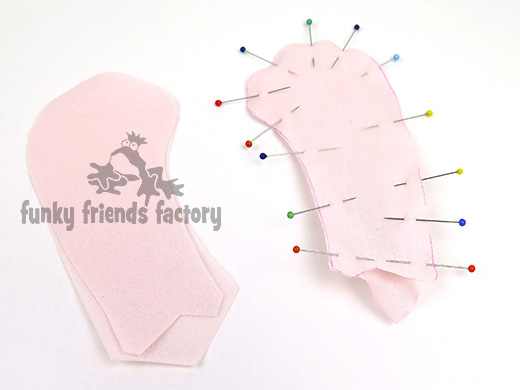
Sew the EAR PIECES together in pairs.
STEP 3
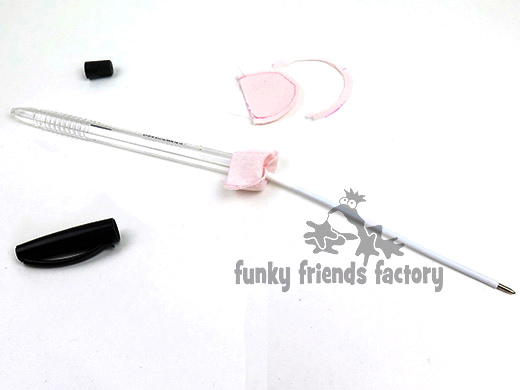
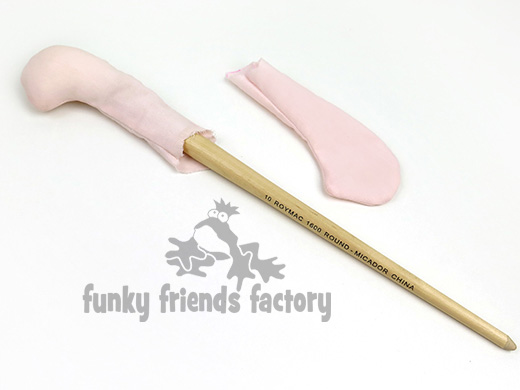
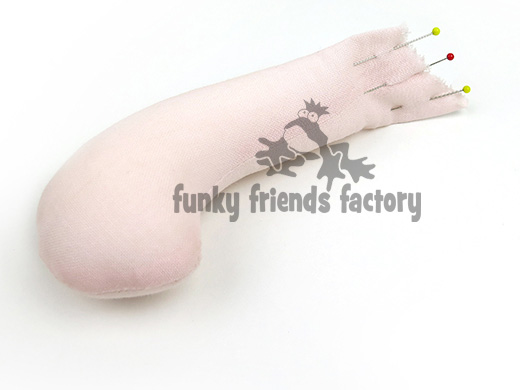
Trim the seam allowance to 3mm (1/8 inch) and turn the EARS right sides out.
TIP: This is my SPECIAL TINY PIECES TURNING TRICK! Use a ballpoint pen! Take it apart, push the hollow pen tube inside the EAR PIECES then push the fabric ‘into’ the tube with the inner bit of the pen. (If the pen is covered with ink, use a tooth pick or chopstick instead). Push the EAR PIECES right sides out, over the inner bit of the pen – it’s SO EASY! 🙂
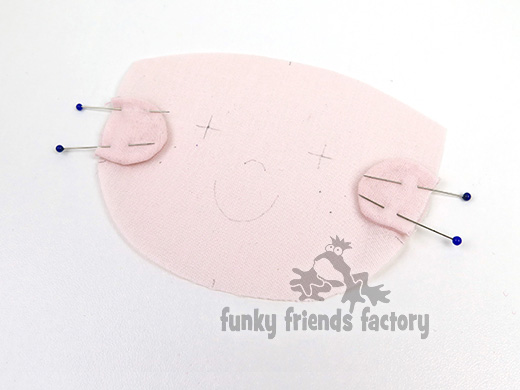
STEP 4
Pin the EARS to the FACE PIECE.
STEP 5
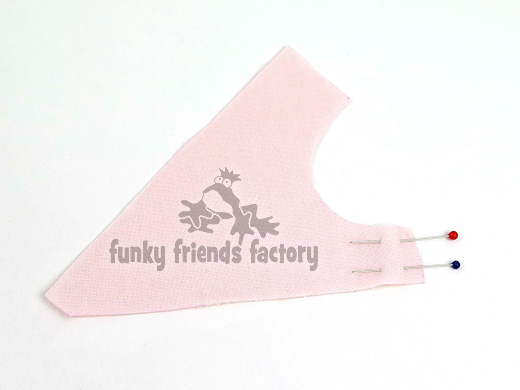
Sew the NECK PIECES together from A – B.
STEP 6
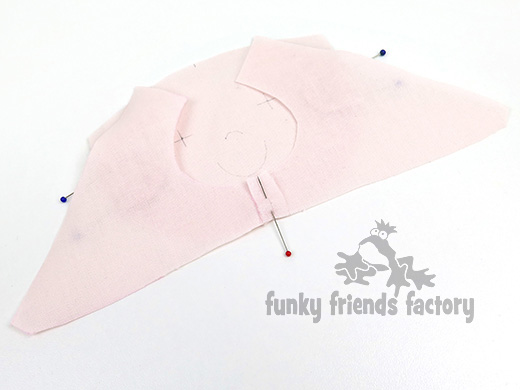
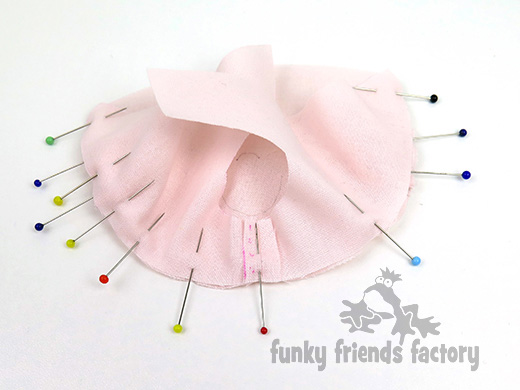
Pin the NECK PIECES to the FACE PIECE matching point A.
TIP: I like to do one side at a time. Use lots of pins – this is a very important seam as it’s on the doll’s face so you want it to be neat,smooth and even with no wrinkles of course!
STEP 7
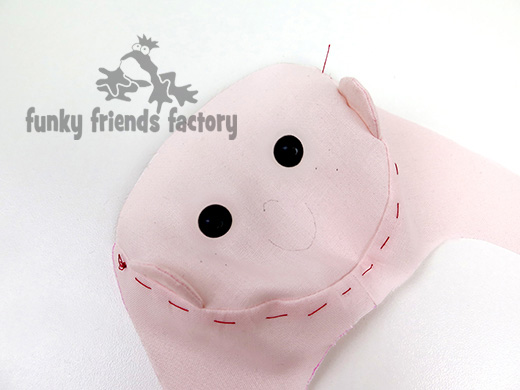
Baste (tack) the seam allowance to the NECK PIECES. You can leave this step out if you like BUT I like to do this because it keeps this seam allowance flat and all facing the same direction when you stuff the doll’s head which gives the face a nice smooth finish.
*** IF you are using craft eyes insert them now.
Next we sew some witches boots:
STEP 8
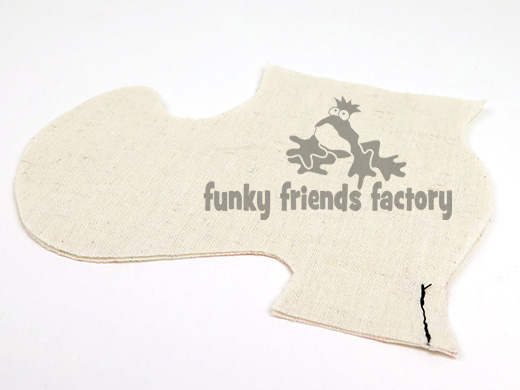
* FOR THE TUTORIAL I will be sewing the witch’s BOOTS in cream fabric
so you can SEE where I am sewing – >
BUT your boots must be sewn in BLACK!!!!
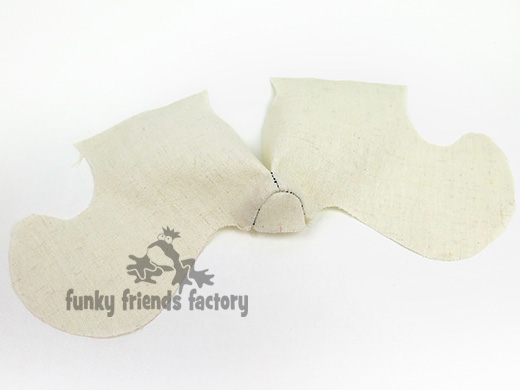
Sew the BOOT PIECES together in pairs from C – D.
TIP: I like to finger-press all the seams of the witches boots as I go along because this makes sure you get a nice neat shape!
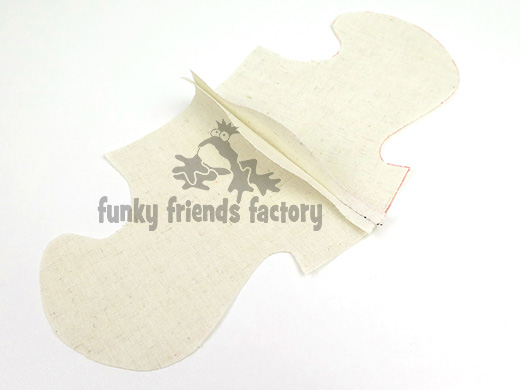
STEP 9a
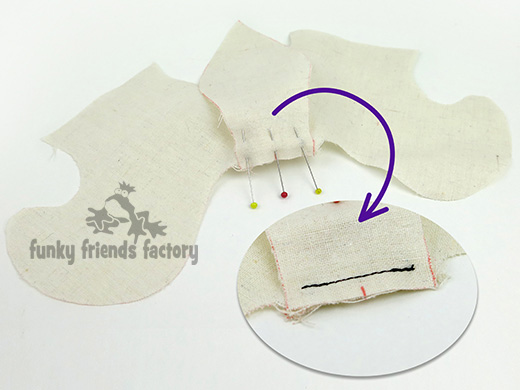
Pin the HEEL PIECE to the BOOT PIECES matching point D at the back.
STEP 9b
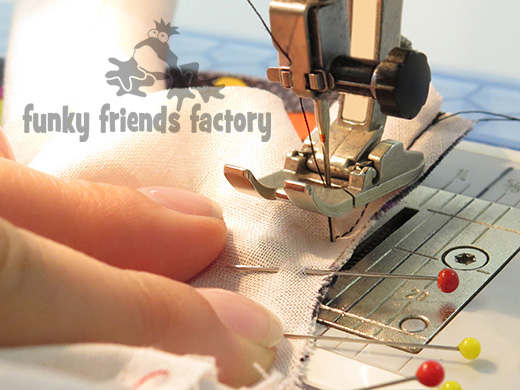
Sew these pieces together with the HEEL PIECE down so you can watch out for any wrinkles and smooth them out as you sew this seam.
STEP 9c
Smooth the seams by finger-pressing them….
LOOKIN’ GOOD! 🙂
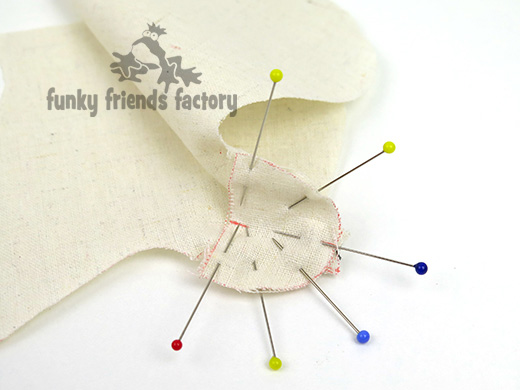
STEP 10
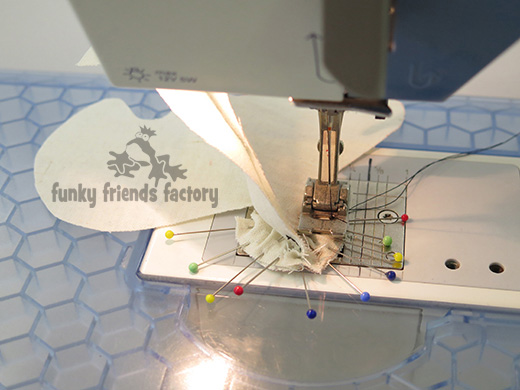
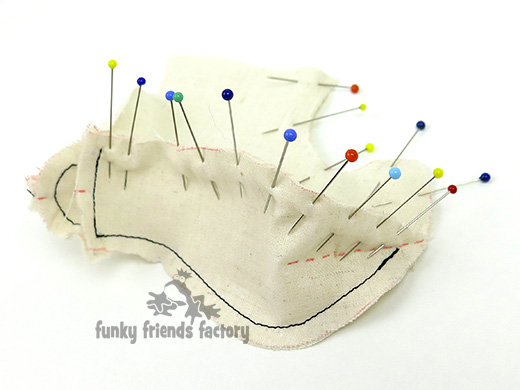
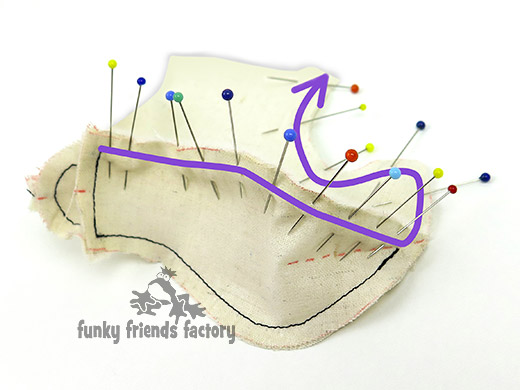
Pin and sew the SOLE PIECE to the HEEL PIECE, matching point E. Do NOT sew right to the edges of the fabric of the SOLE PIECE.
STEP 11
Sew the SOLE PIECE to the BOOT PIECE on one side first. Stop at the dot pattern marking, again do NOT sew to the edge of the fabric of the SOLE PIECE.
STEP 12
Pin and sew the SOLE PIECE to the BOOT PIECE on the other side and continue sewing the BOOT PIECES together at the front up to point F.
STEP 13
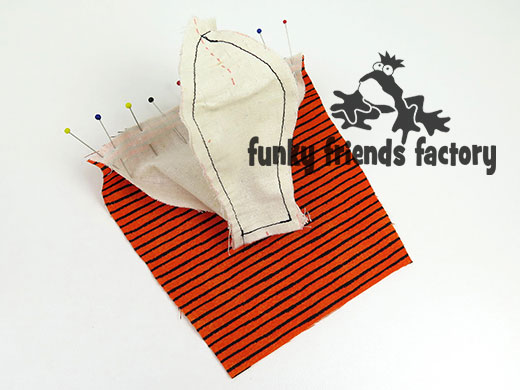
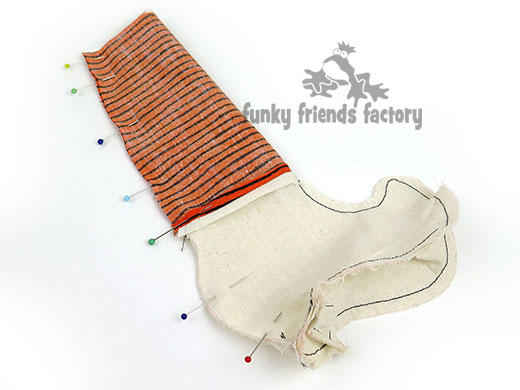
Open up the BOOT PIECES and pin them to the bottom of the LEG PIECE, matching point F.
STEP 14
Fold, pin and sew the witch’s BOOT and LEG together at the back, leaving the top of the LEG open for stuffing.
STEP 15
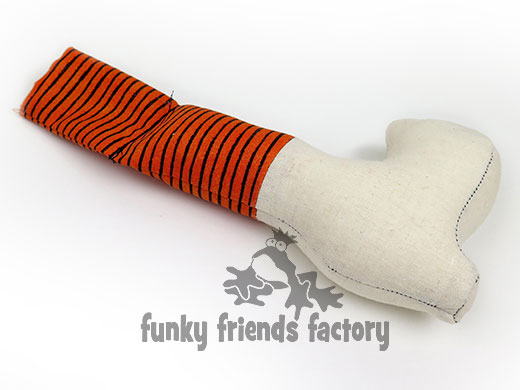
Turn the boot and leg right sides out and stuff the boot very firmly with toy stuffing. Fill the legs up to about 1½ cm (½ inch) below the ‘knee-sewing-line’. To make the ‘knees’ you need to pin the LEG PIECES flat, with the seam at the back, and then sew from the back to the front of the legs, a few times, along the ‘knee-sewing-line’.
TIP: The knee must look ‘very skinny’ (thin) from the front… or you have pinned it wrong!
STEP 16
Fill the top part of the legs with toy stuffing to about 1½ cm (½ inch) from the top. Pin the legs closed at the top so that the seam is in the centre at back. Repeat for the other leg.
STEP 17
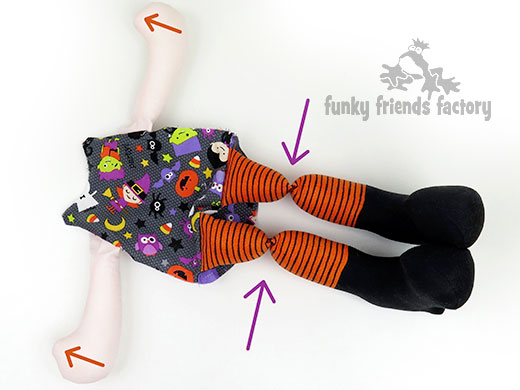
Pin the legs to the FRONT PIECE using the pattern markings to guide you. Sew the FRONT PIECE to the BASE PIECE with the LEGS pinned in between and matching point G.
Now for some WITCH arms.
STEP 18a
Pin the INNER ARM PIECES and OUTER ARM PIECES together in pairs. (NOTE: The top of the OUTER ARM PIECE is wider than the top of the INNER ARM PIECE – it is meant to be like this!)
STEP 18b
Stuff the ARMS up to about 1½ cm (½ inch) from the top.
STEP 18c
Fold and pin the ARMS closed at the top so that the seam is in the centre.
STEP 19
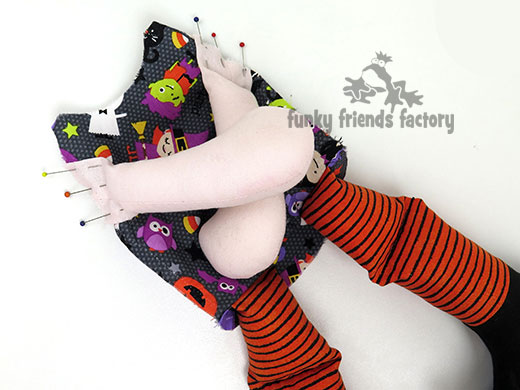
Pin the witch’s ARMS to the FRONT PIECE.
CHECK POINT:
Check that the ARMS and LEGS are positioned correctly. The witch’s thumbs point up towards the head and the knees are very skinny when you look at the doll from the front. (Oh, AND also check that the BOOTS are the right way too – heels to the BACK!!!)
STEP 20a
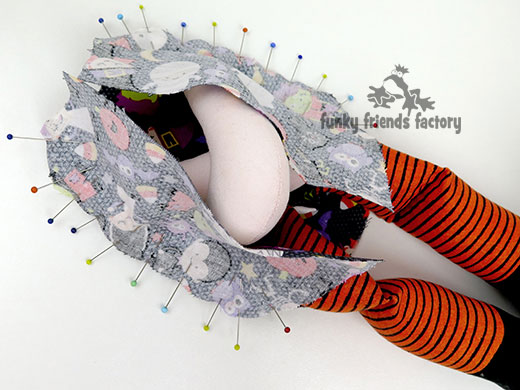
Pin and sew the witch’s BACK PIECES to the FRONT PIECE, along the side seam, with the ARMS in between. Stop at L (see the pattern markings!)
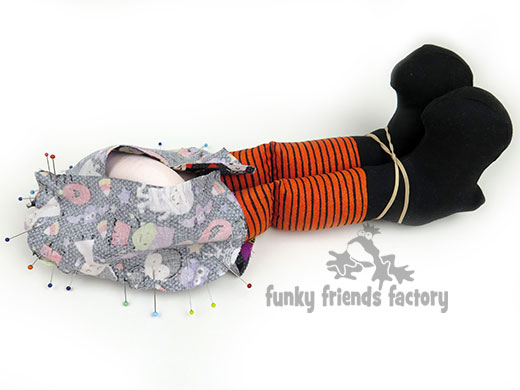
STEP 20b
Pin the BACK PIECES together at the top and use an elastic band to hold the BOOTS together. This will make it much easier to sew the side seams!
Now for the head.
STEP 21
Pin the NECK PIECES to the FRONT & BACK PIECES along the neck seam.
TIP: This is a very important seam, so sew slowly, lifting your sewing machine foot to smooth out any wrinkles!
STEP 22
Pin and sew the back of the witch’s NECK and BACK PIECES. Sew from H – K – J (on the BACK PIECES).
Let’s sew a cool witch’s hat!
STEP 23a
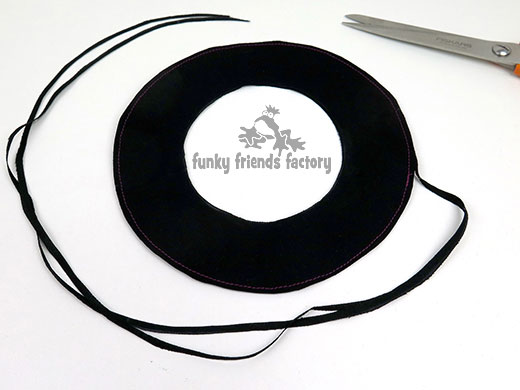
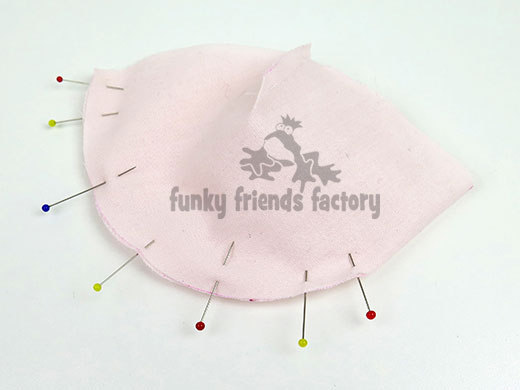
Pin and sew the BRIM PIECES together around the outer edge. Trim this seam allowance to 3mm (1/8 inch) and turn the BRIM right sides out.
STEP 23b
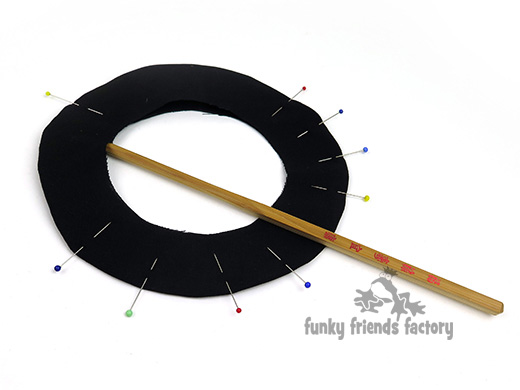
Use a chopstick or the end of a paintbrush to make sure the seam is turned nicely then pin the outer edge of the BRIM PIECES flat and sew a line of top-stitching 5mm (half an inch) in from the outer edge. This keeps them flat and adds a nice decorative touch if you sew it in a purple thread!
STEP 23c
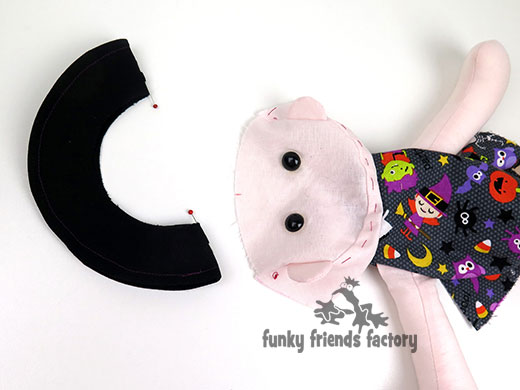
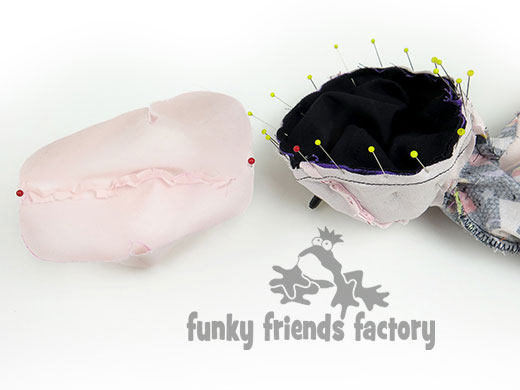
Fold the BRIM PIECES in half and use 2 pins to mark the centre front and centre back of the inner edge. Turn the witch’s head right sides out again. (Her eyes should be looking out at you!!!)
STEP 23d
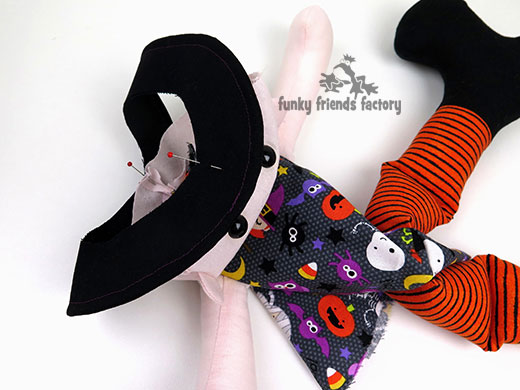
Pin the BRIM to the FACE & NECK PIECES at the back and the front. Match one of the pins with the middle of the FACE PIECE and the other with the seam of the NECK PIECES at the back of the head (See the 2 red pins!)
STEP 23e
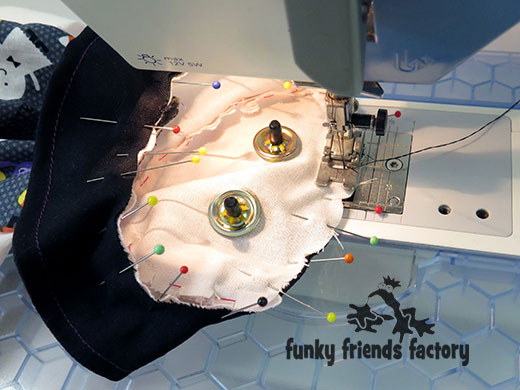
Pin and sew the the BRIM to the FACE & NECK PIECES. Sew this seam with the FACE & NECK PIECES facing UP so you can
watch out for wrinkles!
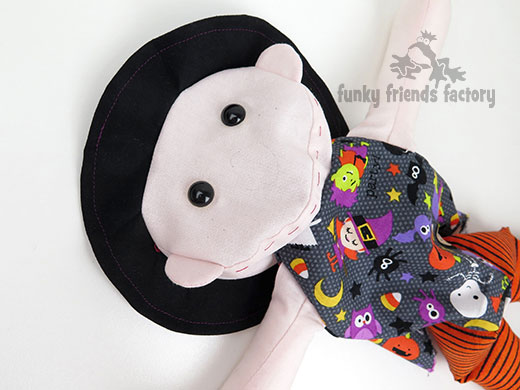
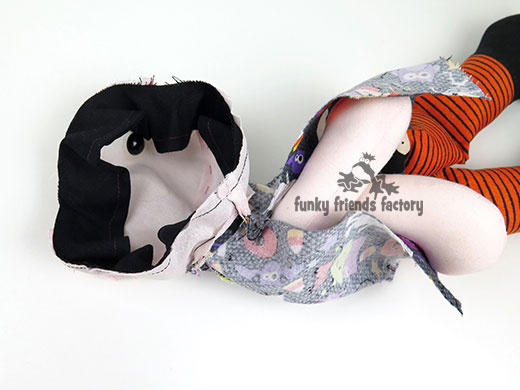
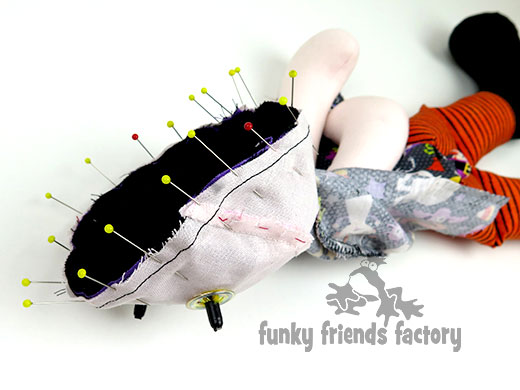
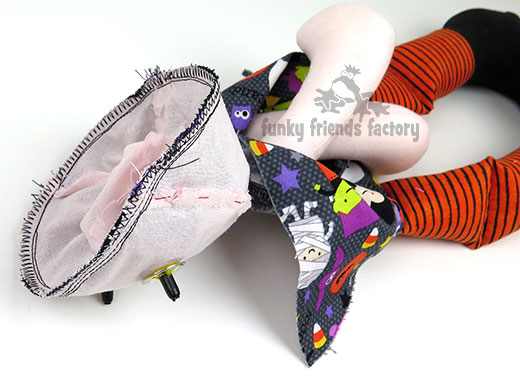
CHECK POINT:
Check that the BRIM is sewn on correctly BEFORE you go on – your little witch should look like this – >
STEP 23f
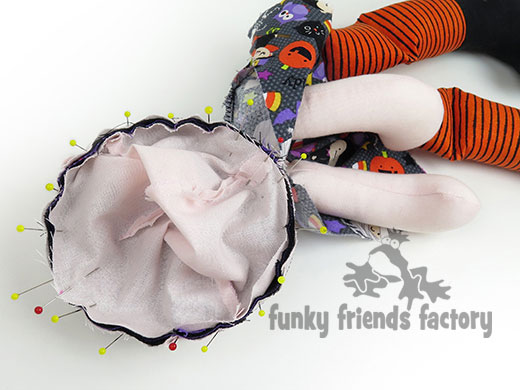
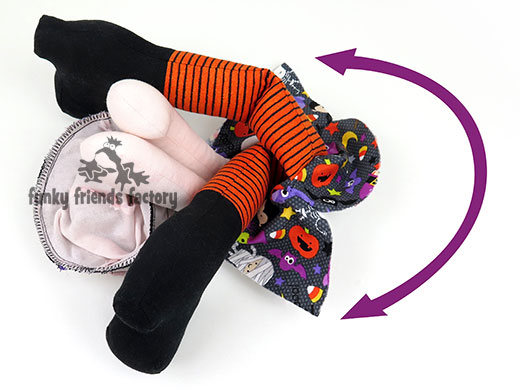
Turn head right side in (her eyes will be on the inside now) so that the HAT BRIM is inside the head. You might think it’s not possible to fit the BRIM inside the head but it’s actually quite easy – just push/stuff it in!
STEP 24a
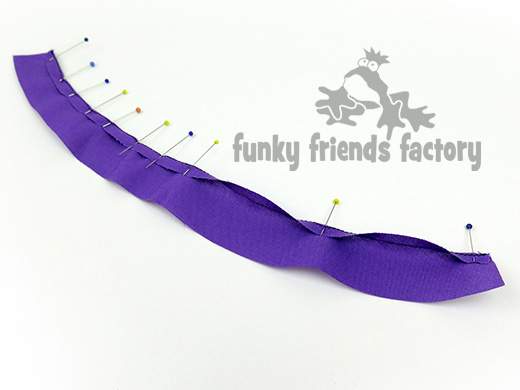
Sew a line of stitching on the top edge of the HAT BAND.
STEP 24b
Using this line of stitching as a guide, fold the top edge of the HAT BAND over to form a hem. Use LOTS of pins to hold the hem in place.
STEP 24c
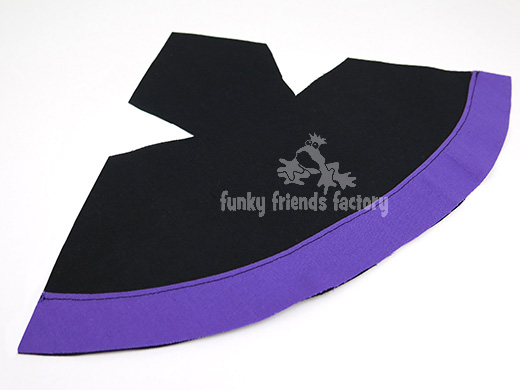
Pin the HAT BAND on top of the HAT PIECE, aligning the bottom edges. Top-stitch the HAT BAND in place, 2mm down from the folded edge.
STEP 24d
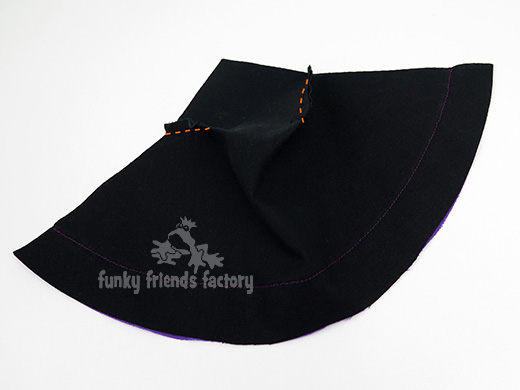
Sew the darts in the HAT PIECE. (I have added some bright orange dashed lines to show you where to stitch.)
STEP 24e
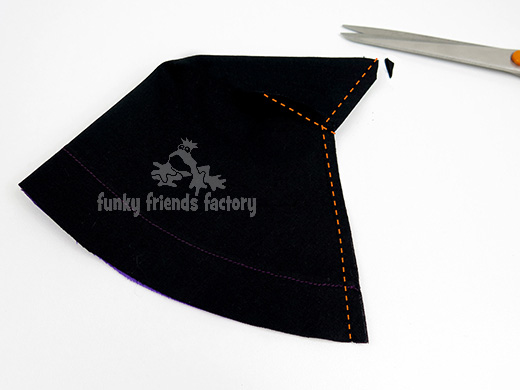
Sew the witch’s HAT PIECE together at the side seam. (Again, I have added some bright orange dashed lines to show you where to stitch.) Trim the seam allowance at the very tip of the witch’s HAT.
STEP 25a
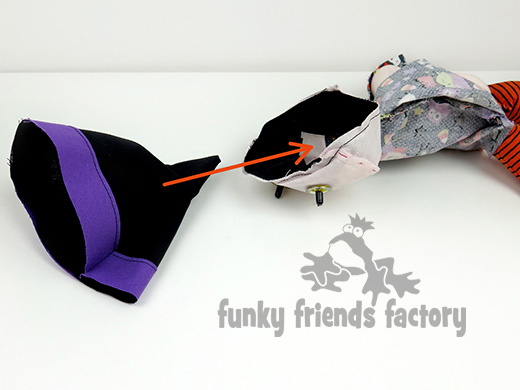
Turn the HAT right sides out and push the hat (tip-first!) inside the witch’s head.
STEP 25b
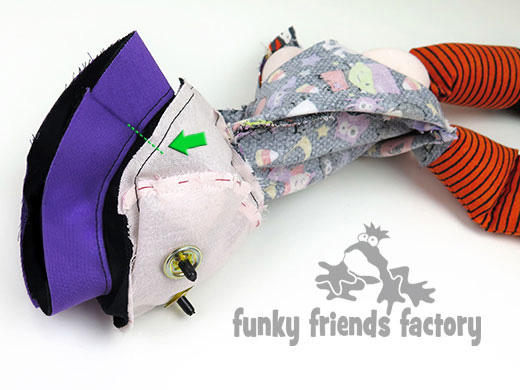
Line up the side seam of the HAT & HAT BAND with the pattern marking on one of the NECK PIECES. (This can be on either side.)
TIP: If you haven’t marked this, you can measure and place the side seam of the HAT about 4cm (1½ inches) back from the FACE/NECK seam.
STEP 25c
Use LOTS of pins to pin the HAT in place, there are a lot of layers and you don’t want them to slip.
DON’T SEW this seam YET,
there’s more to ADD!
Let’s get the HEAD on this cute little witch!
STEP 26a
Fold, pin and sew the darts on the HEAD PIECE. Fold, pin and sew the HEAD PIECE together along the back seam. (Sew from the top of the head to H at the back.)
STEP 26b
Pin the HEAD PIECE to the HAT PIECE/FACE & NECK PIECES.
STEP 26c
Match point H at the back and point M at the front as you pin the HEAD PIECE in place.
TIP: Re-pin the pins, that are holding the HAT in place, as well as adding new pins in between! You want to make sure you secure ALL the layers of fabric – it would be a REAL PAIN to unpick and sew this seam again if they did!
STEP 27
I sew around the head twice then sew a zig-zag over the seam allowance to secure all the layers of fabric.
*** PLEASE use pink thread, NOT BLACK, like I did! The black thread showed through the fabric of the FACE PIECE and I wasn’t very happy with that!!!! 🙁
Right, let’s sew her up!
STEP 28a
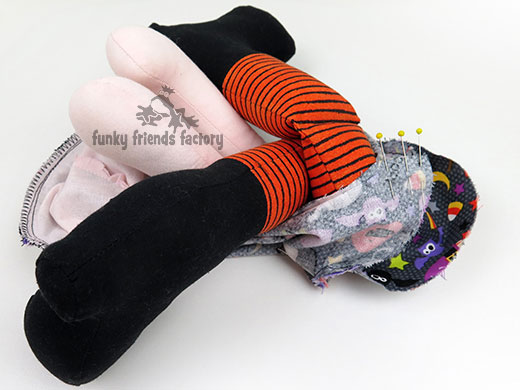
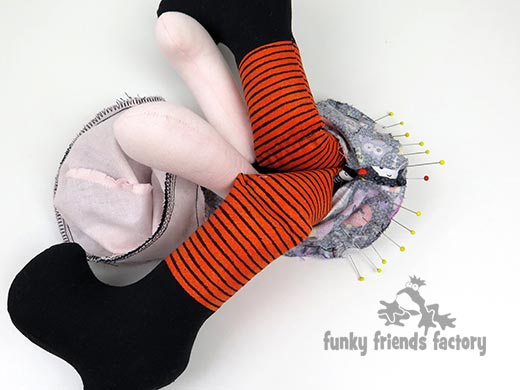
Push the arms and legs up towards the head so that they are out of your way so you can pin the BACK PIECES together at the bottom.
STEP 28b
Sew the BACK PIECES together from N – O. (The arms and legs are left sticking out of the turning/stuffing gap!)
STEP 28c
Pin and sew the BACK PIECES to the BASE PIECE matching point O.
STEP 29
Turn the witch right sides out through the gap left in the BACK PIECES. Stuff the witch’s head very firmly with toy stuffing then fill the body.
Sew the stuffing gap closed with a ladder stitch.
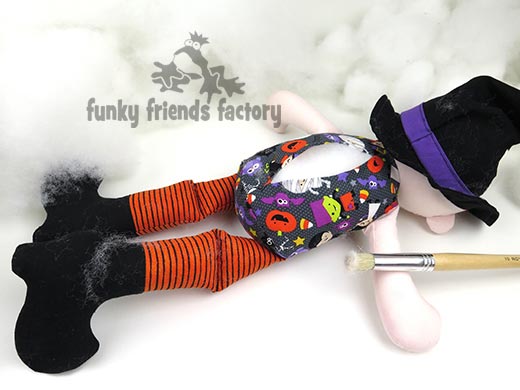
TIP: I like to use a children’s paint brush to push the toy stuffing into the doll. It is great for pushing the stuffing up into the head and for compacting the stuffing to remove any gaps, lumps or bumps!
Your witch needs a Pinafore:
STEP 30a
Cut a piece of purple fabric for the pinafore SKIRT PIECE 10cm x 50cm wide (4 x 20inches wide). Zig-zag right around this piece then fold and sew a 12mm (half inch) hem along the bottom and both sides of the SKIRT PIECE.
STEP 30b
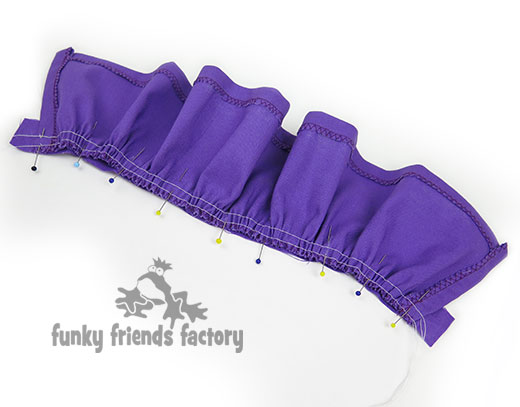
Sew 2 rows of gathering stitches along the top of the SKIRT PIECE. (I use the longest stitch length on my sewing machine for this.) Pull on the threads to gather the skirt so that it is about 25mm (1 inch) shorter than the BAND PIECE.
STEP 30c
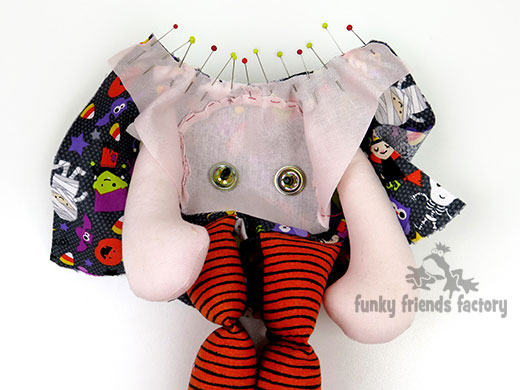
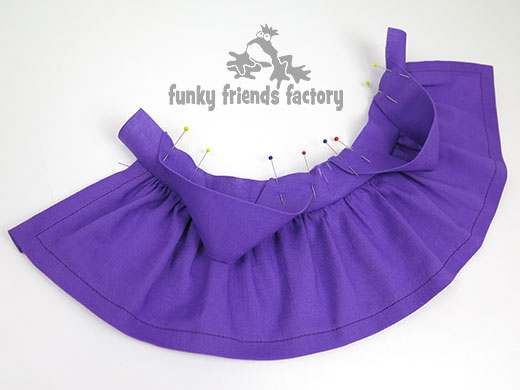
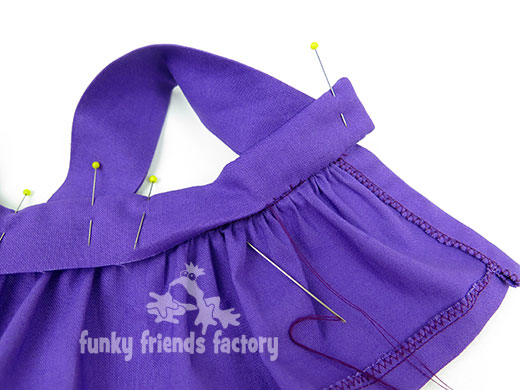
Pin the SKIRT PIECE to one of the BAND PIECES. Leave about 12mm (a half inch) free of gathers on each end. Adjust the gathers so they are spread out evenly along the BAND PIECE.
STEP 30d
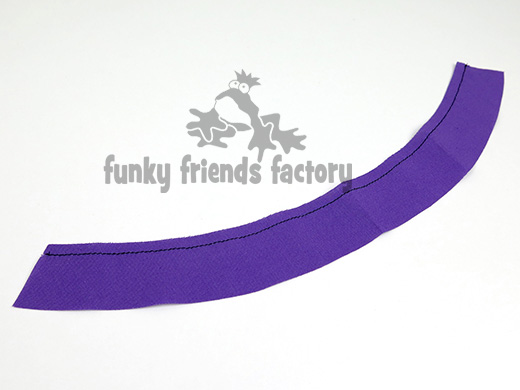
Fold the STRAPS PIECES in half along the length and sew the sides together. Turn the STRAPS PIECE right sides out and press them flat.
STEP 30e
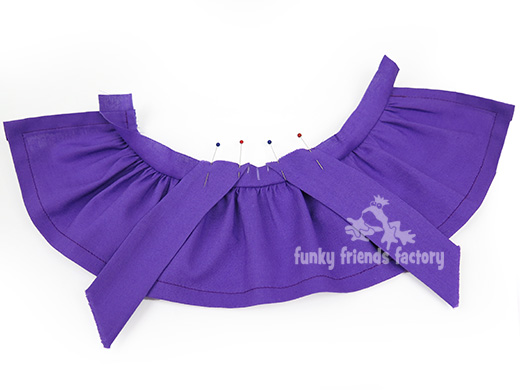
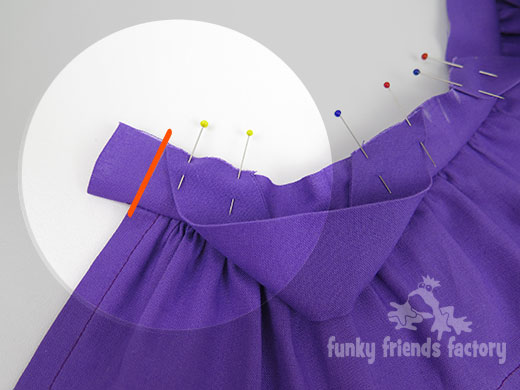
Pin the STRAP PIECES to the SKIRT BAND. Mark the middle of the BAND PIECE and pin the pointy bit of the STRAPS about 12mm (1½ inch) out from this so they are about 25mm (1 inch ) apart.
STEP 30f
Pin the other side of the STRAP PIECES to the BAND PIECE, using the photo to guide you.
STEP 30g
Pin the pointy bit of the STRAP PIECES 12mm (half inch) in from the end of the BAND PIECE so that it is in line with the edge of the SKIRT PIECE.
STEP 30h
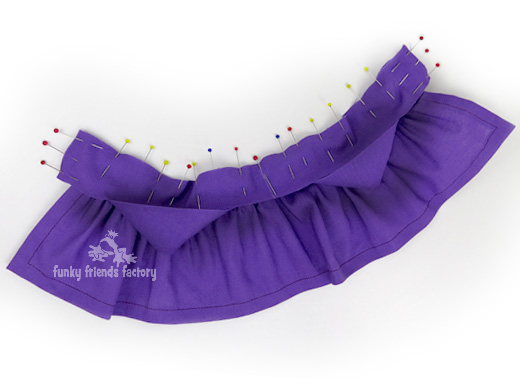
Pin the 2nd BAND PIECE on top of the first, right sides together, with the STRAPS in between. Sew the BAND PIECES together along the pinned edge and also along both sides.
STEP 30i
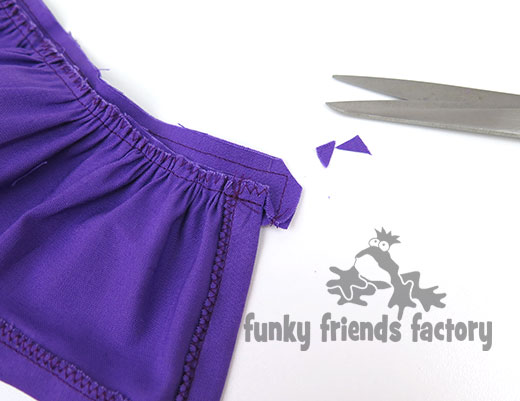
Trim the ‘corner’ of the seam allowance of the BAND PIECES so they will turn more easily and neatly.
STEP 30j
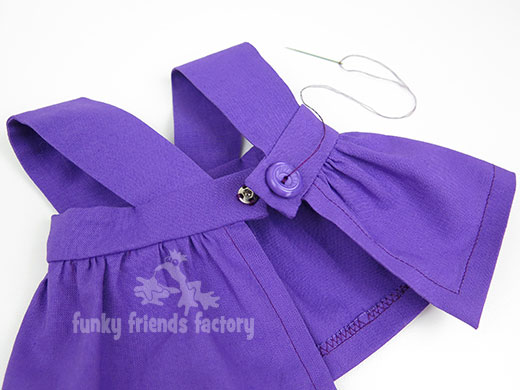
Turn under the bottom of the 2nd BAND PIECE and hand sew this down to finish off the BAND.
STEP 30k
Sew on a snap or some Velcro and add a decorative button to cover you stitching.
And she needs a witch’s CAPE too:
STEP 31
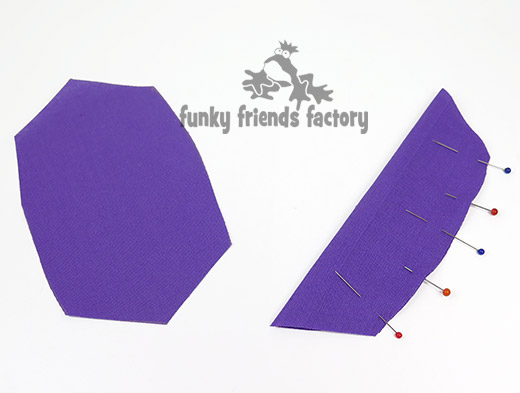
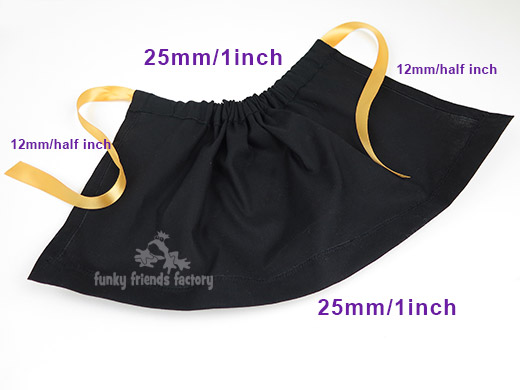
Cut a piece of black fabric 16cm x 28cm wide (6.5 inches x 11 inches wide) for the CAPE PIECE. Zig-zag around the edge of the CAPE. Fold and sew a 12mm (half inch) hem on both sides of the CAPE PIECE. Fold and sew a 25mm (1inch ) hem at the bottom of the CAPE PIECE. Do the same for the top of the CAPE PIECE and leave the hem open at the sides to form a casing.
Cut a piece of ribbon 75 cm (30inches) long and thread this through the casing. Use the ribbon to gather the fabric at the casing and then tie this around the witch’s neck. I used 15mm ribbon (just a bit wider than half inch ribbon)
Sewing the face:
STEP 32
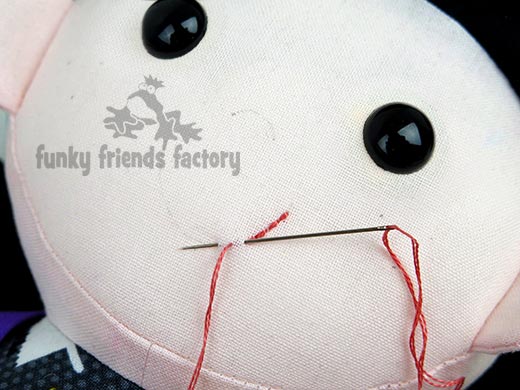
Sew the witch’s mouth and nose with a double strand of embroidery thread. Use a small, neat back stitch. Add some freckles if you like with some French knots.
*** IF you are embroidering the witch’s eyes do them now.
Felt pieces:
STEP 33
Cut the BUCKLE PIECES from felt. Place a black felt square onto one of the gold squares and sew them together. Glue or sew these in place, one on the HAT BAND and one on the outside of each boot.Cut the felt (Don’t forget to cut it on a fold, in one piece so there is no ‘join’ at the front of the face!)
Cut the HAIR PIECE from brown felt. (Don’t forget to cut it on a fold, in one piece so there is no ‘join’ at the front of the face!)
Pin the HAIR PIECE onto your doll. Use a sharp pair of scissors to cut the felt to make tassels for the hair. When you are happy with your witch’s haircut, glue the felt in place with fabric glue. I like to add some invisible stitches in brown to make sure the hair is extra secure!
Your witch is ready to LOVE!!!
I can’t wait to see
YOUR
witches!
Want to win a FREE TOY PATTERN?
Don’t forget to enter the MAKE MY MONDAY Pattern Giveaway!

When you’ve made your own witch softie – please come and paste a photo of your NEW Funky Friend on my Funky Friends Factory Facebook page for me to see!

Till next time,
Happy Sewing,
Pauline


