When I get a request to design a particular stuffed toy pattern design, I teasingly ask people please NOT to hold their breath as it can take me a while!
It’s true!!!!
Sometimes it CAN take ages, even YEARS to design a pattern – like it did with my Kitty Kate CAT Pattern Design! Over the years I kept trying to design a cat and every time I didn’t think it was cute enough. On the other extreme, it can sometimes be like a light-bulb moment – you mull over a pattern design for ages then suddenly it all falls into place and you feel like the pattern design happened OVERNIGHT like it did with my Artie Aardvark Pattern Design!
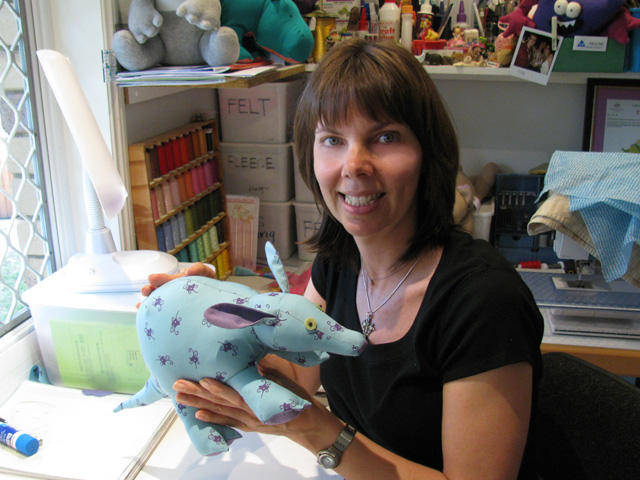
I wonder sometimes if I have upset a few people over the years when I didn’t just create the pattern they asked for right away! I guess most people just don’t know what goes into the process of designing a stuffed toy so I thought I’d write a blog post to give people a little peek into how I go about designing my Funky Friends. I took some photos while I was designing my latest stuffed toy pattern, Sandy the Seagull, so now you can see what I do in my Funky Friends Factory! 😀
OKAY, where to begin?
Researching the pattern concept.
This is one of my favourite parts of designing stuffed animals!
First of all I go to my favourite resource for softie inspiration ~> Google! I want to make my soft toys unique so it’s really important to me to know what’s already out there. So when I started to design my seagull softie I did a Google search for ‘seagull soft toy’. In a way, it was nice to see that there weren’t too many seagull toys available because it makes it easier to come up with something unique… Unfortunately it could also mean that a seagull is NOT very popular? Ooooh, decision time! Mmmmmmm, I love seagulls myself so I decided to bank on the fact that other people might too!
Searching on Google has other advantages too!
Naming my Funky Friends Softies is an important part of the pattern design too and I like to try and choose something unique. In my soft toy search I found this cute soft toy seagull named Seymour. I had been thinking of calling MY seagull Seymour the Seagull…
D@mn! ^#@^&*!!!

Another advantage is that you learn some cool stuff!
This Seymour Seagull is in the Alcatraz Excursions Gift Shop where you can buy souvenirs of Alcatraz Prison! WOW! Did you know they had a 70th Anniversary for the prison and ALL the ex-inmates and their guards were invited to the reunion on the Rock! It’s true there’s a whole DVD about it! Haha!
UH OH!
You have just witnessed the main DISADVANTAGE of google research!
You have to be very careful because it is so easy to get distracted looking at all sorts of other things! I keep having to remind myself to stay F-O-C-U-S-E-D !!! 🙂
Real-life research is awesome if you have the opportunity?
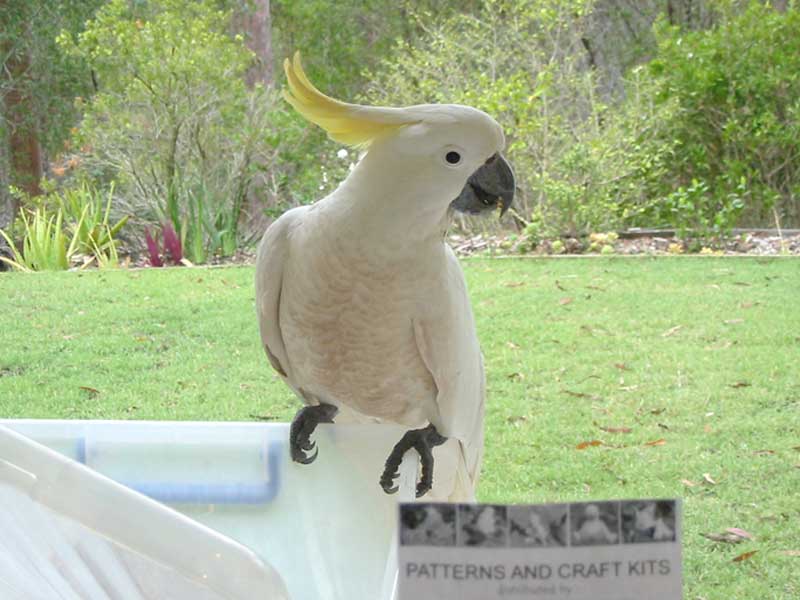
Try and get to see a real animal if you can. This will give you an idea of the shapes you need to recreate for your stuffed toy design. I love to visit zoos, aquariums and wild life parks whenever I can. When I was designing my Charlie Cockatoo Pattern, I was lucky enough to have a live ‘specimen’ to observe up close. A really cheeky cockatoo came and helped himself to the birdseed right outside my sewing room window!!!
ALL the research helps me with the next part of the pattern design…
Developing the Pattern Design.
This is when I decide which features to highlight in the toy design.
To me, toy pattern design is a little bit like creating a caricature. I tend to exaggerate certain parts of an animal, like the duck’s BILL for my Dilby Duck toy pattern, or the peacock’s TAIL for my Punju Peacock toy pattern, or the cute droopy little wombat bottom for Wodger Wombat Toy Pattern… I think you get the idea!
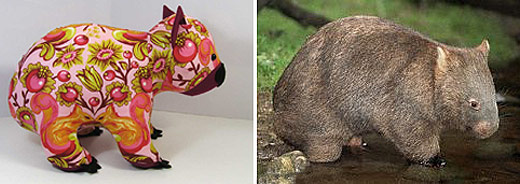
*real-life wombat photo from corbis royaltee free image stock.
Choosing colours and fabrics for your Softie design.
This is a personal choice and you can use whatever you like. To me, colour is not as important as the features and characteristics of the animal, well that’s my opinion! Sometimes I like to stick to traditional colours so people can identify the stuffed toy immediately and sometimes I find an amazing piece of fabric like the Tula Pink fabric I used for the wombat (above) that just seems PERFECT for the toy I am designing!
Creating the first tentative pattern drawings or sketches comes next!
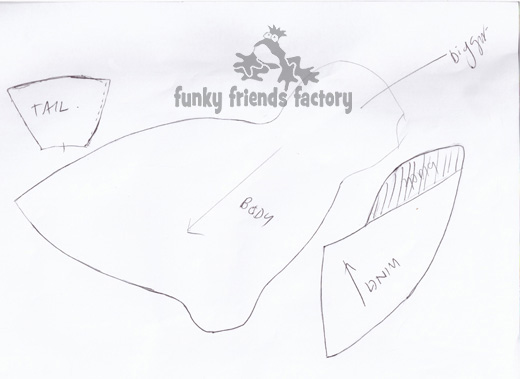
I like to draw with pencil and paper at first and only put the design onto the computer once I am happy with the basic shape of the stuffed toy. I use the computer to make the pieces symmetrical and check that the fit perfectly together.
The next step is sewing a prototype.
This is when things start to get exciting… I love seeing the 2-D shapes come to life as a 3-D toy. I usually make my stuffed toy prototypes from calico fabric, it’s cheap and easy to work with. I know I wanted the legs and beak to be yellow so I used some scrap yellow homespun I had lying around – perfect! 🙂 I decided to leave the wings off at first so I could play around with where I wanted them to be positioned. You can see the line I drew with a permanent marker for the wing position.

I was really happy with the basic shape, I wanted a sitting stuffed animal, and big feet are kinda ‘My Thing’ so I was pleased with them even though they are big in proportion to the rest of him! I wasn’t happy with the beak shape and the tail was pointing downwards so I that needed to be reworked.
The next step takes me SUCH a long time – editing the pattern design.
Are you bored yet?
JUST kidding! 🙂
This is when I take a long hard look at the stuffed animal and decide which parts I like and which I’m not happy with and need to change. Usually it’s only small tweaks/edits to make the shape slightly bigger, smaller, flatter, rounder etc etc , but sometimes I change a part of the design completely when I see how the pattern pieces look once the stuffed animal is sewn up.
If you ask my friends who have actually watched me go through this whole process as I design a soft toy pattern, they’ll tell you I am a real perfectionist! 😀 They are no longer surprised when a perfectly good looking toy pattern is tweaked and tweaked and tweaked again! Sometimes I think I just can’t help myself – haha! I like to make sure that all the pieces fit together perfectly and I also try to make the toy patterns as easy as possible for people to follow.
Once I have finished developing my stuffed animal pattern in calico, and I am 100% happy with the toy, I can then make it up in the final fabrics and that’s another FUN stage of the soft toy design process!
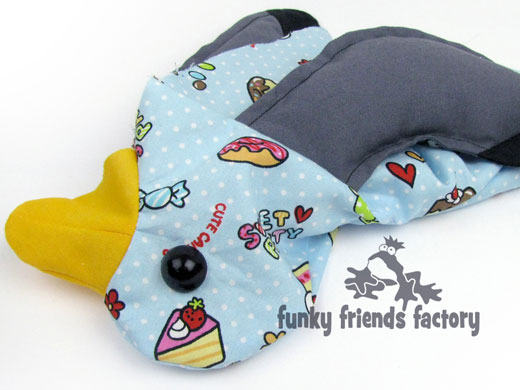
Well, I hope I have been able to shed some light on what I do , and why I take so long to do it! Haha!
I wonder if you’ll think Sandy Seagull has been worth the wait?
 . .
. .
Till next time…
Happy Sewing,
Pauline
xxx ![]()


Thanks for sharing your pattern design process Pauline – it’s always fascinated me to see how crafty people come up with their own designs.
I just wanted to tell you Pauline how all your wonderful patterns and ideas have meant to me. I have made all but about 6 of them and found them absolutely fun to do. Thank you for bringing me out of my sewing shell. Barbara
Oh Barbara! THANK YOU for this lovely message! It is a pleasure – lovely to know how much you enjoy my patterns! 😀
It’s so cool to see how the design comes together from the very idea to the toy.
Thanks Emily! I don’t think I could stop if I wanted – haha! I am working on a fox, but put it on hold for a bit, will get back to it one day for sure! I love foxes!!!! 😀
And Simmi, I use Macromedia Freehand which is ancient, only because that’s what I’ve always used, I think most people use Adobe Illustrator now? 😀
It’s exciting to see how you design your soft toys, Pauline. Wish I was as talented as you.
He just needs a fabric chip – haha
It’s so cool to see how you design soft toys. I tried and my toys looked shocking! Love your patterns!
Sandy’s so cute! 😀 And not just because I’m Sandy too!!!
You’re cute! Haha!!! Thanks Sandy!!!
I love your patterns, and was curious about the process, so I was happy I found this post!! What a talent you have! Us makers are so grateful you can share it with us xx