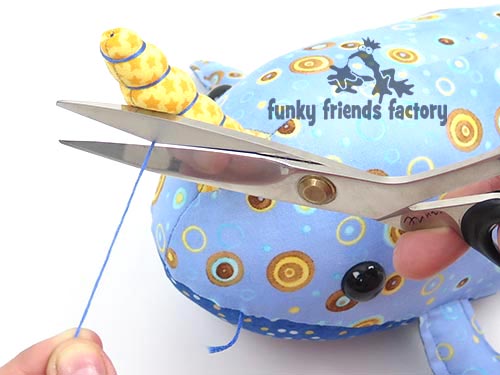
I made this photo tutorial so you can see how to sew my Narwhal Sewing Pattern ~> scroll down for step-by-step photos!
This quirky creature is a quick and easy sewing pattern to sew. He looks awesome in any colour and makes a great present for those hard-to-buy-for people. Everyone needs their own Narwhal right?!
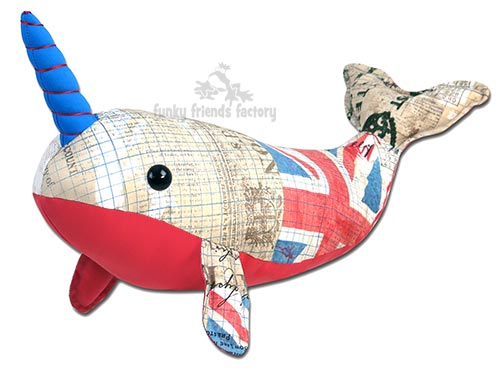
.
*** PLEASE NOTE – this is ONLY a PHOTO TUTORIAL ***
The FULL PATTERN IS NOT included here.It is NOT A FREE PATTERN!
I have made this photo tutorial so people who have purchased my Narwhal Sewing Pattern can SEE how to sew a narwhal soft toy! (I wanted to explain this so you are not disappointed if you have found this page via a search engine and not from the link in my Nate the Narwhal Sewing Pattern)
Let’s get started!
STEP 1
Choose some fabric for your narwhal…
why don’t you try
some spots?
BODY and TUSKS:
STEP 2a
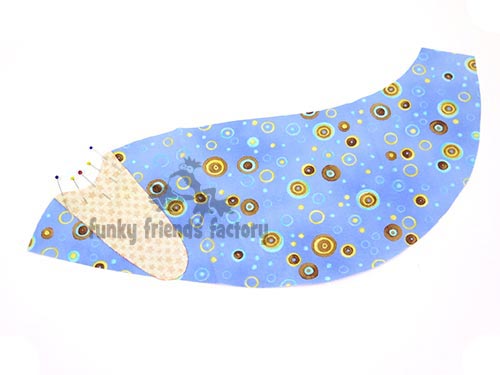
Sew the TUSK PIECE to the BODY PIECES.
STEP 2b
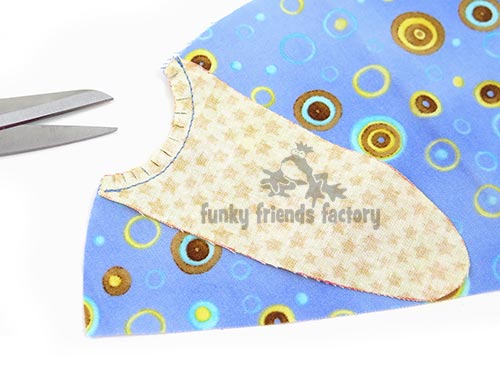
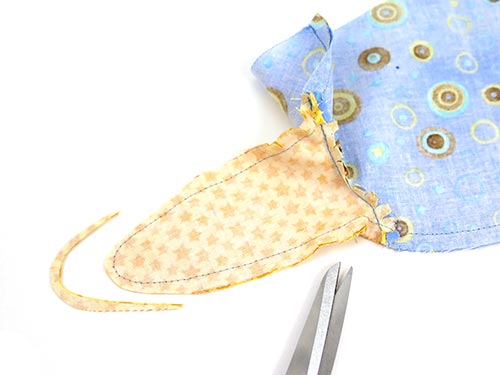
Clip the seams really well at the ‘base’ of the TUSK PIECES. (This is really important if you are using woven/non-stretchy fabrics to help the TUSK to turn nice and smoothly)
STEP 3a
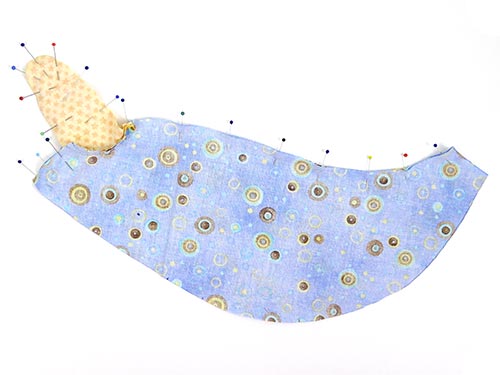
Sew the BODY PIECES together from C at the front, around the TUSK PIECES and along the top to D.
STEP 3b
Trim the seam allowance to about 3mm (⅛ inch) at the ‘tip’ of the TUSK.
STEP 4
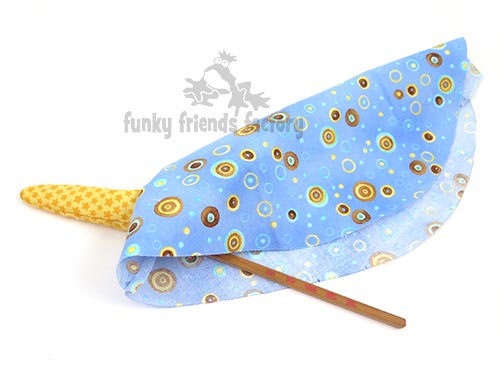
Turn the TUSK PIECES right sides out.
TIP: I like to use a wooden chopstick to help turn the seams. Run the end of the stick back and forth along the stitching inside until the seam is nice and smooth.
STEP 5
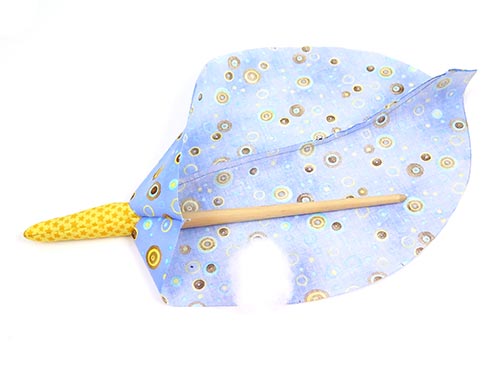
Stuff some toy stuffing into the TUSK now. It is really hard to stuff the ‘tip’ of the TUSK once the narwhal is all sewn up so do this now!
EYES:
STEP 6
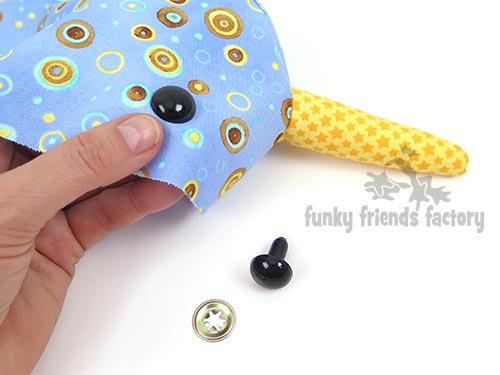
If you are using craft eyes insert them now.
TIP: I have a tutorial to show you how to insert craft eyes on my blog.
CHEST and TUMMY:
STEP 7
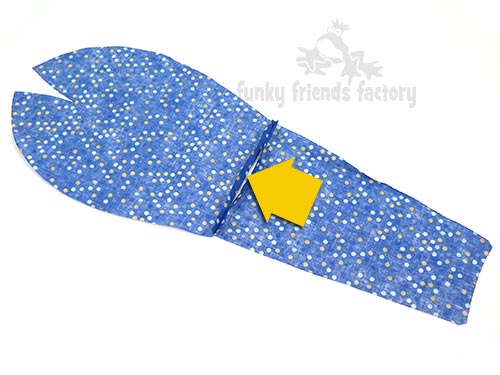
Sew the CHEST PIECE to the TUMMY PIECE, leaving the gap open for turning. (The yellow arrow in the photo below is poiting to the turning gap!)
STEP 8
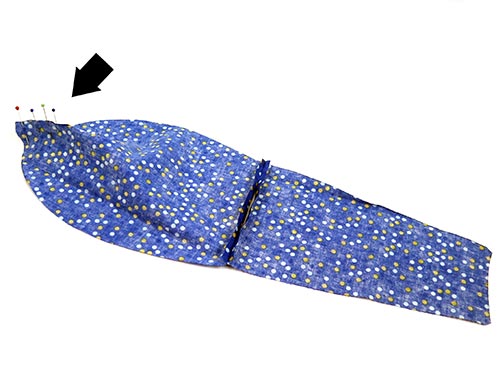
Fold the CHEST PIECE with the fabric right sides together and sew the front dart closed. Clip the seam allowance at the dart.
TAIL:
STEP 9
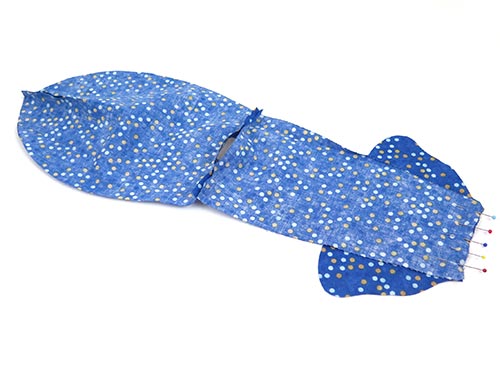
Sew one of the TAIL PIECES to the TUMMY PIECE, matching point D.
STEP 10
Sew the other TAIL PIECE to the BODY PIECES, matching point D.
FLIPPERS:
STEP 11
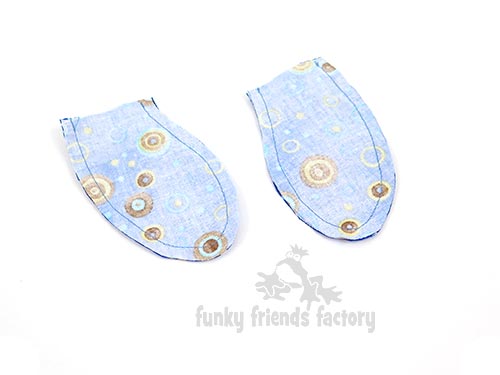
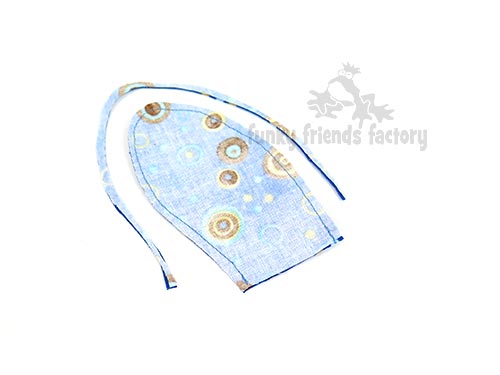
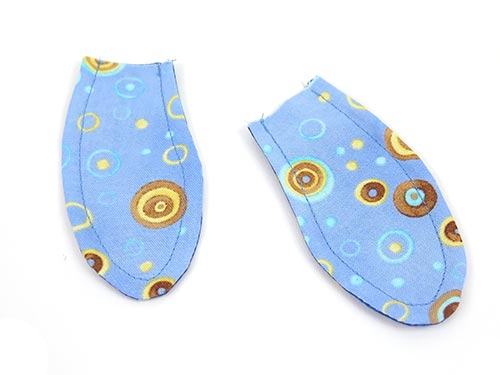
Sew the FLIPPER PIECES together in pairs, leaving the straight edge open
STEP 12
Trim the seam allowance to 3mm (⅛ inch) around the ‘tip’ of each FLIPPER and turn them right sides out.
STEP 13a
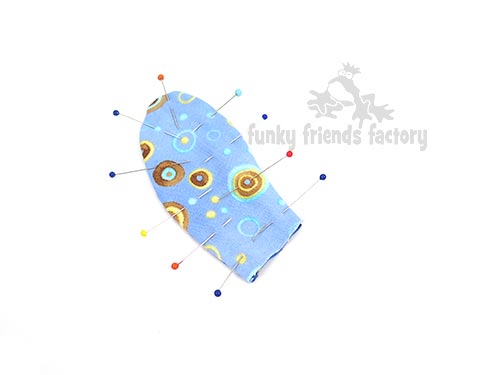
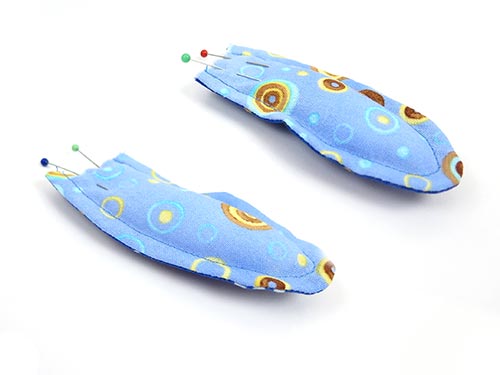
DON’T STUFF the FLIPPERS NOW! First pin the FLIPPERS around the curved edge so that the seam lies flat.
STEP 13b
Sew around the curved edge, using a 5mm (¼inch) seam allowance, to create a flat seam around the Sew around the curved edge, using a 5mm (¼inch) seam allowance, to create a flat
seam around the FLIPPER. (This gives the FLIPPERS a nice flat shape when they are stuffed!)
STEP 14
Stuff the FLIPPERS with a little bit of toy stuffing so they are not too fat. Use pins to hold the toy-stuffing in place.
STEP 15
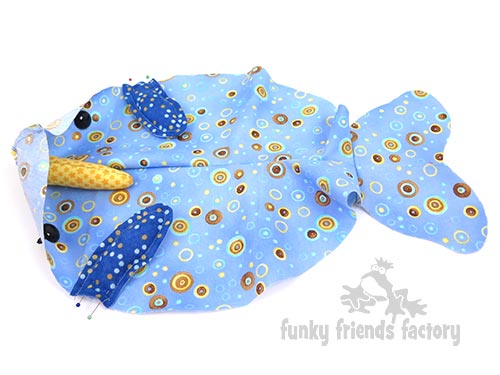
Pin the FLIPPERS to the BODY PIECES, using the dot pattern markings to guide you.
SEWING THE SIDE SEAM:
STEP 17
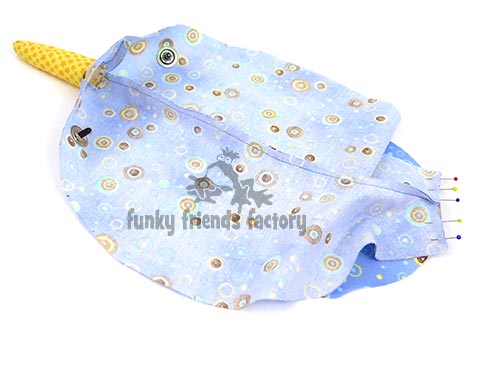
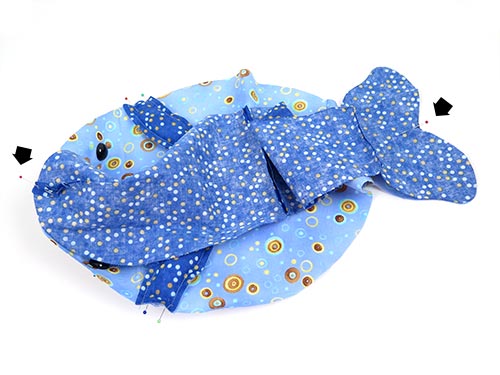
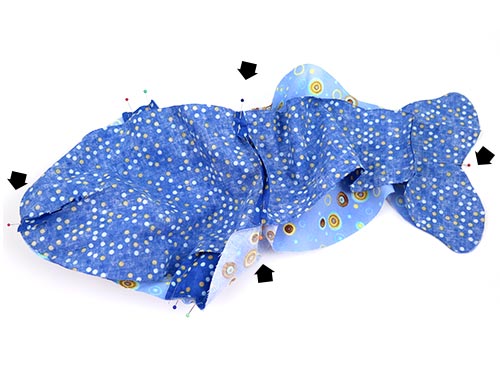
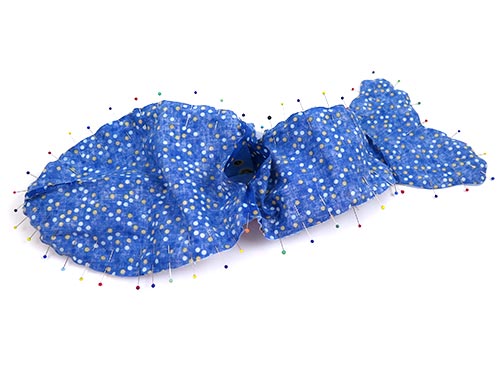
Pin the BODY & TAIL PIECES to the CHEST, TUMMY & TAIL PIECES, with the FLIPPERS in between.
Start by pinning the PIECES together at the front at C and at the back at H.
Pin the PIECES together at the sides at A and B.
Pin all around the sides.
TIP: Take your time and use LOTS of pins so the pieces won’t slip as you sew.
STEP 18
Sew the Narwhal together along the side. Sew right around from C, around the TAIL PIECES, and back to C again.
STEP 19
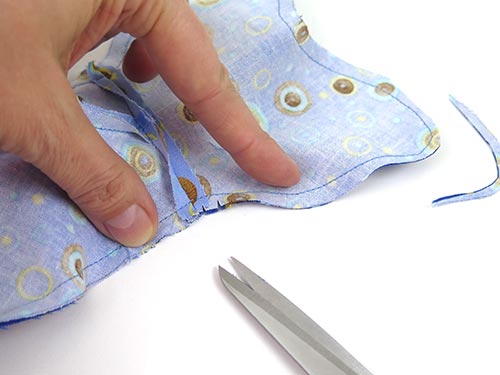
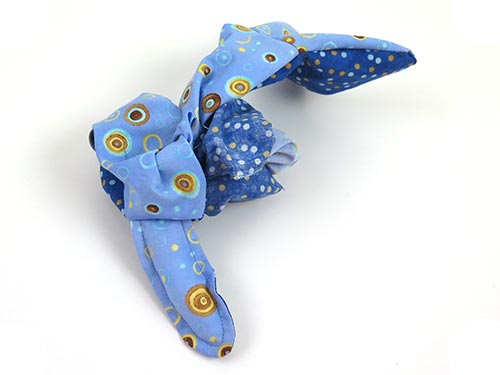
Trim the seam allowance around ‘tips’ of the TAIL to about 3mm (⅛ inch) and clip the seams well, especially where it is very curved at E/F.
* Please note: There will be ONE MORE line of stitching for you to do on the tail AFTER it’s turned right sides out.
This gives the tail a nice shape ~>
so don’t forget to sew it!
ASSEMBLY:
STEP 20
Turn the Narwhal right sides out through the turning gap.
STEP 21
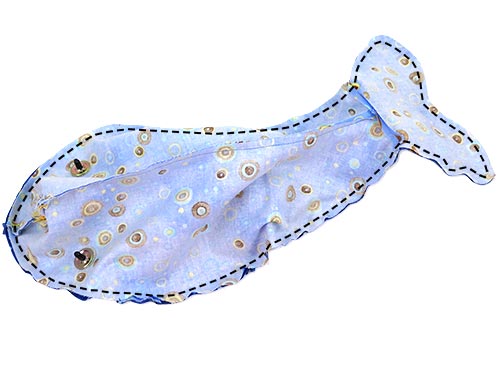
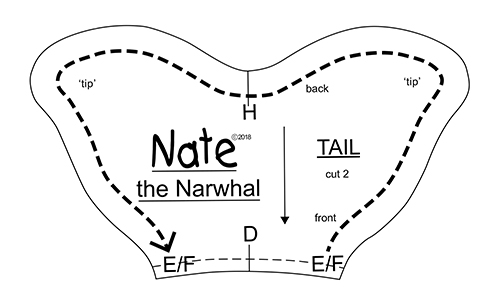
Do not stuff your narwhal now. First pin the edge of the TAIL PIECES so that the seam lies flat, then sew a line of stitching around the edge of the tail using a 5mm (¼inch) seam allowance to create a flat seam around the tail.
TIP: This is the same way you did the FLIPPERS, BUT I have drawn this thick dashed line on the TAIL PIECE pattern markings to show you where to start and end this extra stitching line.
STEP 22
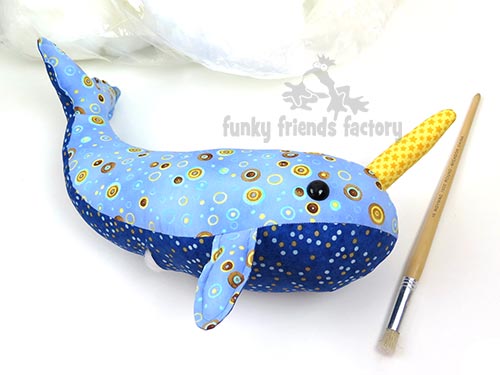
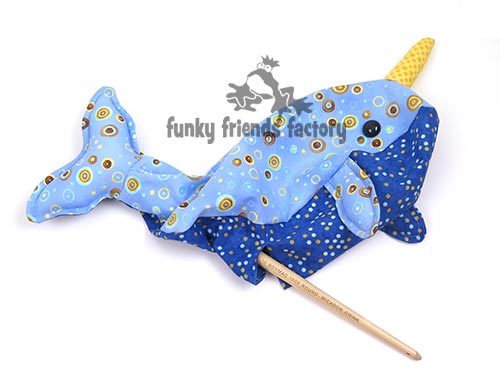
Stuff your Narwhal with toy stuffing. Stuff the rest of the TUSK very firmly. This is very important for creating the spirals when you wind the embroidery thread around the TUSK. Stuff the TAIL PIECES. Stuff the head area and then the rest of the BODY.
TIP: I use a childern’s paint brush to reach the TAIL!
STEP 23
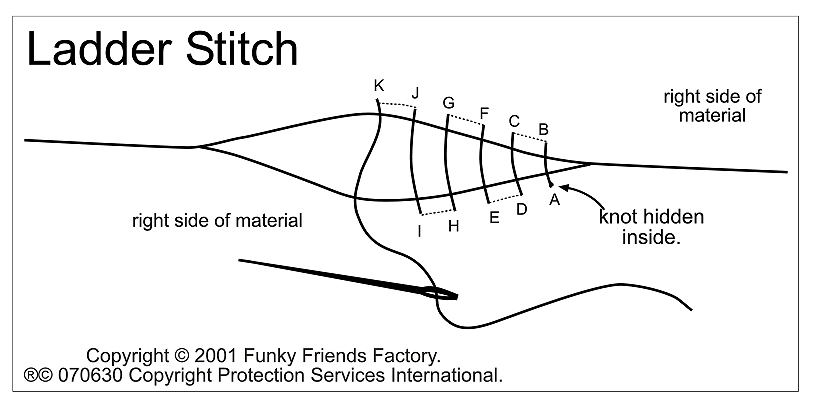
Sew the stuffing gap closed using a ladder stitch.
TUSK:
STEP 24a
** If you are embroidering the EYES you can sew them now.**
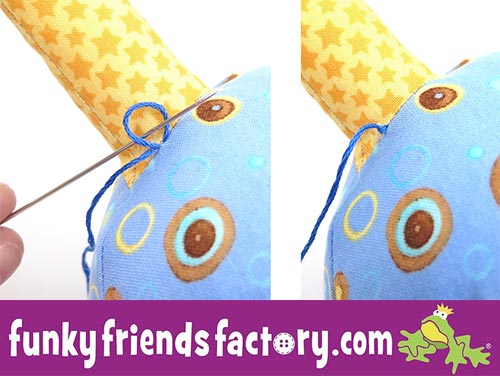
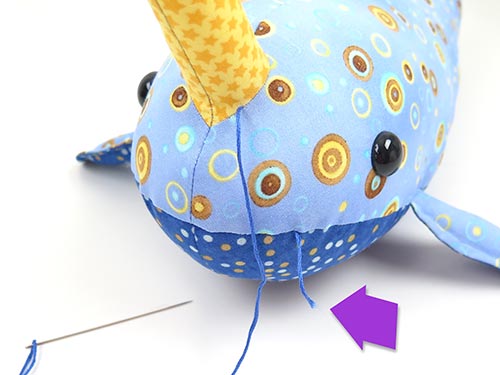
Secure the end of the embroidery thread, at the base of the TUSK, with a double knot.
TIP: I sew ‘into’ the narwhal at one of the seams and come out at the base of the TUSK (see the purple arrow in the photo below). I leave this tail hanging out and cut it off once I have finished the spiral.
STEP 24b
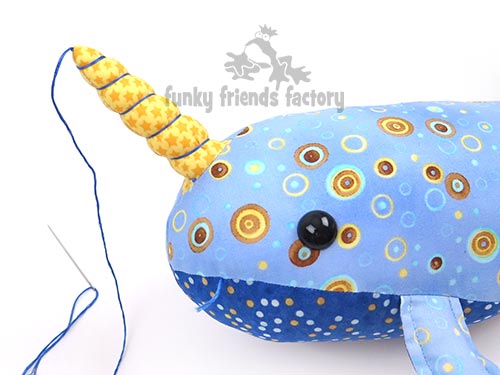
Wind the thread in a spiral around the TUSK pulling firmly as you go to indent the TUSK material. Sew a knot at the tip of the TUSK.
STEP 24c
Sew the thread back inside the TUSK to finish off.
Your Narwhal is ready to LOVE!
Come join the fun on Facebook!
I LOVE to see how your Funky Friends toys turn out!
When you’ve made your own stuffed toy narwhal you can come show it off ~>
Post a photo on my Funky Friends Factory Facebook page for me to see and YOU could win a FREE PATTERN!
Till next time,
Happy Sewing,
Pauline
![]()


