
I made this photo tutorial so you can see how to sew my Signature Bear Sewing Pattern ~> scroll down for step-by-step photos!
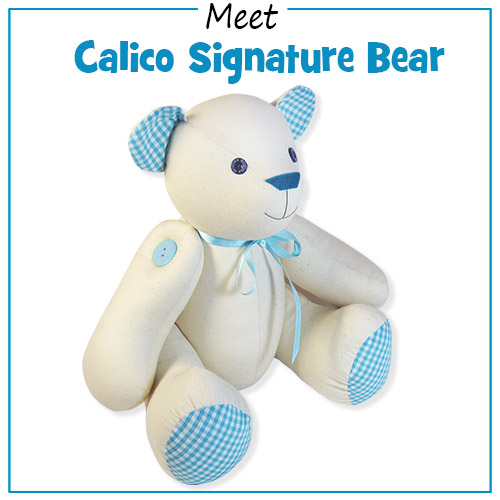
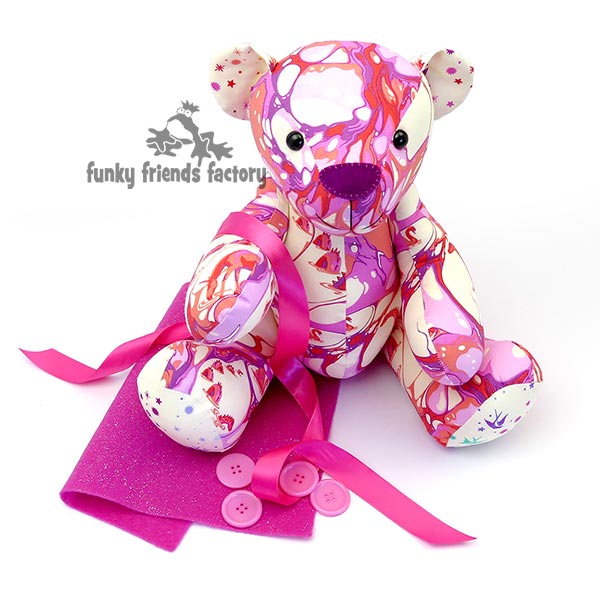
Signature bears are a fun way to record an event or celebration. Lots of my customers sew lovely keepsakes using Calico Bear as a Keepsake Bear Pattern/Memory Bear Pattern. You can customise your bears with highlights in any contrasting fabric, and a ribbon to match and you’ll have a beautiful memento for any occasion – new baby, christenings, weddings, parties, 21st birthdays and, of course, graduations. A unique, homemade personalised bear can be used to create a cherished keepsake of personal messages and loving wishes, which will be cherished for years and years.
.
*** PLEASE NOTE – this is ONLY a PHOTO TUTORIAL ***
The FULL PATTERN IS NOT included here.It is NOT A FREE PATTERN!
I have made this photo tutorial so people who have purchased my Signature Bear Sewing Pattern can SEE how to sew a signature bear! (I wanted to explain this so you are not disappointed if you have found this page via a search engine and not from the link in my Calico Signature Bear Sewing Pattern)
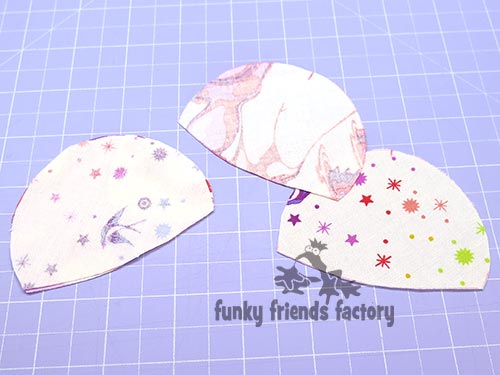
First choose some fabric.
STEP 1
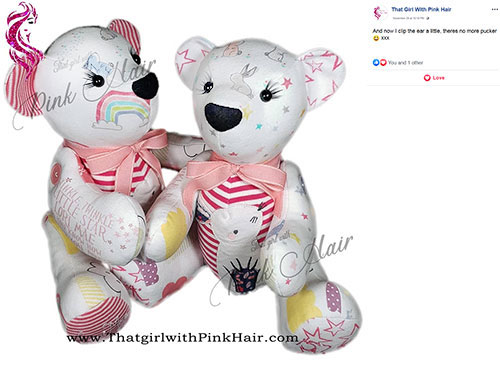
Calico Bear looks great in all sorts of fabric. I sewed my Calico Signature Bear pattern in calico fabric (or muslin as the Americans call it!) when I designed the pattern back in 2008 (WOW, I just realised that’s over a decade ago!!!!) BUT today I am doing the photo tutorial photos with the teddy bear sewn in one of my favourite fabric ranges, from one of my favourite fabric designers – Tula Pink’s Pinkerville! He doesn’t have to be a signature bear in fact LOTS of people sew lovely keepsakes using baby clothes, and make memory bears to remember a loved one too. Look at these sweet memory bears sewn by Joann W. from baby clothes!

Let’s get sewing!
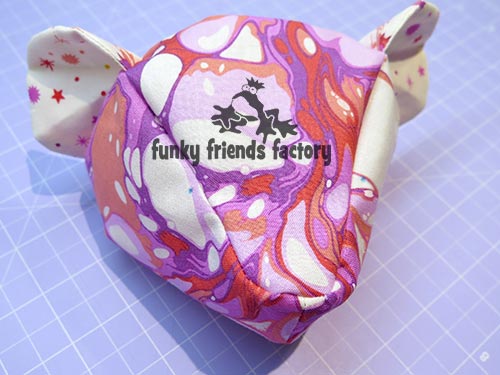
HEAD, EARS & EYES:
STEP 2
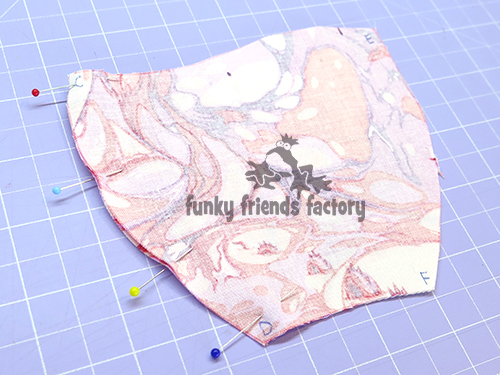
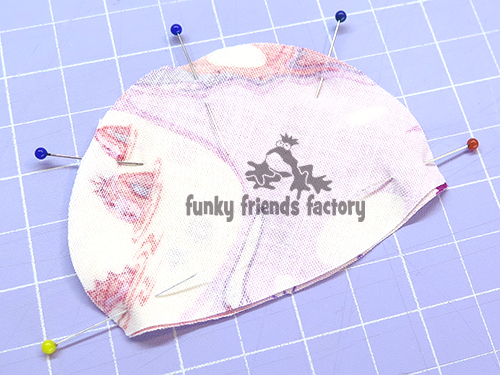
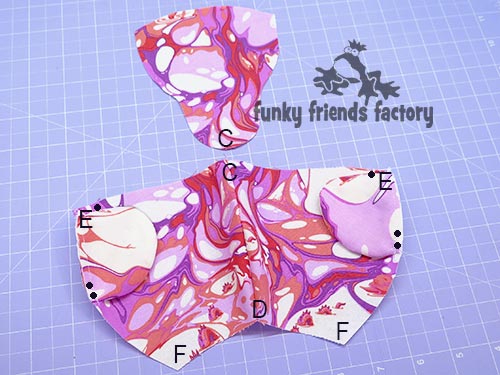
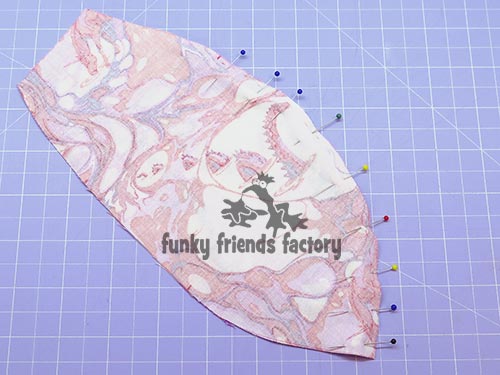
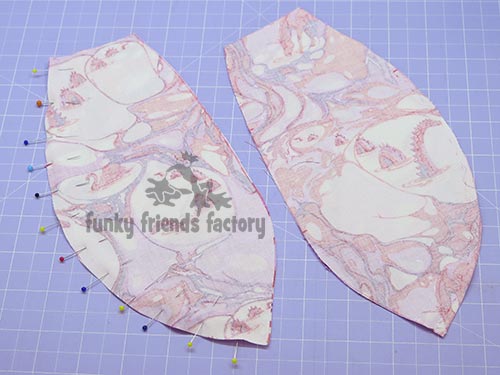
Sew the FACE PIECES together from C – D.
STEP 3a
Match the EAR PIECES together in pairs (1 main and 1 contrast piece).
STEP 3b
Pin and sew the EAR PIECES together in their pairs.
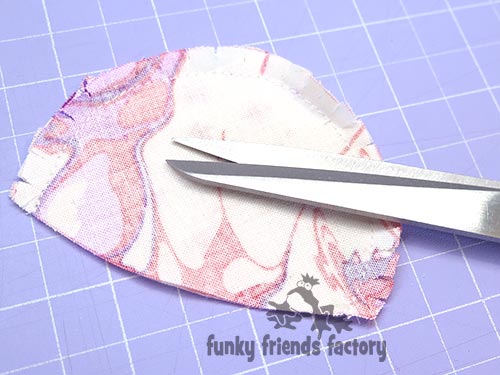
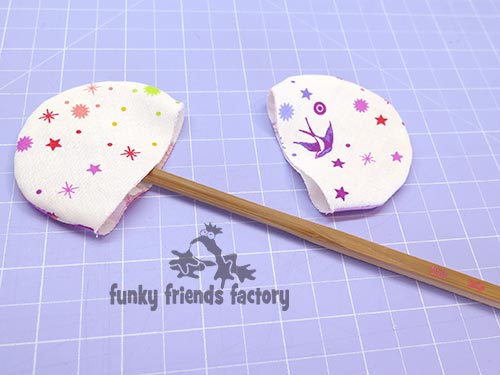
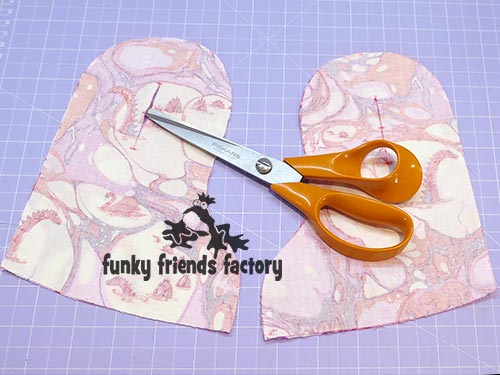
STEP 3c
Snip the curved edges and turn the EARS right side out.
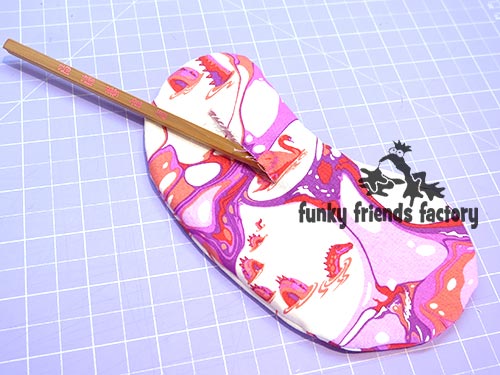
TIP: I use a wooden chopstick to smooth out the seams nicely.
STEP 4a
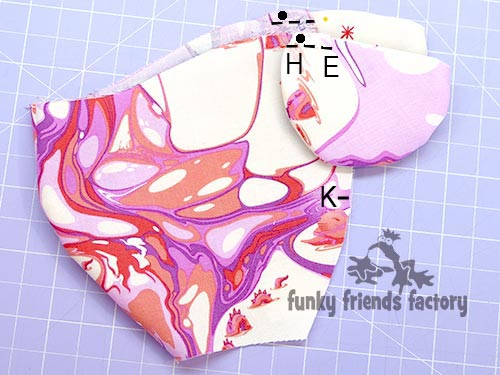
Pin the ears to the face pieces with the contrast fabric of the EARS touching the FACE PIECES and matching the single dot pattern markings.
TIP: Here is a close up photo.
STEP 4b
Sew the EARS in position from E – H.
STEP 4c
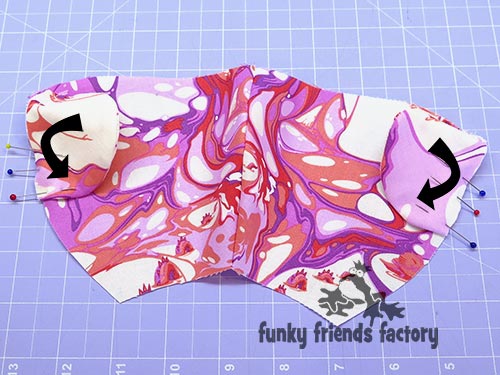
Fold the EARS and pin them to the FACE PIECES matching up the double dots pattern markings…
TIP: Fold the EARS down “gently – if you pull them too hard/too far, you will get a big pucker, rather than a gentle fold. I learnt a really great tip from Michelle who has a keepsake making business in the UK called That Girl with Pink Hair and makes beautiful keepsake Calico Bears from baby clothes. Michelle clips the seam allowance of the EAR PIECES at the fold after she has sewn them in place and she finds this removes any puckers!
***Thanks to Michelle for sharing this brilliant tip!!!!! 🙂 ***
STEP 4d
…and sew them in position from E – K.
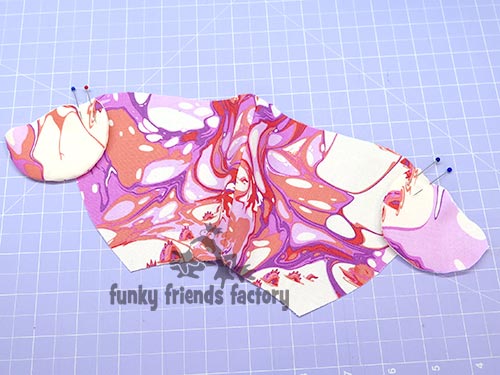
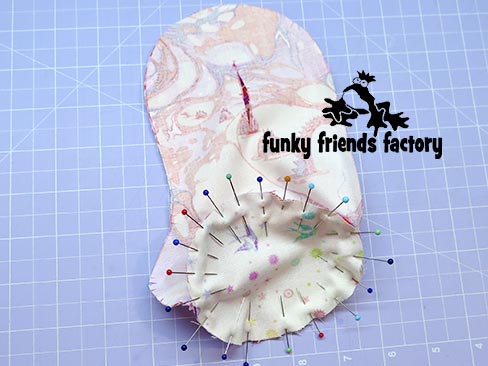
STEP 5a
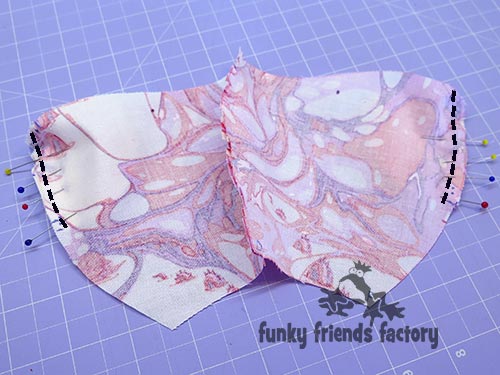
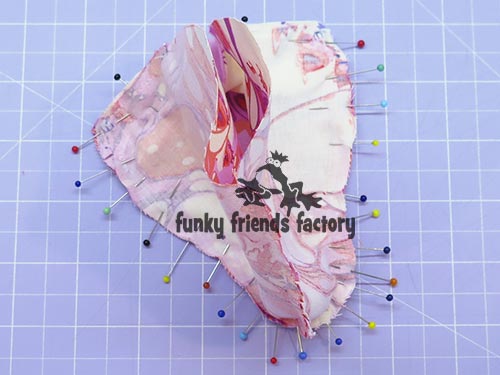
Pin the GUSSET to the FACE PIECES, matching points E and C.
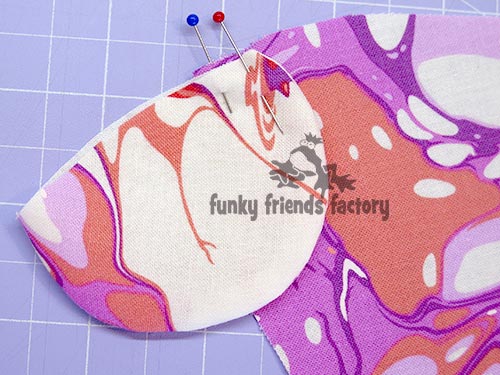
STEP 5b
Sew the GUSSET PIECE to the FACE PIECES, from E – C – E.
TIP: Sew this seam with the GUSSET PIECE down so you can smooth out the wrinkles as you sew.

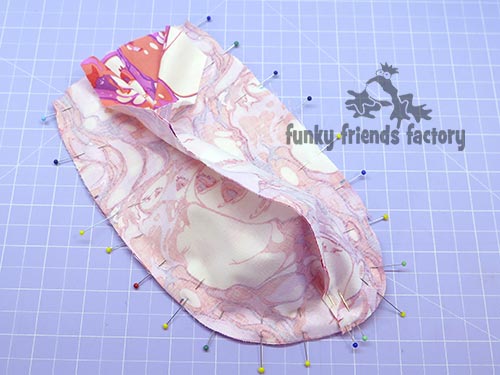
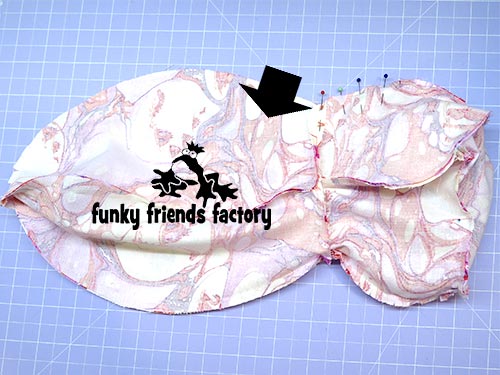
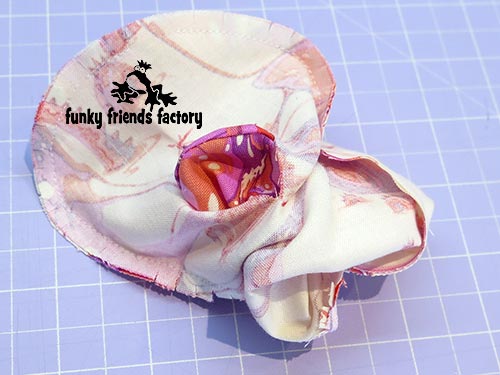
STEP 6
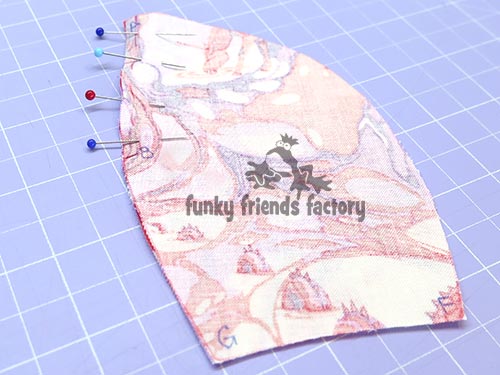
Sew the BACK HEAD PIECES together, from A – B (leave open from B and G).
STEP 7
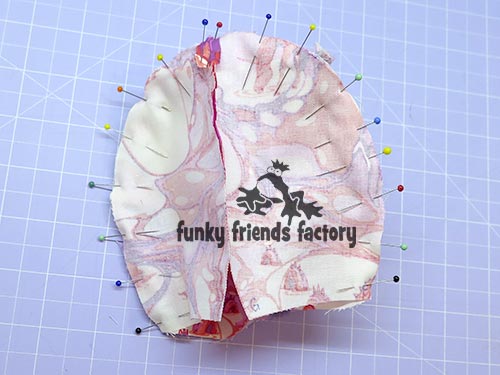
Sew the BACK HEAD PIECES to the GUSSET & FACE PIECES from F – A – F.
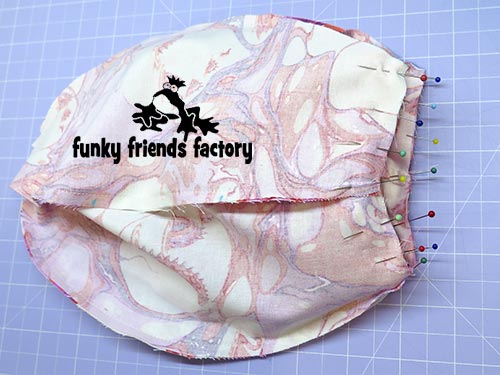
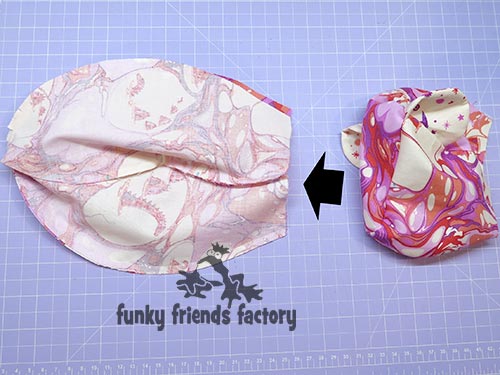
STEP 8
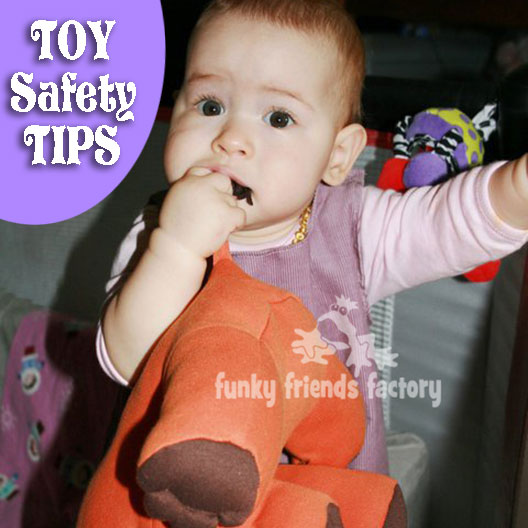
Turn the head right sides out. If you are using buttons for EYES, sew them in place now. (You could also use craft eyes or beads.)
TIP: If the toy is for a young child use embroidery thread to sew a French knot instead buttons, beads or craft eyes. I have a post about toy safety on my blog with more toy safety tips and guidelines.
BODY:
STEP 9
Sew 2 of the BODY PIECES together along the back seam, leaving an opening at the top centre of the back for stuffing your bear later.
STEP 10
Sew the other 2 BODY PIECES together along the front seam.
STEP 11
Sew the BODY PIECES together along the side seam to form the body.
STEP 12
Next, sew the HEAD and BODY together at the neck.
TIP: I do this by turning the head right sides out, then placing the HEAD ‘inside’ the BODY PIECES and pinning the HEAD and BODY together at the neck seam, with the fabric right sides together.
STEP 13
Pull the HEAD back out of the BODY and sew the BACK HEAD PIECES closed from B – G.
ARMS & LEGS:
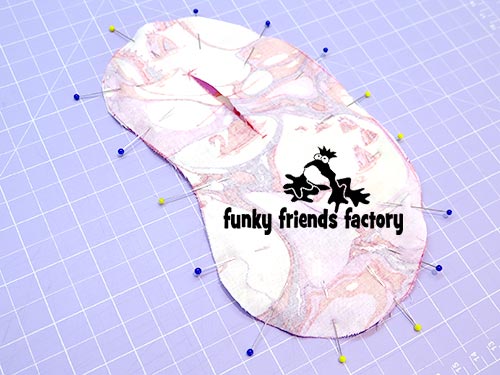
STEP 14
Cut a slit in 2 ARM PIECES, as shown on the pattern markings, making sure you have a right and left ARM (reversed).
TIP: I used a ballpoint pen to transfer the markings because I knew they would be hidden behind the arms!

STEP 15
Pin and sew these cut ARM PIECES to the uncut ARM PIECES.
STEP 16a
Snip all curved edges and then turn the ARMS through the slits.
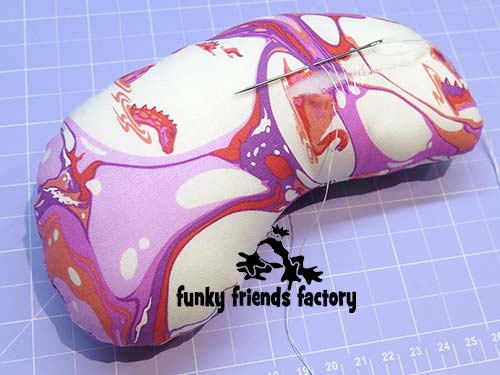
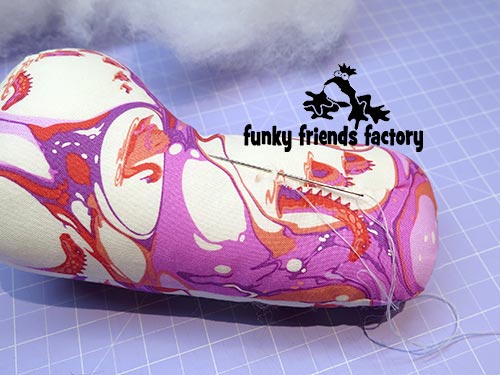
STEP 17
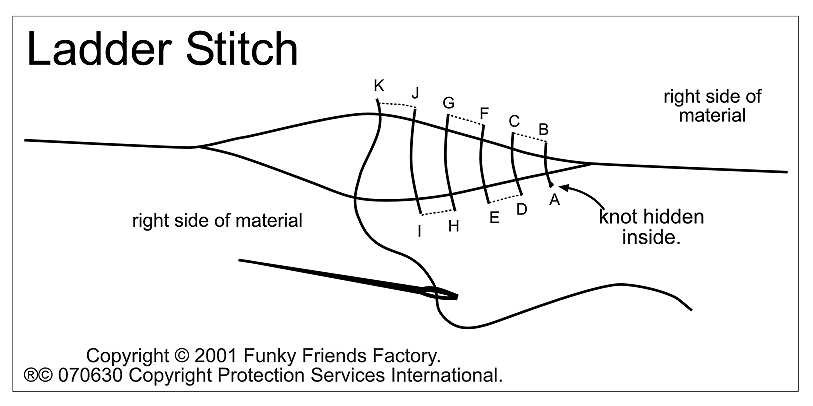
Stuff the ARMS through the slits and sew them closed with a ladder stitch. This hand stitching will be ‘hidden’ from sight when your signature bear is finished but be as neat as you can.
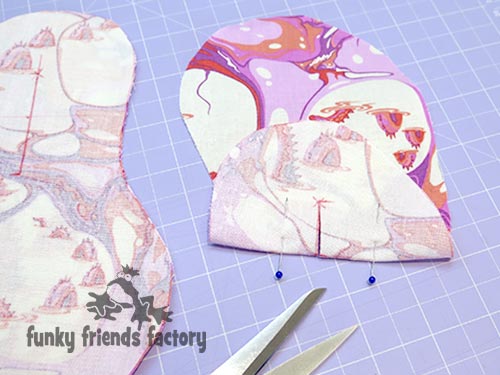
STEP 18
Cut a slit in 2 LEG PIECES, as shown on the pattern markings, making sure you have a right and left LEG (reversed).
STEP 19
Pin and sew these cut LEG PIECES to the uncut LEG PIECES.

STEP 20
Snip the curved seams then pin and sew the foot pieces to the LEG PIECES.
TIP: I have a tutorial on my blog to show you how to sew perfect plushie feet – it’s easy when you know how!

STEP 21a
Snip the curved seams around the FOOT PIECES. Turn and stuff the LEGS through the slits, then sew them closed.
STEP 21b
Sew the LEGS closed with a ladder stitch.

ASSEMBLY:
STEP 22
Turn your bear right sides out. Stuff the HEAD and BODY with toy stuffing.
STEP 23
Sew the BODY closed with a ladder stitch.
TIP: I find it looks neater if you sew UP towards the neck seam so your finishing off stitches will be hidden under the bear’s ribbon.
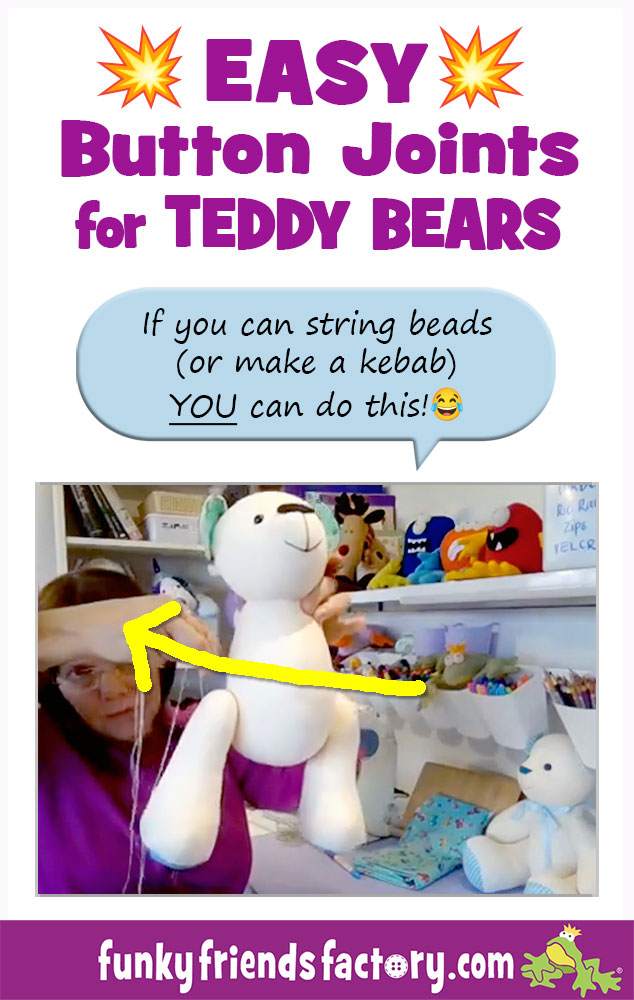
Button Jointing is easy! (There’s a link to tutorial with a VIDEO in the next TIP box!)
STEP 24a
Sew the LEGS to the body with a very long doll’s needle. Sew through one LEG, through the body and out through the other LEG, sew back through and come out where you started. Sew back and forth a few times, pulling the LEGS into the body a bit.
TIP: I have a photo tutorial on my blog with step-by-step photos to show you exactly how to do button jointing HERE – it’s easy when you know how!
STEP 25
Sew the ARMS to the body in the same way as the LEGS. Once the ARMS and LEGS are secure, sew a button over your previous stitches.
TIP: I like to make sure that the ARMS and LEGS are tight, because they will loosen up a bit with time. Pull them quite tight so that they will stay in a sitting position, but will still be able to swivel, if you want your bear to be able to be moved into a standing position as well.
FACE:
STEP 26
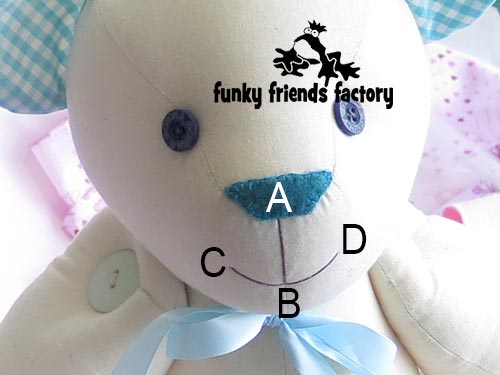
Using embroidery thread, sew into the NOSE at A and come out at B. Making sure you keep the mouth stitches rounded, sew back in at C and come out at D. Sew back in at B and come out at A to create the “smile”. To create the long downward stitch from the NOSE, sew back in at B and come out at A. Finish off with a knot.
Glue or sew a piece of felt in place for the NOSE.
Your Signature Bear is ready to LOVE!
Come join the fun on Facebook!
![]()
I LOVE to see how your Funky Friends toys turn out!
When you’ve made your own signature bear you can come show it off ~>
Post a photo on my Funky Friends Factory Facebook page for me to see and YOU could win a FREE PATTERN!

Till next time,
Happy Sewing,
Pauline
![]()
