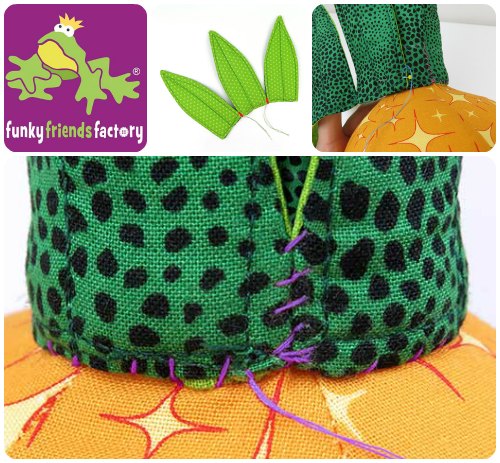
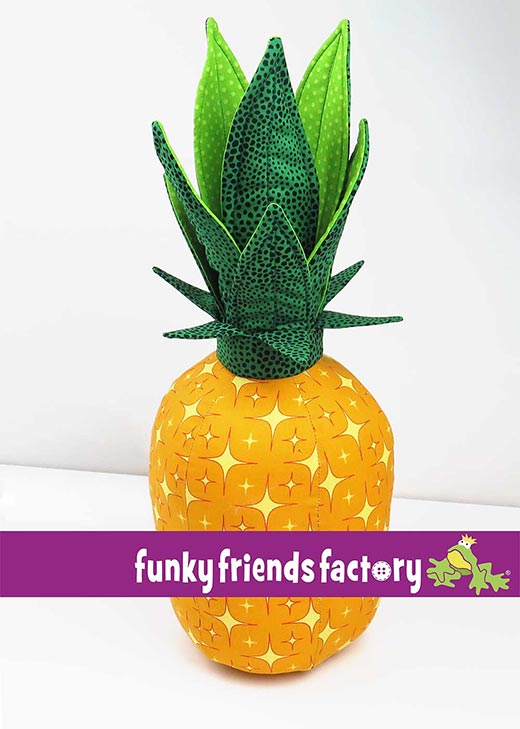
I made this photo tutorial so you can see how to sew my Pineapple Sewing Pattern ~> scroll down for step-by-step photos!
My new Pineapple Cushion Sewing Pattern is the first FRUIT sewing pattern I have designed. I’m so excited that it turned out looking way better than I ever thought it would – I love it! 😀 There’s a more hand-sewing in this pattern than my toy patterns because you can’t get all those leaves into the seam. I think it’s JUST as much fun to sew as a toy and besides – this is the funkiest cushion I’ve ever made LOL!
*** PLEASE NOTE – this is ONLY a PHOTO TUTORIAL ***
The FULL PATTERN IS NOT included here. It is NOT A FREE PATTERN.I have made this photo tutorial so people who have purchased the pattern can SEE how to sew this Pineapple Cushion. (I wanted to explain this so you are not disappointed if you have found this page via a search engine and not from the link in my Pineapple Cushion sewing pattern!)
The Pineapple Cushion Sewing Pattern is available to purchase here – Pineapple Cushion Sewing Pattern
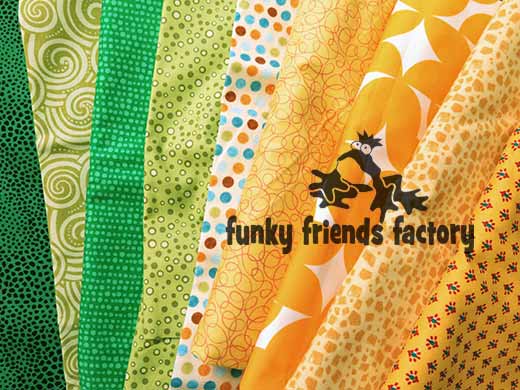
First choose some pineapple fabric.
You can make the pineapple cushion in pineapple colours like I did for this tutorial. You can also make your pineapple from any coloured fabric you like, you could also use any fabric with pineapples on it!
STEP 1
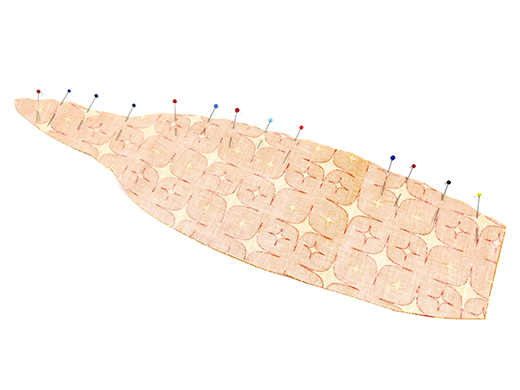
Pin 2 PINEAPPLE PIECES together leaving a space for the stuffing-gap as indicated on the pattern piece.
STEP 1b
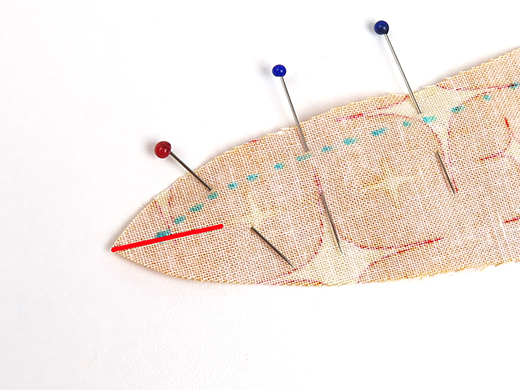
Sew the PINEAPPLE PIECES together. Do NOT sew past the mid-line at the top of the pieces. I have used a blue fabric pen to draw a line to show the stitching line which stops at the mid-line (shown by the red line in the photo below).
STEP 2a
Pin another PINEAPPLE PIECE to the first 2 PINEAPPLE PIECES. Do NOT leave a stuffing-gap.
STEP 2b
Sew the PINEAPPLE PIECES together. Again you must NOT sew past the mid-line at the top of the PINEAPPLE PIECES. Your stitching will meet up with the first line of stitching you sewed.
STEP 3
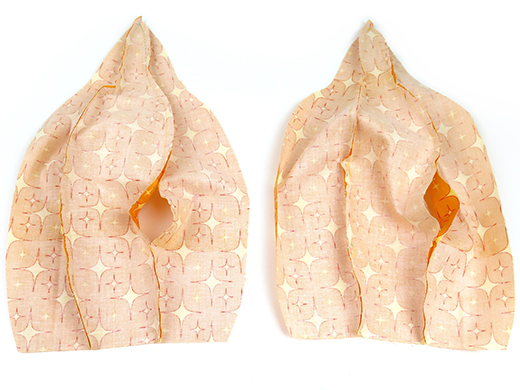
Repeat STEP 1 and STEP 2 in EXACTLY the same way with the other 3 PINEAPPLE PIECES. You have created 2 half pineapples!
TIP: PLEASE NOTE*** The stuffing gaps SHOULD be in the same position – you’ll see why now…!
STEP 4
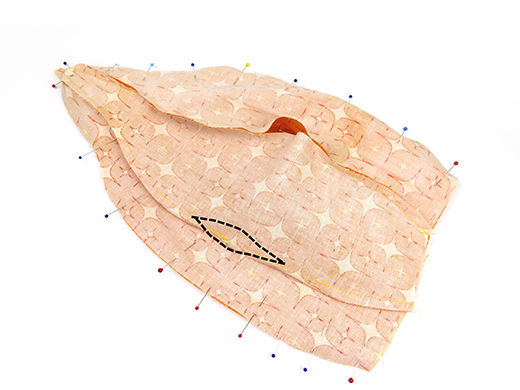
Pin the 2 half pineapples with the PINEAPPLE PIECES fabric right sides together. I have used a dotted black line in the photo below to show you where the other stuffing gap is. Check that you have done this correctly – the stuffing gaps should be on opposite sides of your pineapple (with 3 PINEAPPLE PIECES between the gaps)!
STEP 5
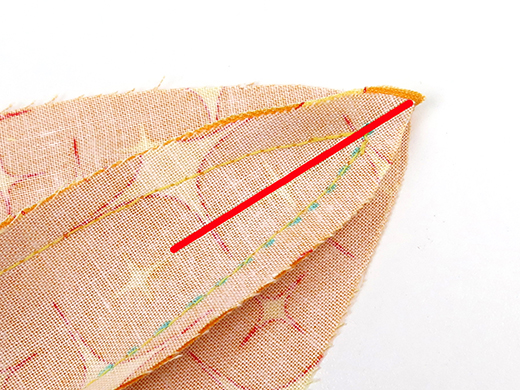
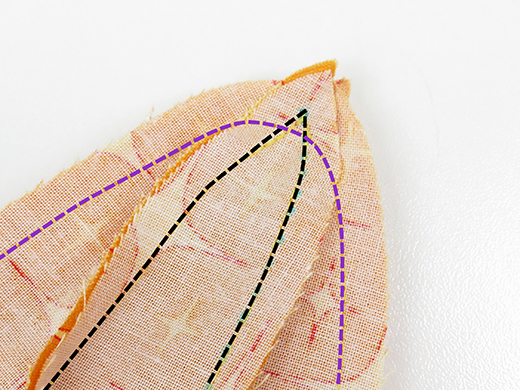
Sew the PINEAPPLE PIECES together, leaving the pineapple open at the base. Make sure that you sew across the stitching holding the PINEAPPLE PIECES together. This is to make sure that there won’t be hole at the top of you pineapple!
STEP 6a
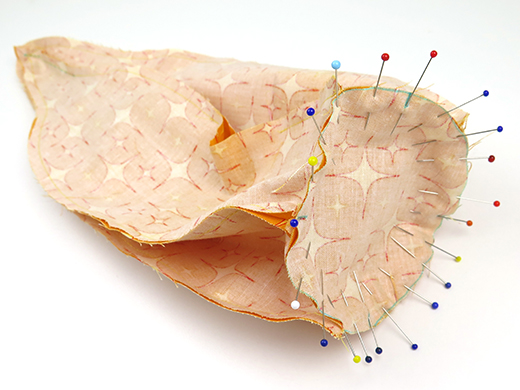
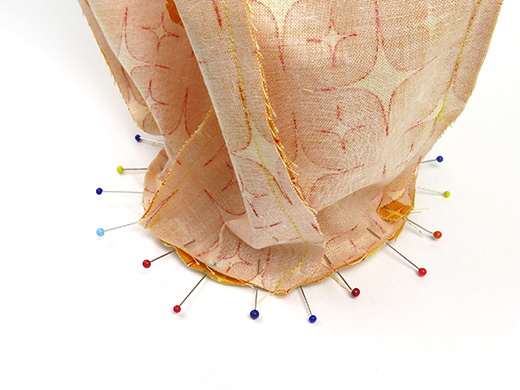
Pin the BASE PIECE to the PINEAPPLE PIECES.
TIP: Use LOTS of pins so the BASE will be a nice round shape.
STEP 6b
Sew this seam with the BASE PIECE down and the pineapple in a ‘standing-up’ position.
STEP 7
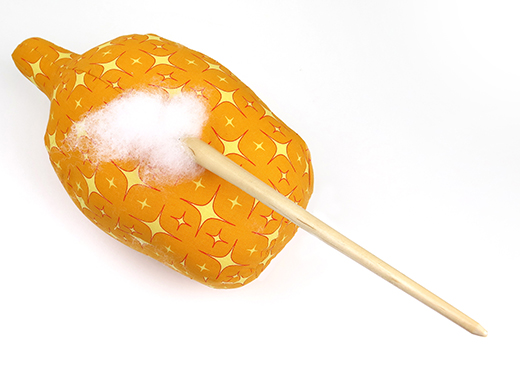
Stuff the pineapple very firmly, especially at the top. I designed the pineapple with 2 stuffing gaps so that you can stuff it from both sides to make sure your pineapple has a nice even shape.
TIP: Use a child’s paintbrush to stuff small bits of toy-stuffing at a time to get a nice smooth pineapple!
STEP 8
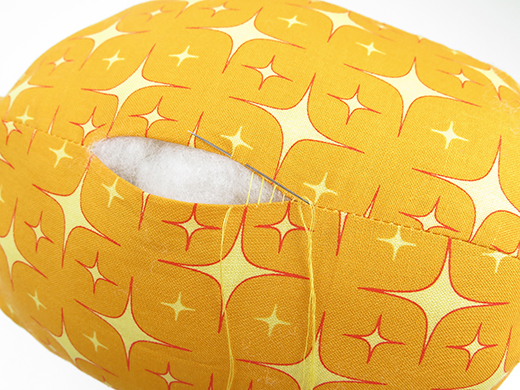
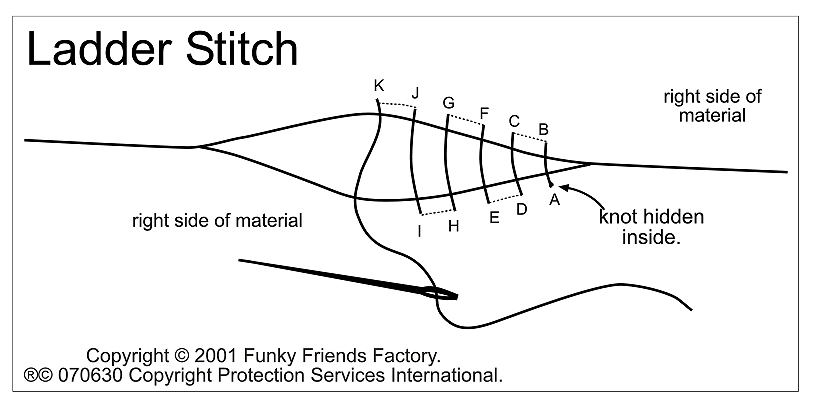
Sew both stuffing gaps closed. Use a double strand of sewing machine thread and make your stitches as small as you can to make the seam nice and neat!
STEP 9a
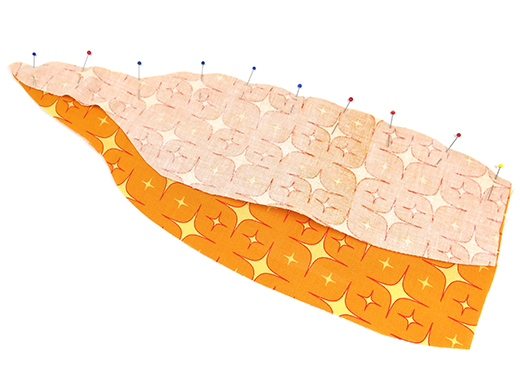
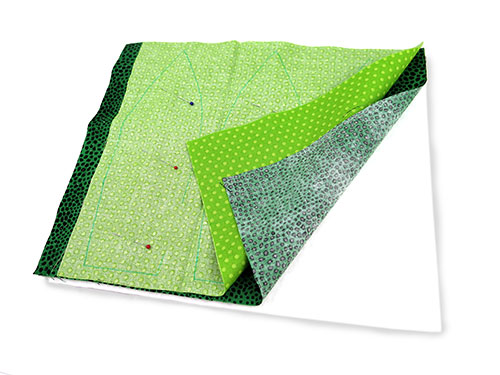
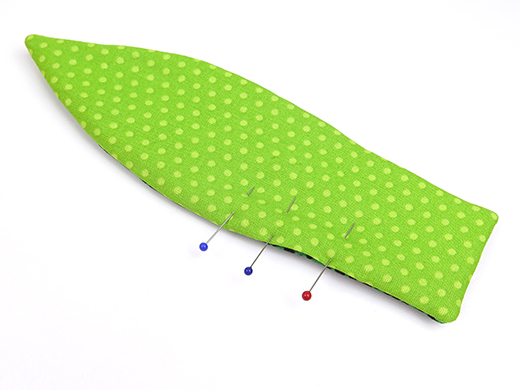
Trace the BIG LEAF PIECE,onto the light green fabric, 3 times. (The fabric pen is easier to see on the lighter fabric.) Cut out a rectangle around the pieces and cut a similar-sized piece of dark green fabric and batting. Pin the pieces together with the batting on the bottom and the dark and light fabric on top, with the right sides of the fabric together.
* I have folded the green fabrics back for you to see the layers better!
STEP 9b
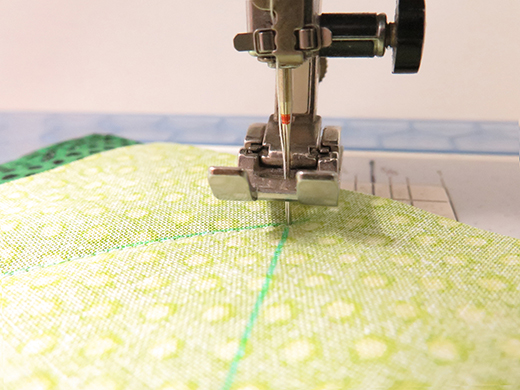
Sew on the traced line, leaving a gap open for turning on each BIG LEAF.
TIP: Leave the needle in the down position and lift the sewing machine foot as you go around the tip and the bottom corners of each LEAF.
STEP 10a
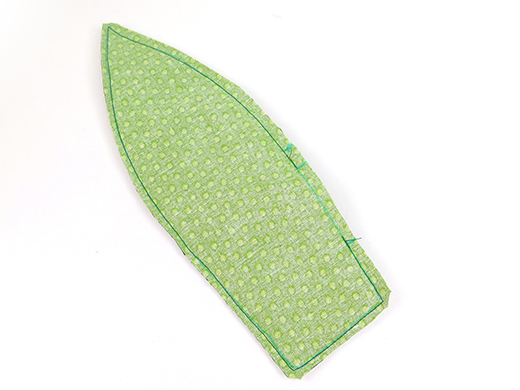
Cut the BIG LEAF PIECES out with a 1/8inch (3mm) seam allowance. Trim the seam allowance at the tip and the bottom corners of each LEAF.
Step 10b
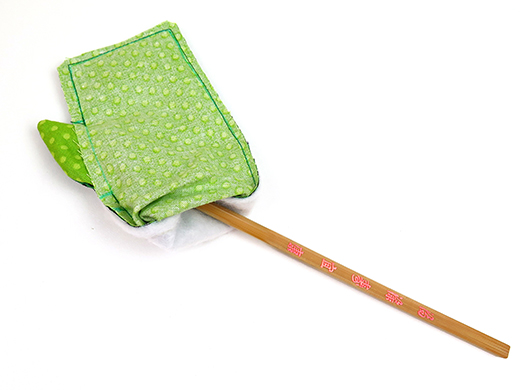
Turn the BIG LEAF PIECES right sides out. I find the best way to do this is to push the tip of the LEAF out between the 2 layers of green fabric with my turning tool.
TIP: A wooden chopstick makes a fabulous turning tool!
STEP 11a
Tuck in the raw edges of the seam allowance at the turning gap and pin it closed neatly.
STEP 11b
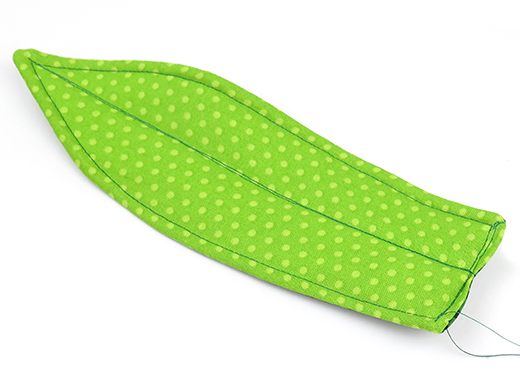
Topstitch the BIG LEAF around the aides and down the centre.
STEP 12
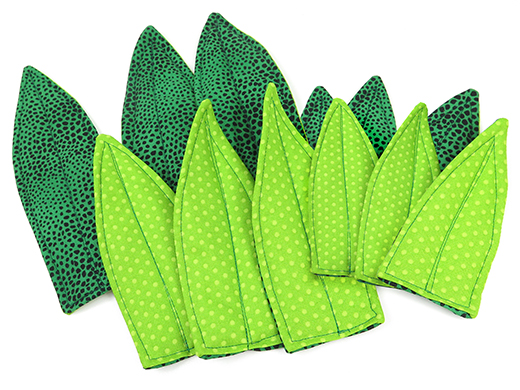
Repeat STEP 10 and STEP 11 for the other 2 BIG LEAF PIECES. Repeat STEP 9 – STEP 11 for the MEDIUM LEAF, SMALL LEAF and INSIDE LEAF PIECES.
TIP: Check that you have 12 leaves before you go on to the next step!
STEP 13a
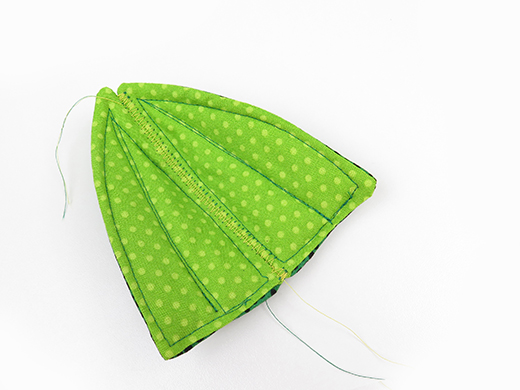
Sew 2 INSIDE LEAVES together, along one side, with a wide zig-zag stitch.
Step 13b
Sew the 3rd INSIDE LEAF to the 2nd one, other along the other side.
TIP: If you are hand sewing your Pineapple Cushion you can sew the INSIDE LEAVES together with a whip stitch. Use dark green thread and sew on the dark side of the leaves.
STEP 14a
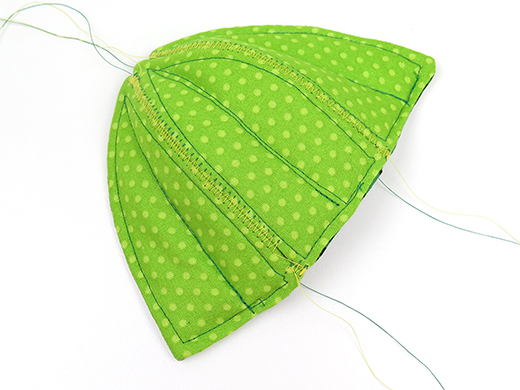
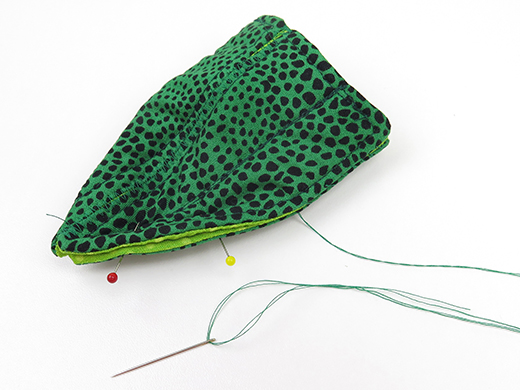
Fold the INSIDE LEAF PIECES in half and hand-sew them together along the sides to form a very ‘pointy-cup’.
STEP 14b
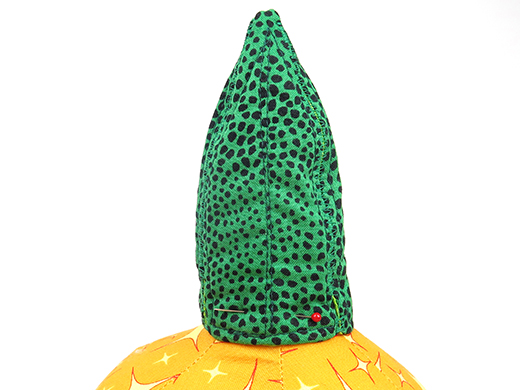
Place the ‘pointy-cup’ of INSIDE LEAVES onto the top of the PINEAPPLE PIECES. Push it as far down as it will go then pin it in place.
STEP 14c
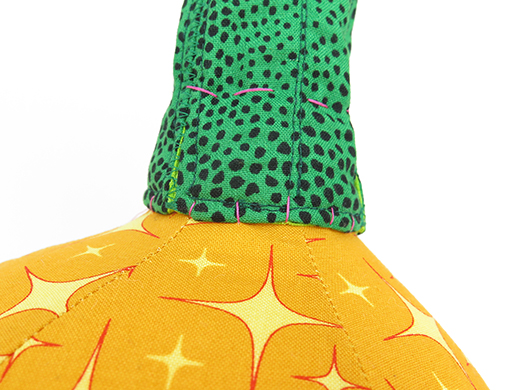
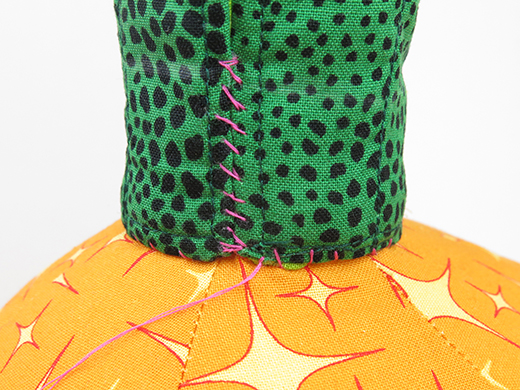
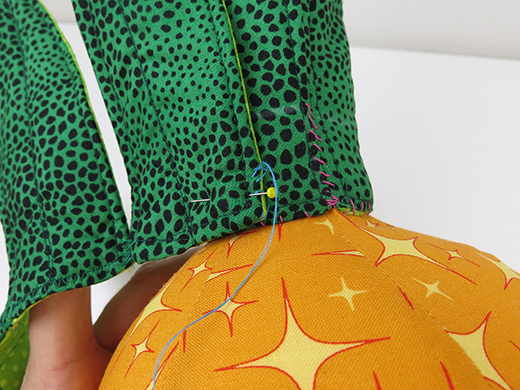
Hand sew the INSIDE LEAVES to the PINEAPPLE PIECES at the base and also about 1 inch (2.5cm) up from the base. Sew through all the layers of the LEAF PIECES and the PINEAPPLE PIECES so it’s really secure.
TIP: I have used bright pink thread so you can see it in the photo tutorial photos, but you should use a matching thread!
STEP 15a
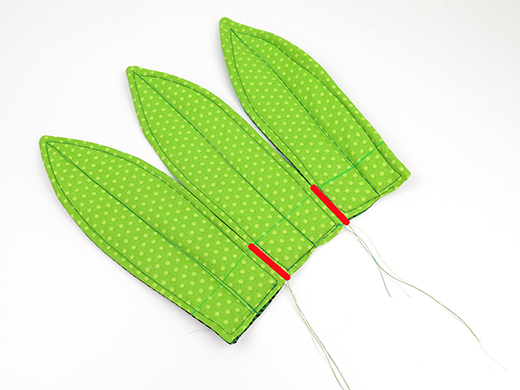
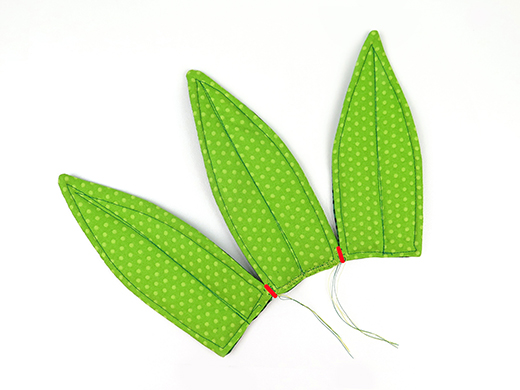
Mark a line about 1 inch (2.5cm) up from the base of the BIG LEAVES. Sew the BIG LEAVES together at the sides. Sew up from the base up to this line, again using a wide zig-zag stitch.
STEP 15b
Position the first BIG LEAF so that it’s edge lines up with the centre of one of the INNER LEAVES and hand sew it securely in place.
STEP 15c
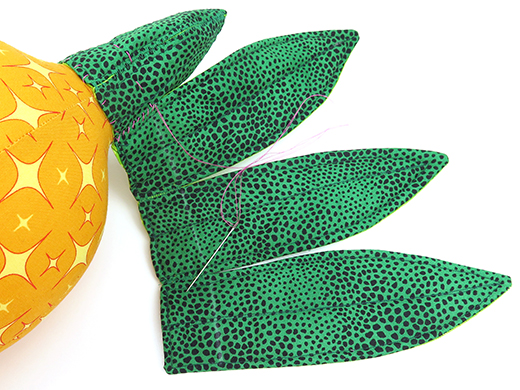
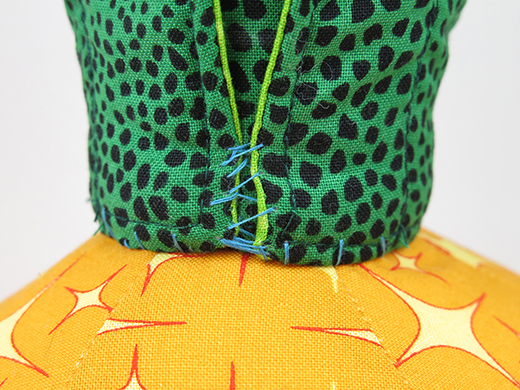
Wrap the BIG LEAVES around the INNER LEAVES and sew the BIG LEAVES together at the sides. Sew the BIG LEAVES to the PINEAPPLE PIECES at the base, sewing through all the layers as before.
STEP 16a
Sew the MEDIUM LEAVES together at the sides, like you did with the BIG LEAVES. Use a wide zig-zag stitch again, but this time, only sew them together for about 1/2inch (1cm). (This is so that they will spread open more than the BIG LEAVES did!)
STEP 16b
Position the first MEDIUM LEAF so that it’s edge lines up with the centre of one of the BIG LEAVES and hand sew it securely in place.
STEP 16c
Wrap the MEDIUM LEAVES around the BIG LEAVES and sew the MEDIUM LEAVES together at the sides. Sew the MEDIUM LEAVES to the PINEAPPLE PIECES at the base, sewing through all the layers as before.
STEP 17
Repeat STEP 16 for the SMALL LEAVES. (They are done in exactly the same way you did the MEDIUM LEAVES.)
STEP 18a
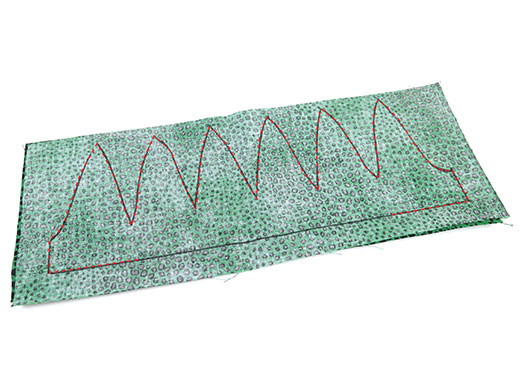
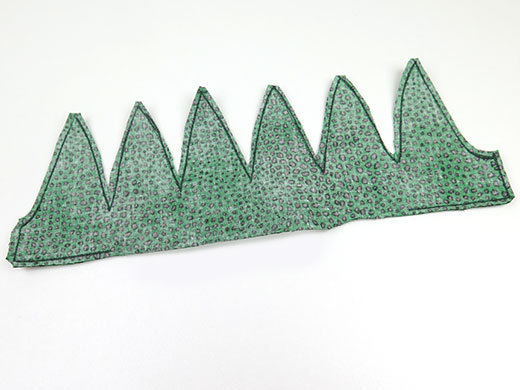
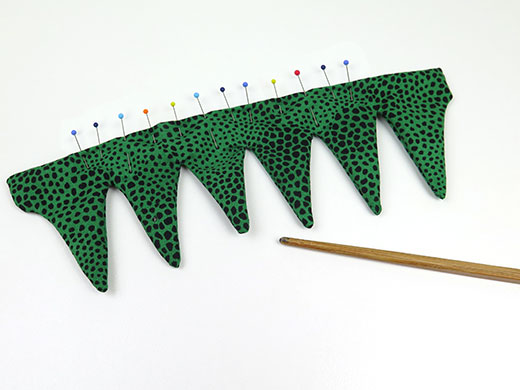
Trace the LEAF RING PIECE onto a double layer of dark green fabric, folded with the fabric right sides together. Sew on the traced line, leaving a gap open for turning.
STEP 18b
Cut the LEAF RING PIECE out with a 1/8inch (3mm) seam allowance. Trim the seam allowance at the tips and the bottom corners of the LEAF RING PIECE.
TIP: Snip into the seam between the ‘v’-shapes of the LEAF RING PIECE – this will help the fabric turn more easily.
STEP 18c
Tuck in the raw edges of the seam allowance at the turning gap and pin it closed neatly. She the turning gap closed by hand or machine. (I like to do this by hand so you don’t see the stitches!)
STEP 19
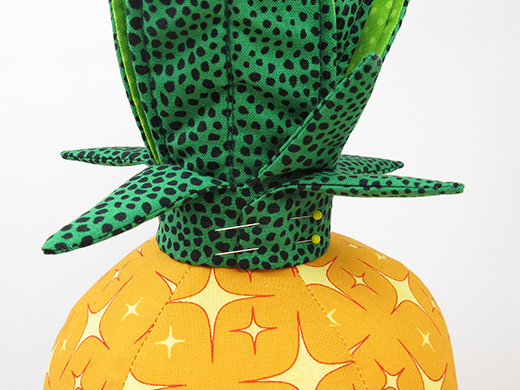
Position the LEAF RING so that it’s edge lines up with the centre of one of the SMALL LEAVES and hand sew it securely in place.Wrap the LEAF RING around the SMALL LEAVES and sew the end down with small neat stitches. Sew the LEAF RING to the PINEAPPLE PIECES at the base, sewing through all the layers as before.
Your cushion is ready to
LOUNGE on!
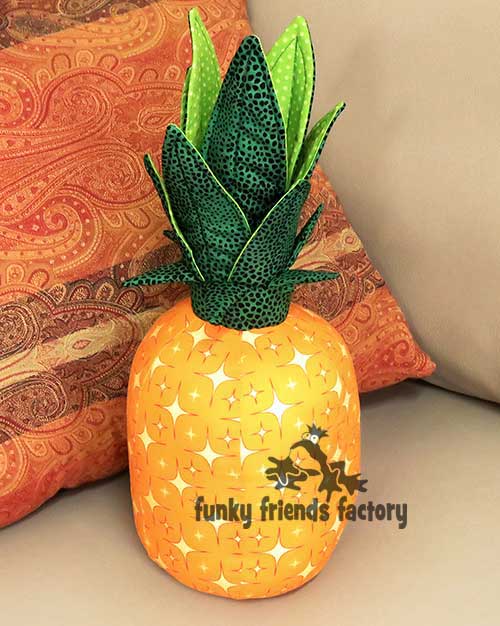
I can’t wait to see YOUR cushions!!!
Come join the fun on Facebook!

I LOVE to see how your Funky Friends toys turn out!
When you’ve made your own pineapple cushions you can come show them off ~>
Post a photo on my Funky Friends Factory Facebook page for me to see and YOU could win a FREE PATTERN!
Mmmm? What fruit should I try next?

. .
Till next time…
Happy Sewing,
Pauline
xxx ![]()


