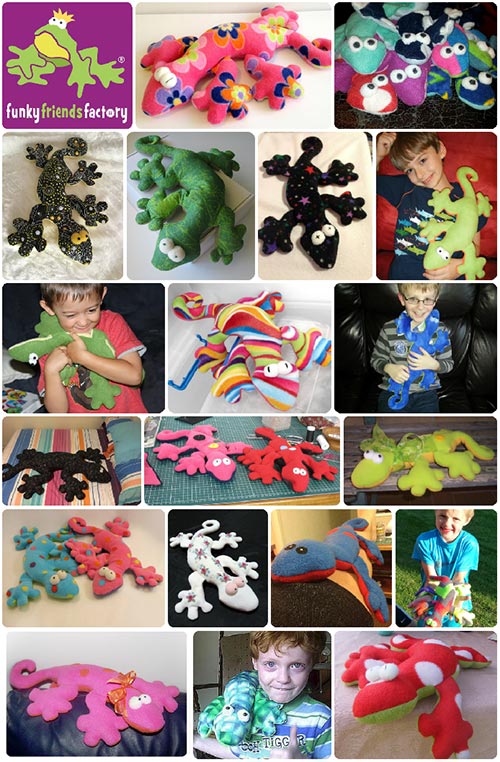
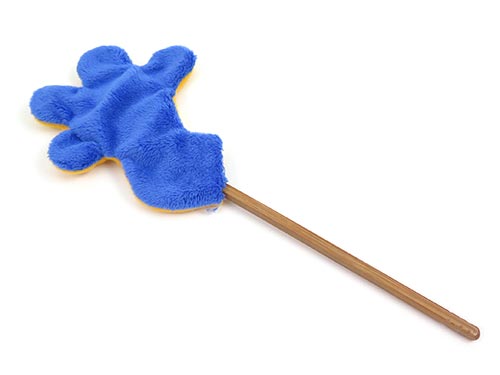
I made this photo tutorial so you can see how to sew my Gecko Sewing Pattern ~> scroll down for step-by-step photos!
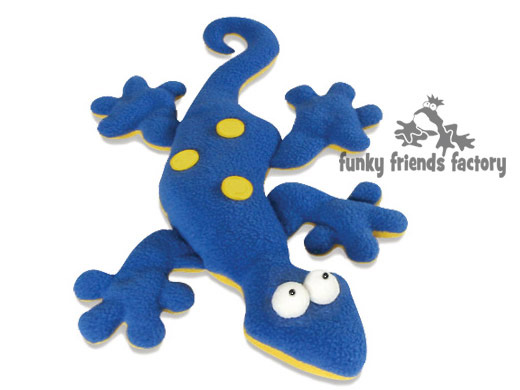
This simple heat pack pattern will make a great project for beginners because it is quick and easy to sew BUT way cuter than a rectangle heat pad! PLUS an animal heat pack is a really fun way to make someone you know feel great! (You can also fill Gertie with toy stuffing/pellets if you want a toy instead of a heat pack.)
.
*** PLEASE NOTE – this is ONLY a PHOTO TUTORIAL ***
The FULL PATTERN IS NOT included here.It is NOT A FREE PATTERN!
I have made this photo tutorial so people who have purchased my Heat Pack Sewing Pattern can SEE how to sew a Heat Pack toy! (I wanted to explain this so you are not disappointed if you have found this page via a search engine and not from the link in my Gertie Gecko Heat Pack Sewing Pattern)
Let’s get sewing!
STEP 1
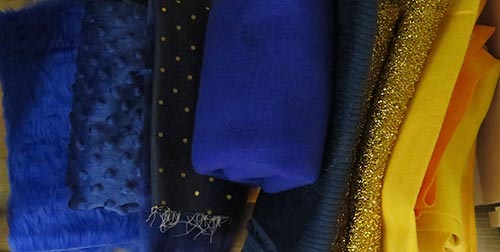
Choose some fabric. Gertie can be sewn in MOST fabrics but it is easier to turn the toy right sides out if you use a knit (stretchy) fabric like fleece, Cuddle, velour, chenille, minky etc. You can use woven (non-stretchy) fabrics like quilting cottons and corduroy but they will be a bit harder to turn. (The googly eyes will be easier to make with stretchy fabrics!)
And she doesn’t have to be just BLUE and YELLOW
like my heat pack!!!
CUT OUT THE GECKO FABRICS:
STEP 2a
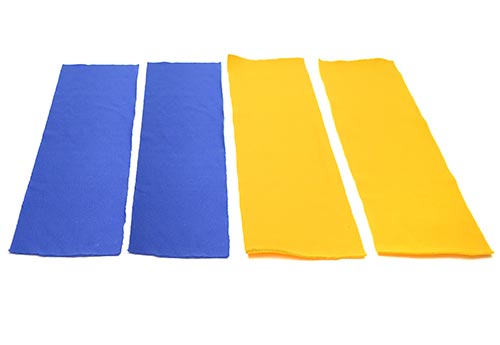
Cut the piece of BLUE(Dark) Fabric and the piece of YELLOW(Light) Fabric into 2 pieces as shown in the Layout diagram – one for the BODY and the other for the ARMS, LEGS and SPOTS.
STEP 2b
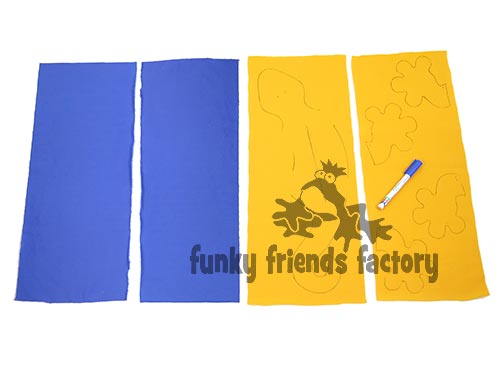
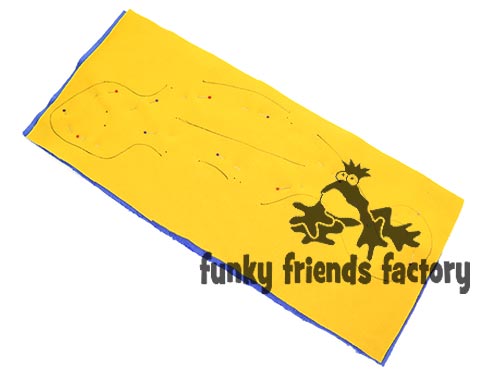
Using the Layout Diagram in the pattern to guide you, place the pattern pieces templates onto the wrong side of the YELLOW(Light) and trace the templates lightly with a fabric marker, pencil or permanent marker.
TIP: Remember that the line you trace is the sewing line, so don’t cut out the pieces now, we have to sew them first!
BODY:
STEP 3
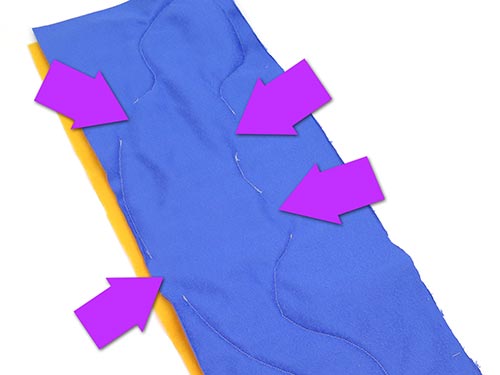
Pin the Blue and Yellow Fabric pieces that you cut for the BODY with the right sides of the fabric together so they won’t slip as you sew.
STEP 4
Sew on the sewing line that you traced for the BODY PIECE leaving the gaps for the ARMS and LEGS.
STEP 5
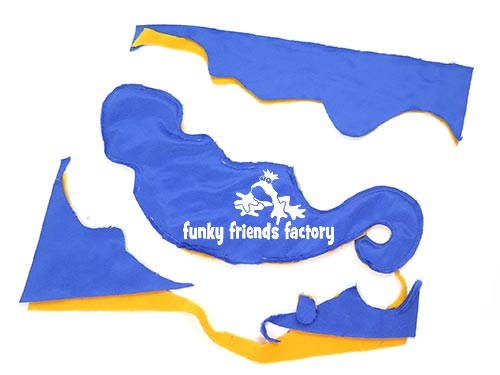
Cut out the BODY PIECES out with a 5mm/¼inch seam allowance.
ARMS AND LEGS
STEP 6
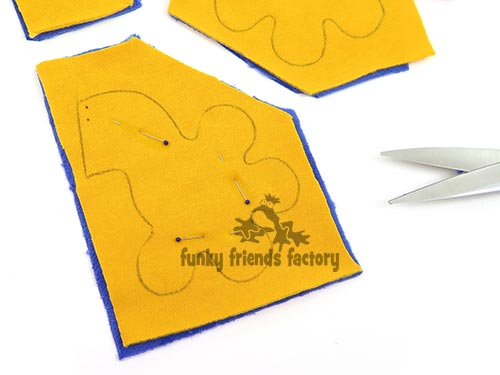
Pin and sew ARM PIECES and LEG PIECES in the same way as you did the body.
STEP 7
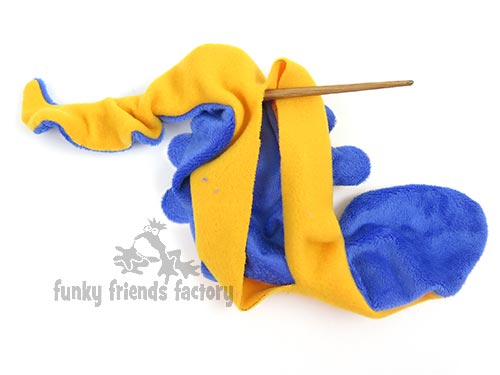
Cut out the ARM and LEG PIECES with a 5mm/¼inch seam allowance. Turn the ARMS and LEGS right sides out, and use a wooden chopstick or blunt pointed object to turn them out nicely.
STEP 8
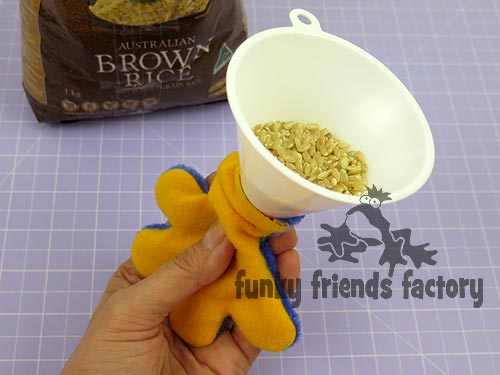
Place about ¼ – ½ cup of wheat in each ARM and LEG, using a funnel if you have.
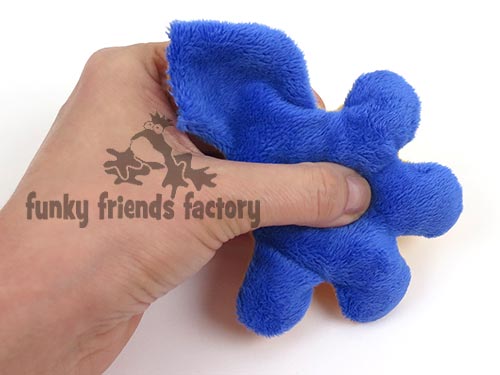
TIP: Massage the wheat into the tips of the toes and fingers!
STEP 9
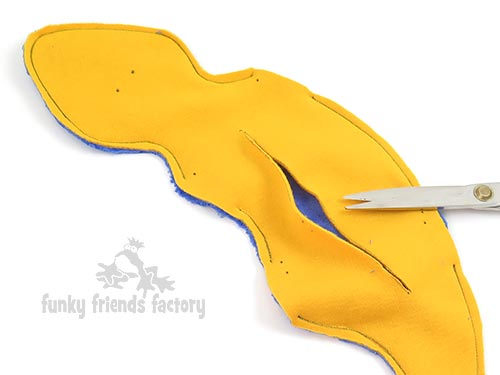
Cut the hole in the Light BODY PIECE, as shown in the pattern markings. (This is Gertie Gecko’s tummy.)
STEP 10
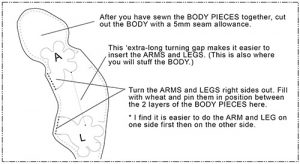
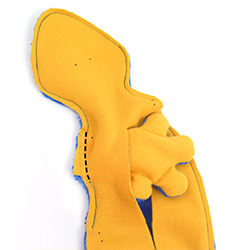
Pin and sew the ARMS and LEGS in place, use the pattern marking dots and the sewing diagram below to guide you.
*This diagram is clear in the pattern – this is a low-res image for the web!!! 🙂
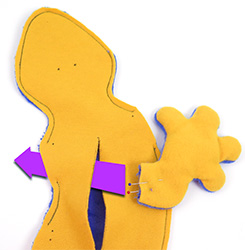
TIP: Go back and zig-zag across the ARMS and LEGS to make sure they are very secure.
EYES
STEP 11a
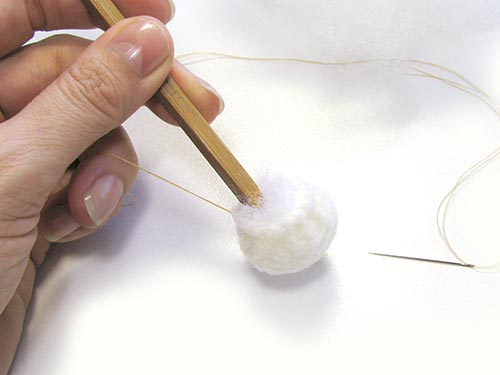
Use a strong thread and a running stitch to gather each EYE PIECE to form a cup shape.
STEP 11b
Fill this with toy stuffing and pull tightly to gather the EYE PIECE to form an eyeball.
STEP 11c
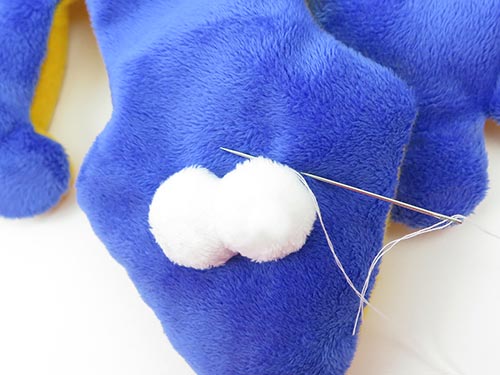
Sew each eyeball closed then sew the two eyeballs together at the side.
ASSEMBLY
STEP 12
Turn the body right sides out through the hole you cut in the Light BODY PIECE and use a wooden chopstick to turn the tail nicely. Fill the head area firmly with wheat (or toy stuffing for a toy).
STEP 13
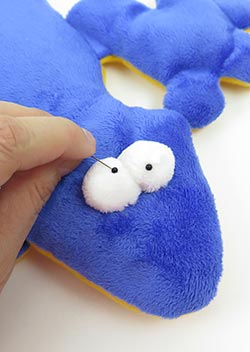
Place and sew the eyeballs on the head. You can use the pattern markings or the cover photo to guide you with the placement of the EYES.
STEP 14a
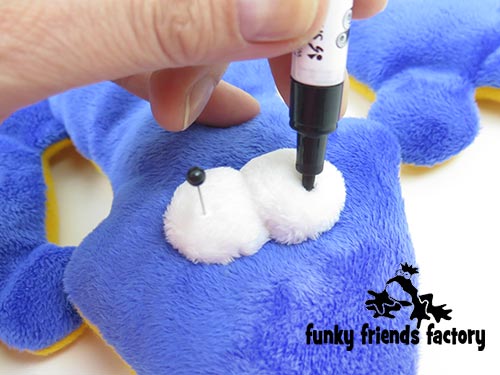
Use 2 pins with large black heads to experiment with the eye pupil positioning… this will dramatically change the expression of your gecko’s face.
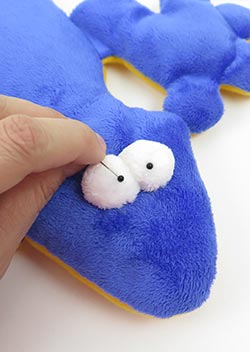
STEP 14b
Mark the pin positions with a permanent marking pen.
STEP 14c
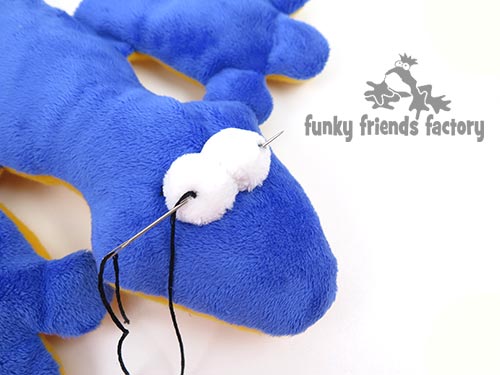
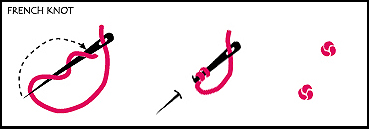
Use a thick embroidery thread to sew a French knot for each eye. (Hide the starting and finishing knots under the EYES.)
TIP: If you are making your Gecko as a toy (rather than a heat pack) you can use 3mm beads instead of embroidering French knots. Don’t use beads or buttons if your toy is going to be for a child under the age of 3 years, because they would be a choking hazard. I have a post about toy safety on my blog with more toy safety tips and guidelines.
STEP 15
Fill the BODY with wheat or toy stuffing, so it holds its shape.
STEP 16
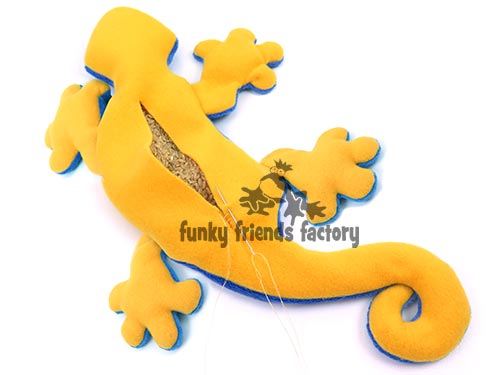
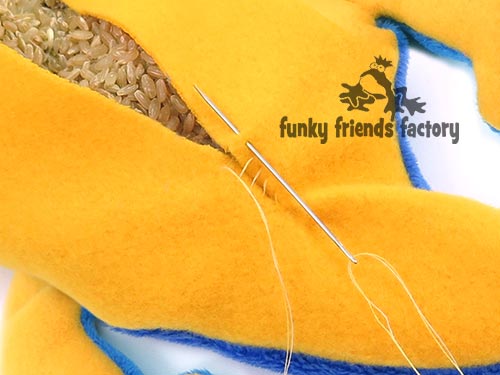
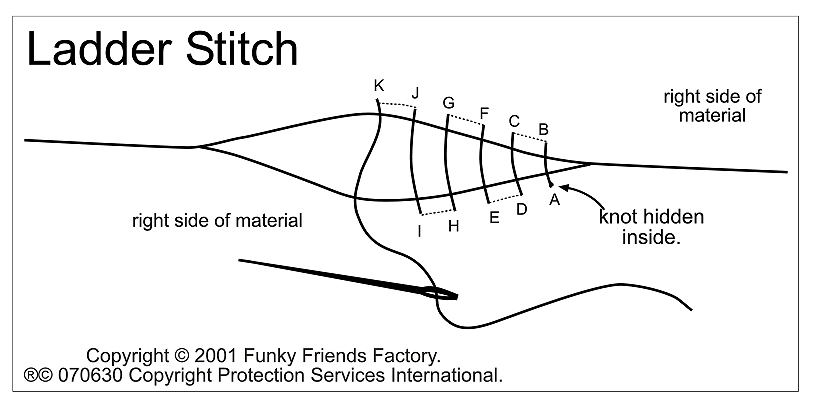
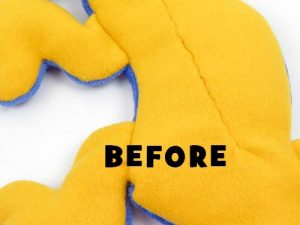
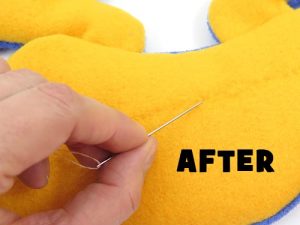
Sew the opening on the BODY PIECE closed with a ladder stitch.
TIP: Use a needle to tease the pile of the fleece/cuddle out of the seam, at the closing gap, so it hides the stitching.
STEP 17
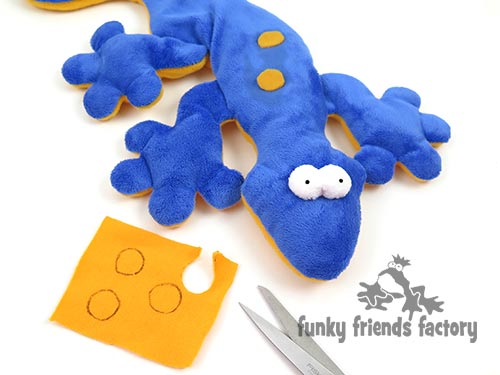
You can cut spots from contrasting fabric and sew these on the back of your Gecko’s BODY…
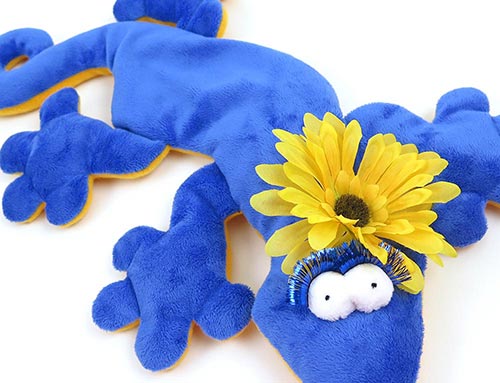
…or sew on some buttons (and all sorts of crazy embellishments, like electric blue stick on eyelashed or fake flowers, if you are making your Gertie as a toy rather than a heat pack).
TIP: The pattern has lots of information about what can be used for filling heat bags, adding fragrances to a heat pack, fabrics that you can use for heat packs.
MICROWAVE YOUR HEAT PACK
STEP 18
DIRECTIONS FOR MICROWAVE HEATING:
- Microwave on HIGH, for 1 to 2 minutes, depending on the Microwave oven’s power.
- Never leave it unattended in the microwave while it is heating – “just in case” the filler smokes or catches on fire.
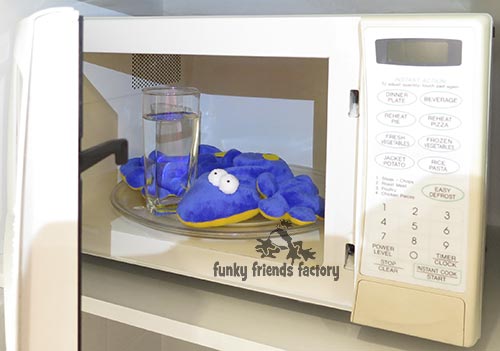
- To to stop the heat pack from catching fire in a microwave – put a cup of water inside the microwave while heating the bag to add moisture.
Step 19
IMPORTANT HEAT PACK SAFETY INFORMATION!
***Caution – be careful not to burn yourself!***
Microwave Ovens vary tremendously in their Power settings and the heat pack may be much hotter than you think. Be careful when removing it from the microwave and applying it to the body. Make sure it’s not too hot and won’t burn, especially when using on a child. (Wheat Bags are suitable for ages 3 years and up.) It is not recommend to take a Heat Bag to bed as a heating device. Overheated heat Bags can catch fire when placed under bedding where heat cannot escape.
Your Gecko is ready to LOVE!
Come join the fun on Facebook!
I LOVE to see how your Funky Friends toys turn out!
When you’ve made your own homemade heat packs you can come show them off ~>
Post a photo on my Funky Friends Factory Facebook page for me to see and YOU could win a FREE PATTERN!
Till next time,
Happy Sewing,
Pauline


