2024 Update:
💥Myth-busting💥,
Top Tips & VIDEO
for EASY teddy bear joints!
I’ve seen a LOT of confusion online lately about teddy bear jointing. People seem to be scared to try making a jointed teddy bear because they think it’s really difficult and requires special joints and supplies.
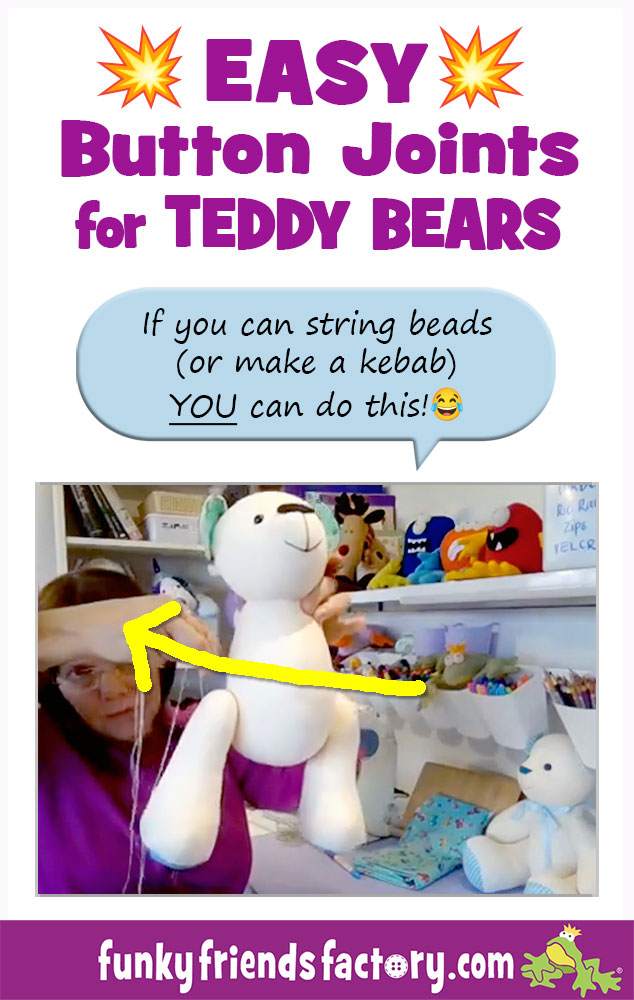
This is really sad because it’s VERY EASY and cheap to make the Funky Friends Factory jointed teddy bears and toys…
Right, let’s B-U-S-T some of those jointing myths!
🕵️♀️ MYTH 1:
You need to buy special joints or old-fashioned cotter pin joints.
💥Not true! Cotter pins are an old-fashioned way of jointing mohair teddy bears, which is not needed for Funky Friends Factory patterns. The truth is you don’t need to buy ANY sort of joints! You don’t even need to use a button while jointing a Funky Friend…it’s just decorative and you can leave it off entirely.
🕵️♀️ MYTH 2:
It’s impossible to get joints tight enough.
💥Not true! Loose joints are a common mistake. (There’s an easy solution for this below!)
🕵️♀️ MYTH 3:
Adding joints is painful to fingertips.
💥Again not true! If you use the right kind of needle and technique, it’s not painful at all! (See the video below).
🕵️♀️ MYTH 4:
Button joints are NOT strong enough.
💥Again not true! If you use very strong thread (like the ones recommended in this post) this will be incredibly strong and DURABLE. Alternatives like cotter pin joints and plastic joints can break, come loose and degrade over time and when they do small sharp pieces can be exposed that pose a dangerous risks to babies and young children under 3 years old as they are a choking hazard! You can read more about toy-safety HERE.
And here are my Top 3 Toy-jointing TIPS!
*** If you read them first (before the step-by-step Photo tutorial further down) – you’ll know all the secrets of adding EASY joints to Funky Friends Factory toy!
👍Toy jointing Tip 1:
The right supplies are important BUT they’re EASY to find (and cheap!)
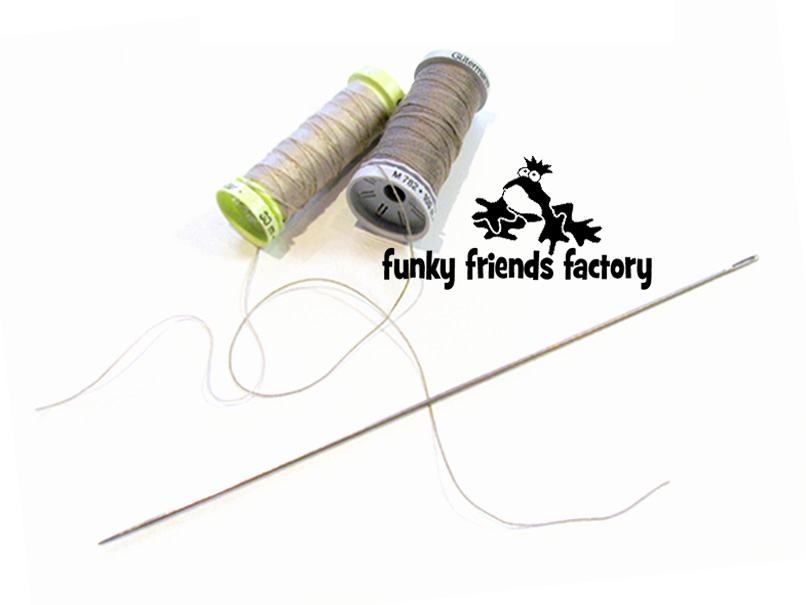
All you need is a LONG needle and STRONG thread!
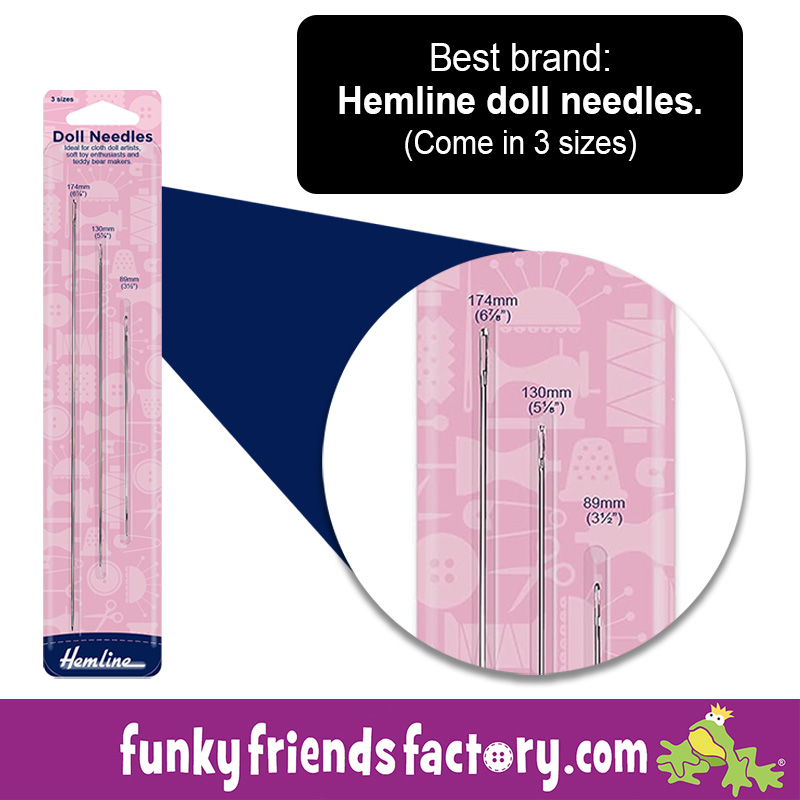
Use a Long Doll Needle – 5 to 7 inches(about 175mm) is ideal.
✅ A doll needle is a very long, thin needle. (It’s not thick like a knitting needle and it’s thinner AND sharper than an upholstery needle.)
✅ I’ve found that the most widely available brand of doll needles is Hemline. These are nice and sharp so they go through most fabrics easily! (You can find them easily online and in craft and fabric shops.)
Use heavy duty thread – (I’ve put 3 options below, starting with my favorite).
✅ Top Stitch thread. Example: Gütermann Top Stitch Thread. This is not as shiny(slippery) as upholstery thread. I like the ‘slightly brushed’ finish of this thread because I find it helps to ‘grip the fabric’ and hold the joints tight as you sew. (Available at craft and fabric stores, about $1 USD)
✅ Upholstery thread. Example: Coats and Clark Upholstery thread. Upholstery thread tends to be slightly thinner but stronger than Top Stitch thread, with a shiny smooth finish. This makes it slide more easily through the toy, which is ‘easier on the finger tips’, but I find it doesn’t ‘grip the fabric’ and hold the joints as well as Top Stitch thread does. (Available at craft or fabric stores, about $2 USD).
✅ Unwaxed dental floss. If you can’t find either of the above, unwaxed dental floss can also be used.
👍Toy jointing Tip 2:
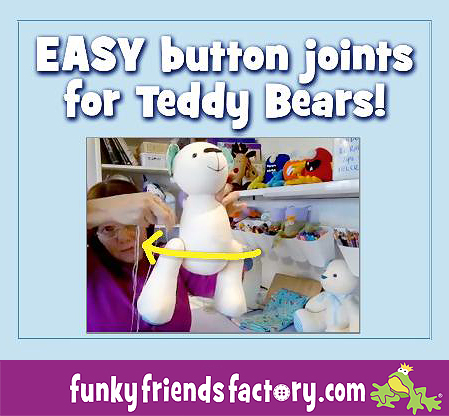
📺Watch this VIDEO: (See me joint a teddy bear!)
In the video I show you how to sew the button joints for my Calico Bear. (Once the ARMS and LEGS are tightly secured I like to add some buttons or ribbon flowers for baby bears!
CLICK HERE:
See how EASY it is
to sew Button Joints!
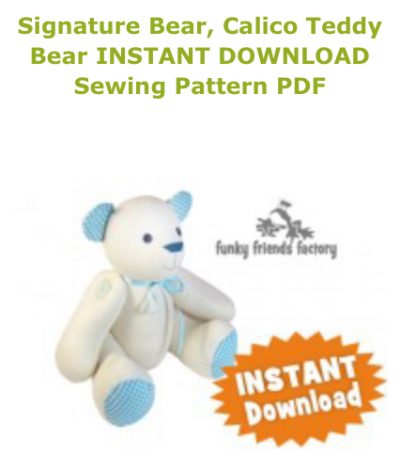
Click HERE to buy the Calico Bear pattern.
👍Toy jointing Tip 3:
Avoid this VERY common mistake!😱
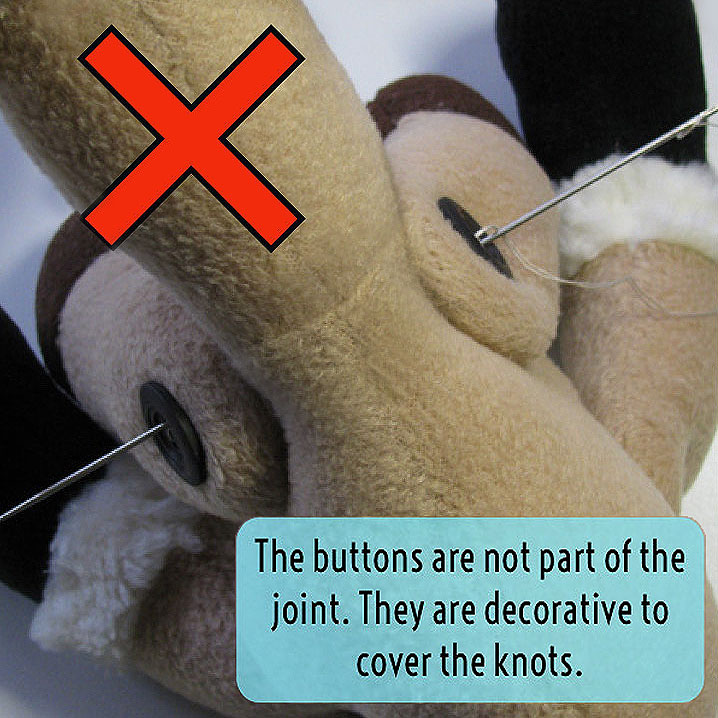
It is difficult to pull the limbs tight if you are sewing the buttons on AT THE SAME TIME!
You want to make sure the arms (or legs) are nice and tight FIRST and tie off the thread with a secure knot. Then sew the buttons on top separately.
❌IMPORTANT TOY SAFETY NOTE: ❌A keepsake/memory bear that will be given to a baby (or child under 3 years old) should NOT have any small parts like buttons, craft eyes or weighted pellets! You can read more about toy-safety HERE.
See the great idea below
for things you can use
INSTEAD of buttons!
💡GREAT IDEA:💡
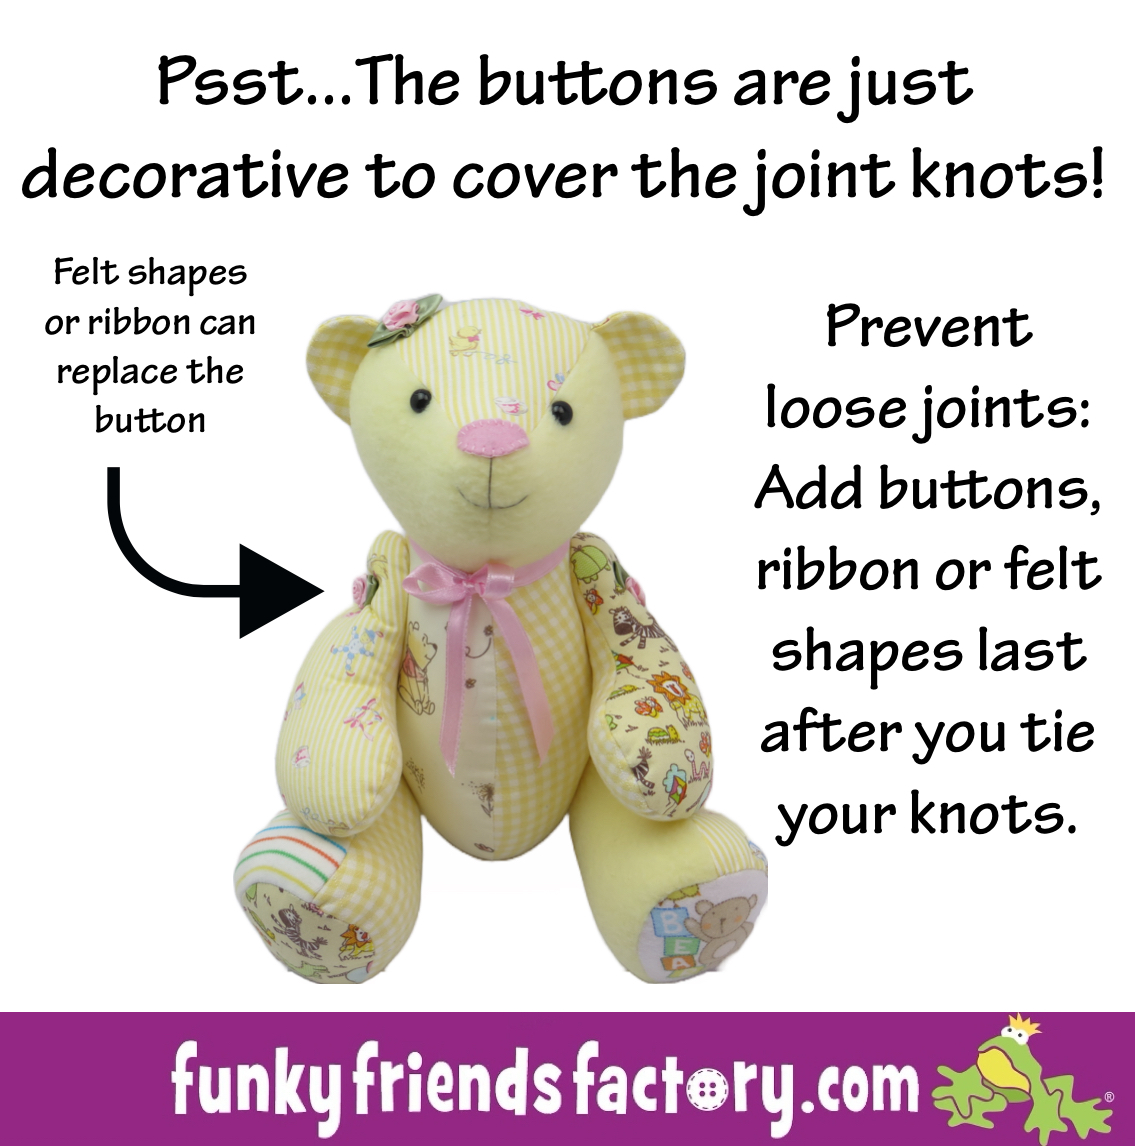
Because the buttons are OPTIONAL – you can glue on a felt circles, heart or a ribbon flower (like the yellow bear shown below).
📸Now for the Step-by-Step Photo tutorial:🥳
Button joints (or string joints – if you leave the buttons off) are made with normal buttons and some strong thread. I like them because they are the easiest way to make movable parts for a teddy bear, doll or soft toy. (There’s no need for fiddly nuts and bolts or cotter joints like you have with traditional teddy bear joints!)
This jointing process itself is easy – all it takes is a little practice!😁
Click HERE to buy the Reindeer pattern.
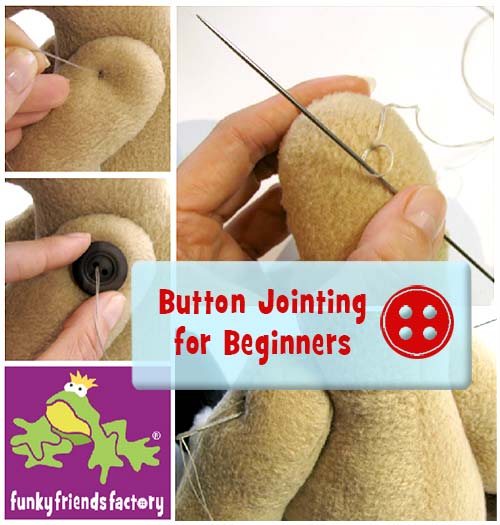
OK, let’s show you HOW to do Button Joints!!!
I like to sew button joints in TWO stages: FIRST I sew the arms on and knot them, and THEN I sew on buttons to cover the knots.
IF you’re wondering WHY I don’t sew the buttons on at the SAME TIME?🤔
There are 2 good reasons why!
😱 It causes LOOSE JOINTS! From past experience, I found that I couldn’t pull the joints as tight when I sewed the arms and buttons on in one step. Now I always do it in two stages like this!
🤩 You can use a different color thread to match your buttons! This is also good when you want to change to a coloured, decorative thread, that may not be very strong. (When I made Chrissy the Camel I used an aqua blue thread to match her lovely turquoise buttons. It wasn’t very strong and would have snapped if I tried to pull the button joints nice and tight!)
STAGE ONE: Sew the LIMBS (arms & legs) on FIRST.
STEP 1:
Thread a long doll’s needle with heavy duty thread.
TIP: My needle is 7inches/18cm long, I find this is long enough, I have seen longer ones but a longer needle is much harder to handle. (If you don’t have a doll’s needle, use a long darning needle and squash the toy till the needle ‘pops’ out the other side – beware of pricking your fingers!)
STEP 2
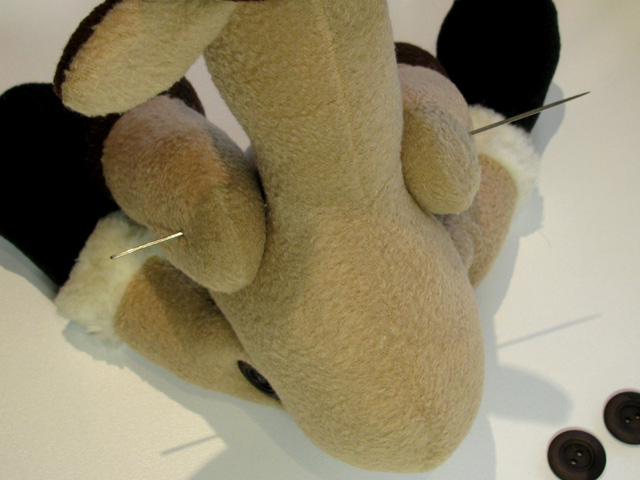
I use my doll needle to line up the arms in the right position on the body. (You can use lots of pins if you don’t have a doll needle)
STEP 3
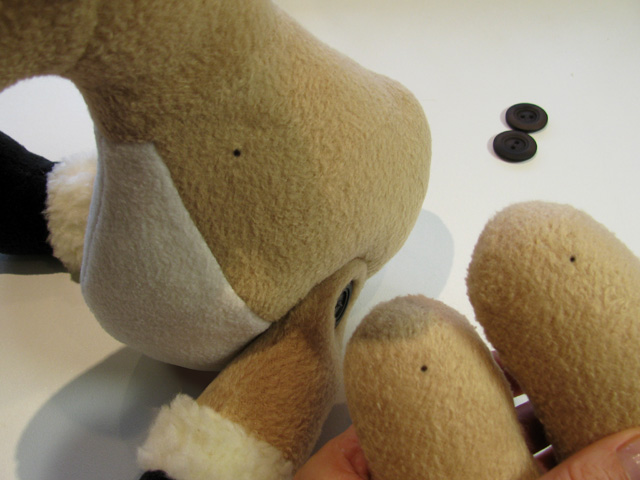
I use a permanent marker pen to mark where the needle went in and out of the arms and body. (Remember to mark the arms on the outside AND the inside as you’ll be sewing right through them!)
STEP 4
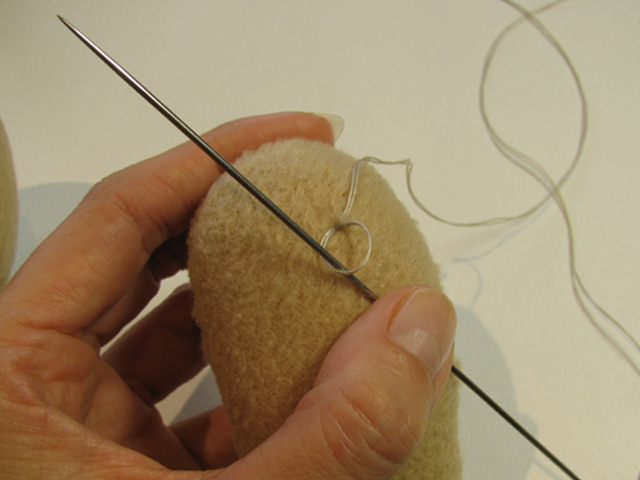
Secure the thread with a knot on the inside of one of the arms.
STEP 5
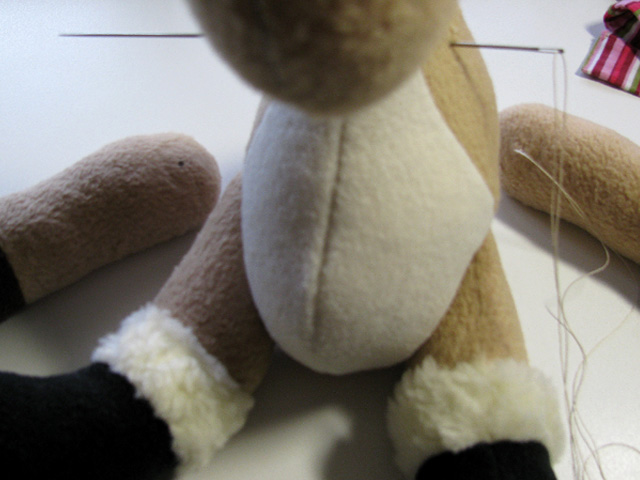
Then sew through the toy’s body… (Sounds a bit gruesome!).
STEP 6
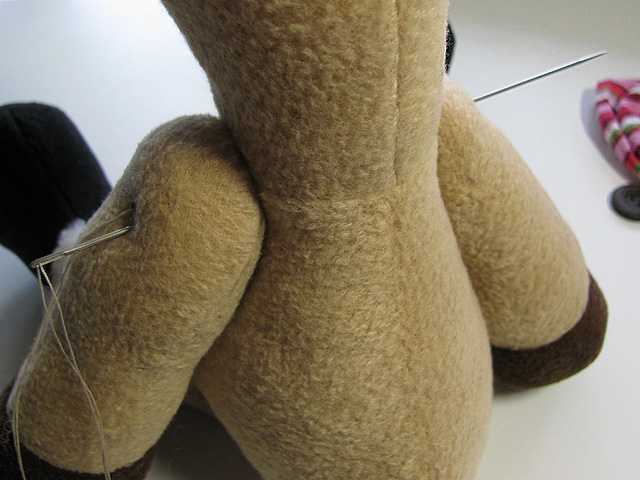
… and then through the other arm! (OUCH!😄)
TIP: Don’t try to add the buttons NOW or your joints will be too loose!
STEP 7
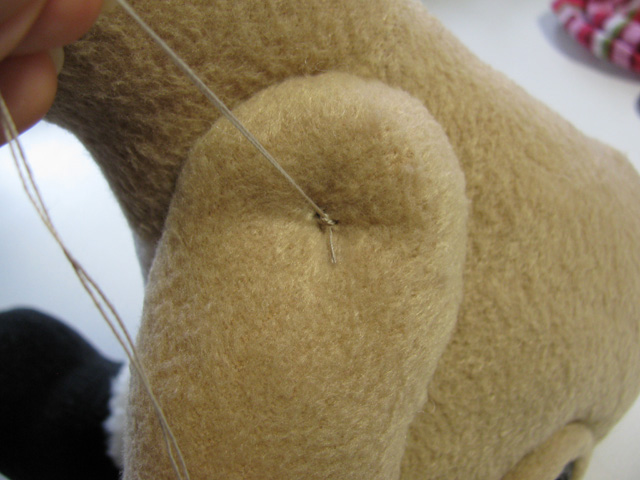
Sew back and forth a few times, pulling the arms into the body a bit. Make sure that the arms are pulled tight, as they will loosen up a bit with time.(I normally make them tight enough so that the arms can just twist around.) Secure the thread with a knot on the outside of the arm, then CUT your thread.
STAGE TWO: Sew on buttons to cover the knots.
STEP 8
Next we will cover the knots with some buttons. Secure the thread with a knot on the outside of the arm.
TIP: You can change to a different thread now if you want to match your buttons. Make sure to select buttons with holes big enough for the Doll Needle.
STEP 9
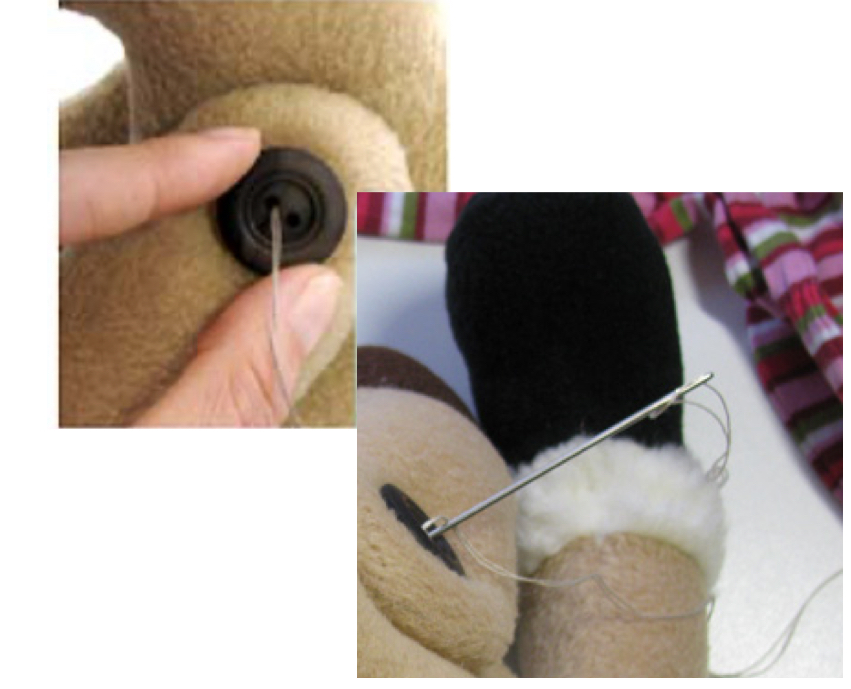
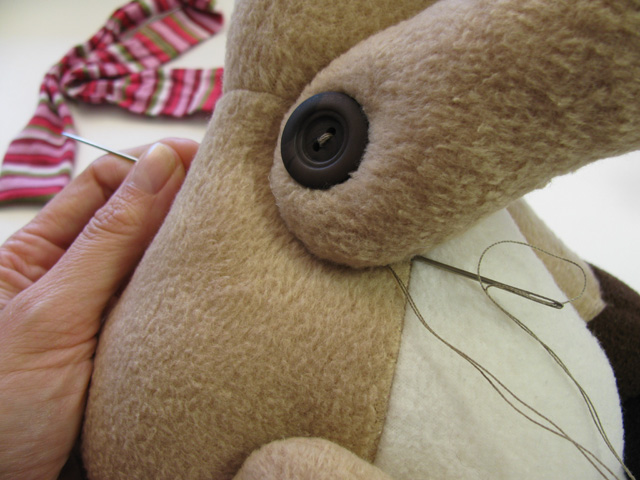
Thread on the first button then sew through the toy and thread the second button on the other arm. Sew back through the buttons and toy a couple of times until the buttons are firmly held in place.
STEP 10a
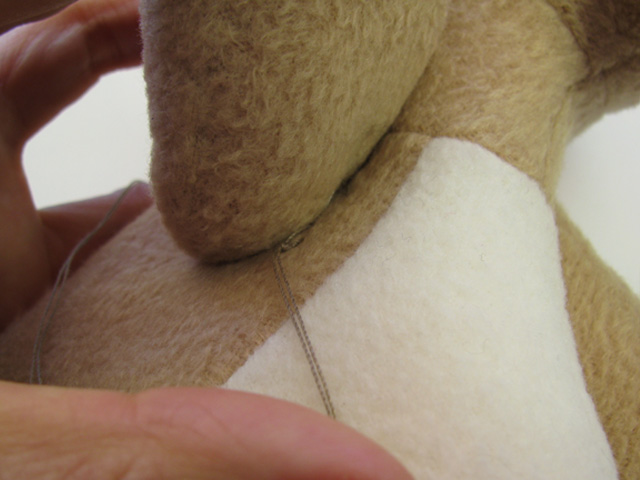
Finish off with a knot on the inside of the arm (hidden between the arm and body).
STEP 10b
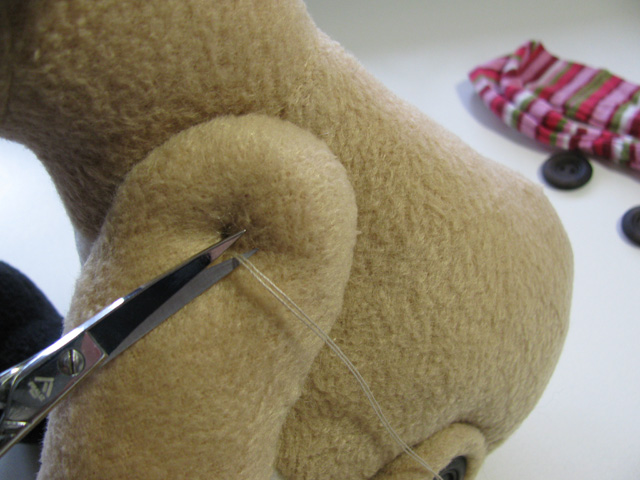
To hide the end of your thread, sew back into the body and come out of the body at the back, pull the thread out of the body a bit as you cut it, so the end ‘springs’ back inside the body.
And that’s it! Your button jointed toys should turn out ‘cute as a button’!
Please share the LOVE!!! If you think this information was helpful – share it with your crafting friends!!! 💗

Happy sewing,
Pauline
![]()
PS: Please let me know if you have any more Button Jointing tips to add!




0 Comments