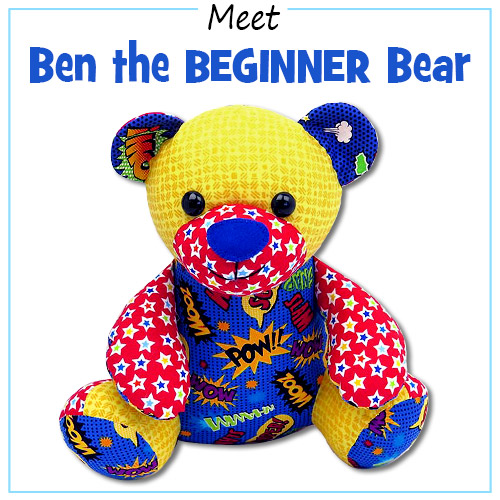
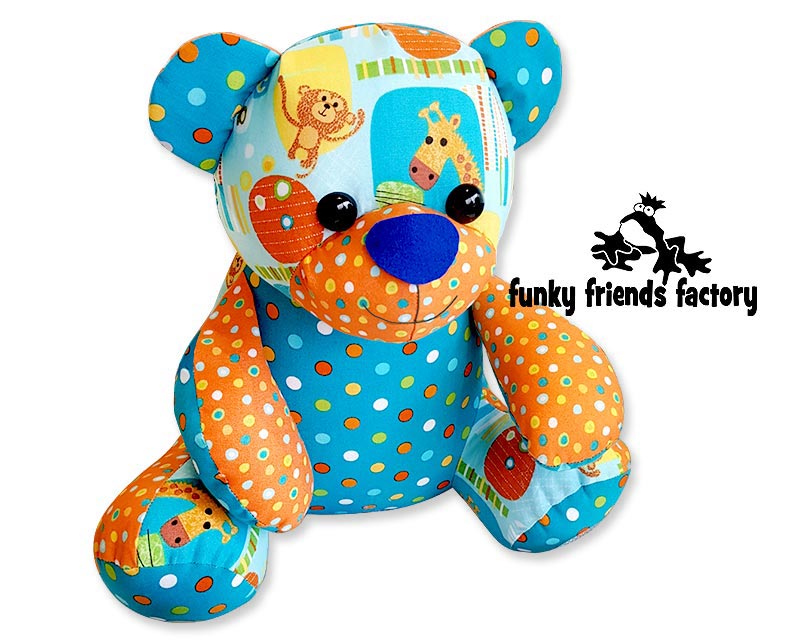
I made this photo tutorial so you can see how to sew this easy memory bear pattern – Ben the BEGINNER Bear.
Scroll down for
step-by-step photos!
*** PLEASE NOTE – this is ONLY a PHOTO TUTORIAL ***
The FULL PATTERN IS NOT included here.
It is NOT A FREE PATTERN.I have made this photo tutorial so people who have purchased the pattern can SEE how to sew this easy memory bear (I wanted to explain this so you are not disappointed if you have found this page via a search engine and not from the link in my Ben the BEGINNER Bear sewing pattern!)
First choose some fabric…
You can sew this easy memory bear pattern from MOST fabrics. I sewed him in quilting cottons but he will also look great in knit/stretchy fabrics like fleece and Cuddle.
Prepare the pieces:
Must fabric pieces be lined with interfacing?
I don’t like to make EXTRA work for myself – so I DON’T normally interface toys. MOST of the time it is NOT necessary! 🙂
When you DON’T NEED interfacing:
From experience I’ve found that I don’t need to use interfacing when ALL of the fabrics I’m using are the SAME TYPE. For example:
- I don’t use interfacing if the fabrics I’m using are ALL woven fabrics (like quilting cottons and corduroy) because they do not stretch out of shape.
- I also don’t use interfacing if the fabrics are ALL knit fabrics (like fleece, minky or Cuddle) because they will all stretch the same amount BUT I take care not to over-stuff my bear – if these fabrics stretch too much he’ll be very chubby!
When do you NEED to use interfacing?
- If I am making Ben from clothing items , very thin or stretchy fabrics or fabrics that fray easily.
- or when I am using a MIX of woven (non-stretchy) and knit (stretchy) fabrics.
HOW TO use iron-on interfacing:
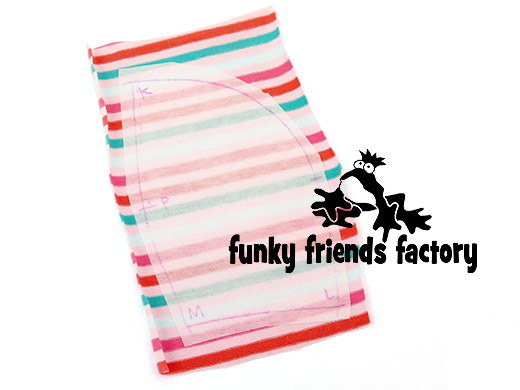
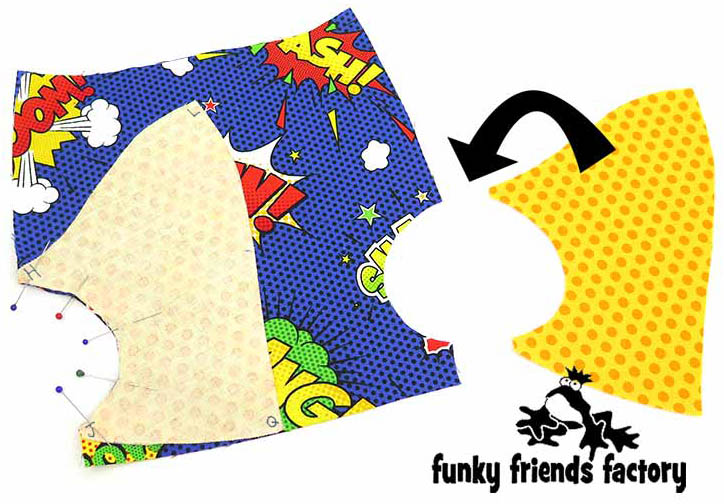
- Trace all the pieces, including all the ‘reversed pieces’, onto the smooth (NON-STICKY) side of the iron-on interfacing.
- Cut out the pieces adding about 5mm (¼ inch) around them.
- Iron the interfacing pieces onto the fabric of the clothing items, with the STICKY (GLUE) side facing the BACK of the fabric.
- Cut the pieces out on the traced lines.
Why not
Embroider some fun details!
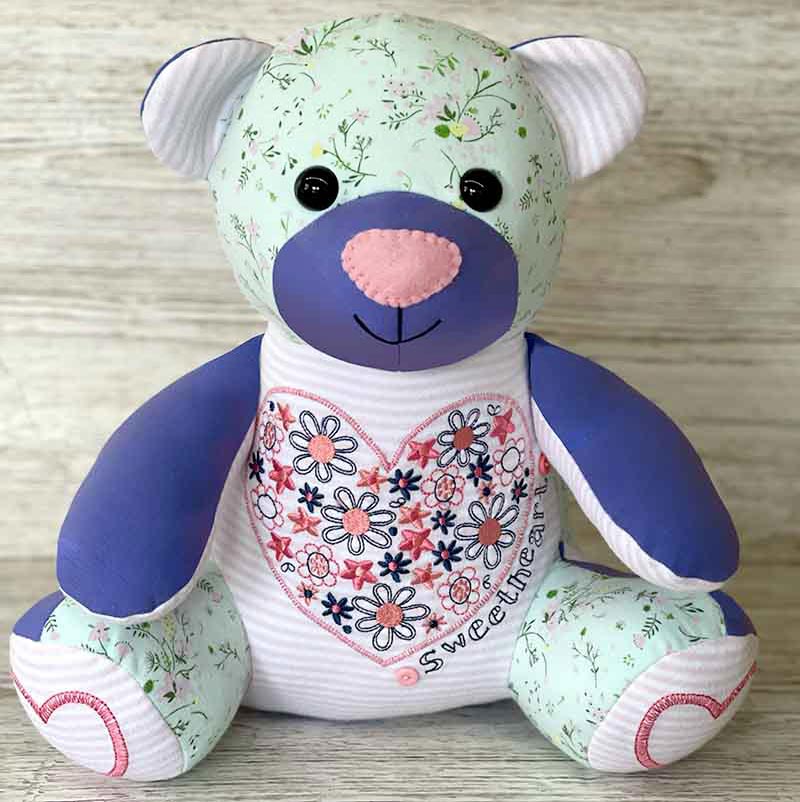
Ben has a big flat, single-piece TUMMY and large FOOT PADS especially for embroidery. Look at this sweet bear with embroidery details – sewn by Emma Woodley of The Sewing Bumble Bees.
Ooooh!
have you seen?
I have a *FREE*
🥳 Toy-Making Course! 🥳
I know you’re keen to get sewing your first bear BUT take a look at my FREE toy-making Course first, especially if you’re NEW to sewing toy patterns – I share ALL the tips & tricks I’ve learned about sewing soft toys over the last 20+ years in a daily email series packed with photos, diagrams and videos. This FREE toy-making Course includes everything you need to know about sewing toys from how to read a pattern to how to stuff a toy AND includes my easiest pattern – Plattie Platypus.
(Yes! It’s FREE!)
Even if you’re NOT a NEW sewer,
you’ll find great tips like this in the course ~>
My # 1 Tip
to avoid getting stuck!Transfer ALL THE MARKINGS & LETTERS from the pattern pieces onto the fabric, then you can’t go wrong because it’s like snap – all you have to do is match up the letters! I know it seems so simple BUT don’t let this fool YOU! It’s my BEST tip EVER ~> because it seems to help 99% of people who get stuck!
GENERAL SEWING INSTRUCTIONS:
- Always sew the fabric pieces with the right side of the fabric together, UNLESS the instructions tell you to do something different.
- A 5mm(¼inch) seam is included so you will sew 5mm(¼inch) INSIDE the lines you traced. Do not add on a seam allowance UNLESS the instructions say so!
- Look at each pattern piece – the dashed line on the pattern piece is a useful guide to show you the FIRST seam you will sew on each piece.
TICK THE BOX FORMAT!
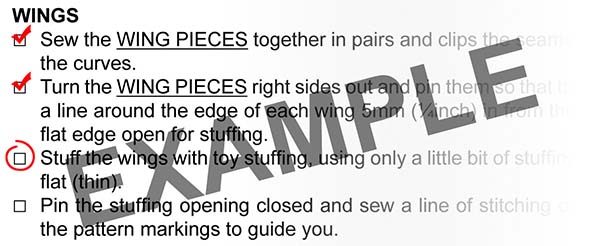
- Tick the boxes as you do each step so you get the PIECES sewn together in the right order AND you don’t miss out any steps.
OK. let’s sew Ben!
HEAD:
STEP 1a
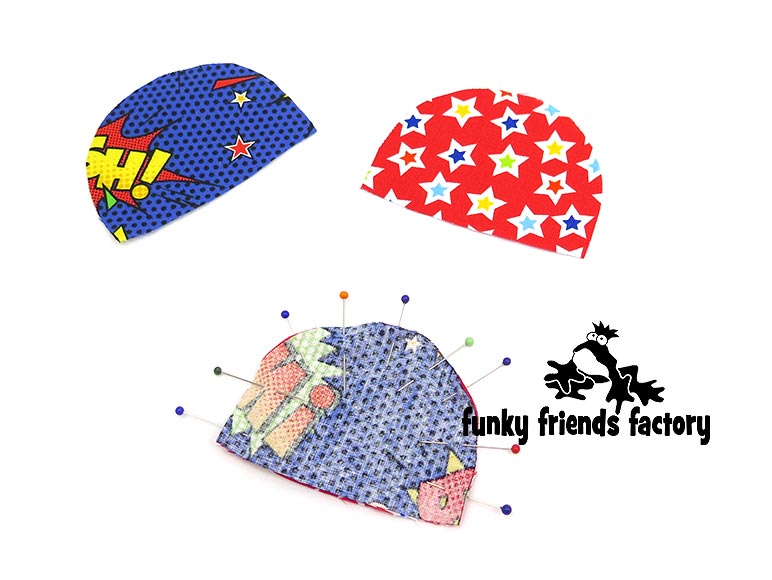
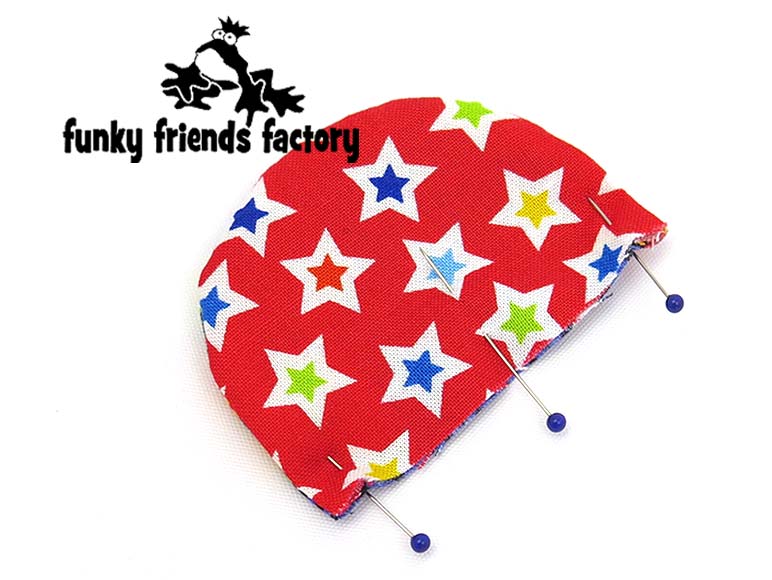
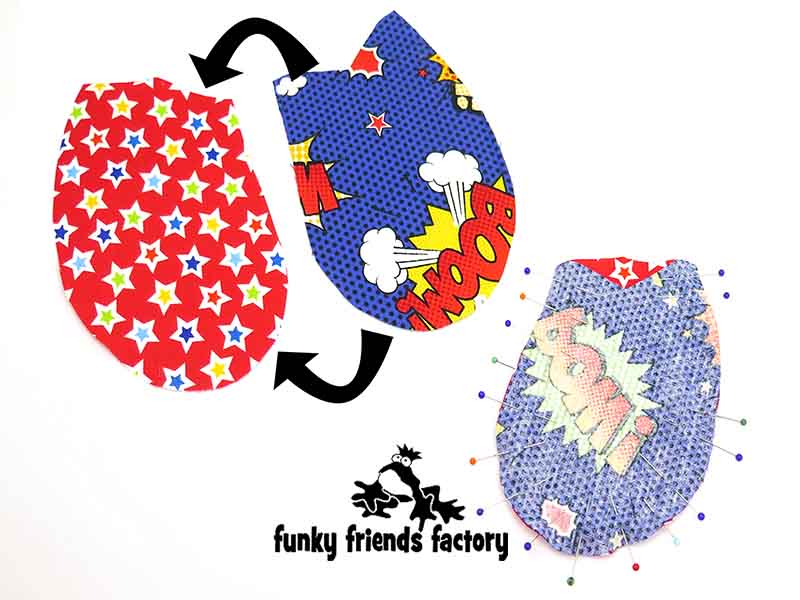
Sew the EAR PIECES together in pairs, leaving them open along the bottom.
STEP 1b
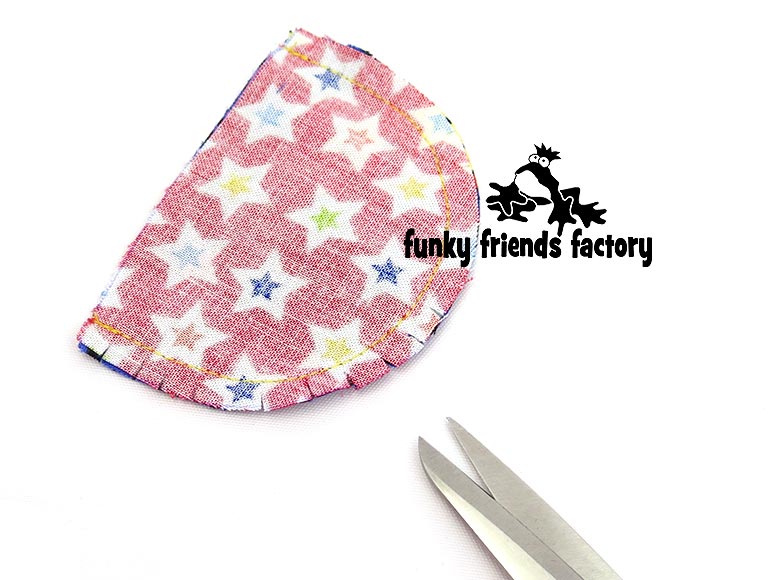
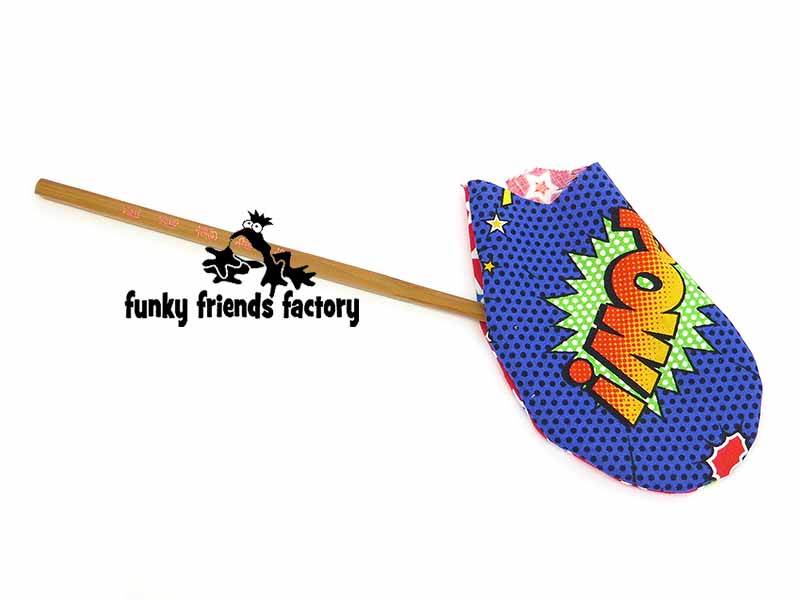
Clip the seams of the EARS very well and turn them right sides out.
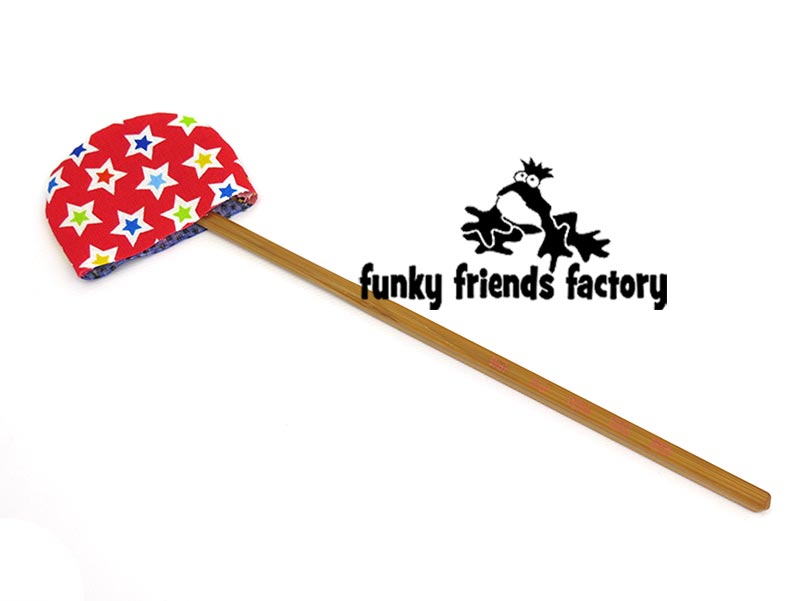
TIP: I like to use a wooden chopstick to turn the seams. Run the end of the stick back and forth along the stitching inside the EAR PIECES until the seam is nice and smooth.
STEP 1c
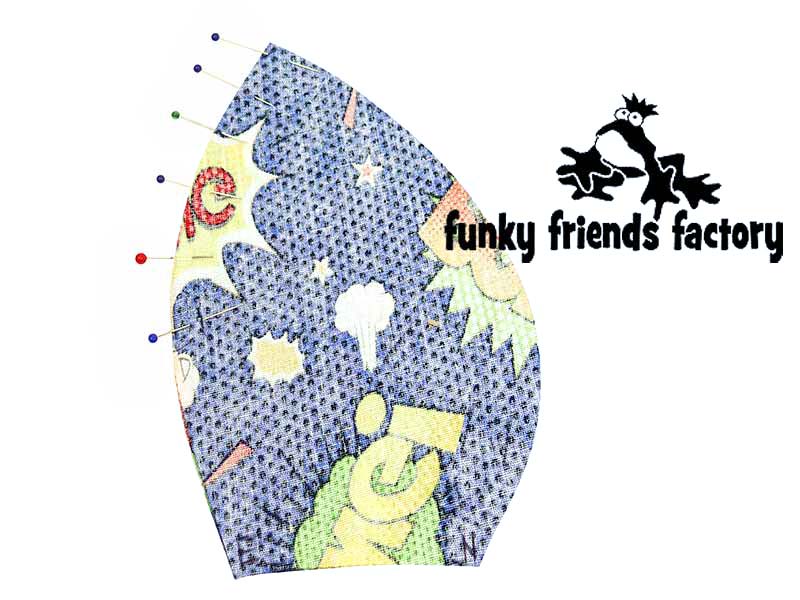
Pin the EARS closed along the open edge. *** Please DON’T stuff the EARS – if you do they will look like 2 blobs – instead of cute little cups!***
HEAD:
STEP 2
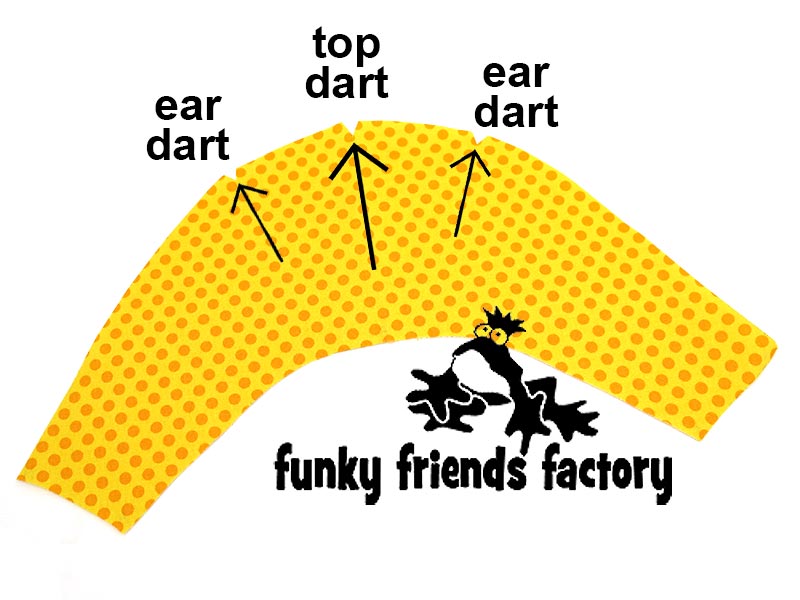
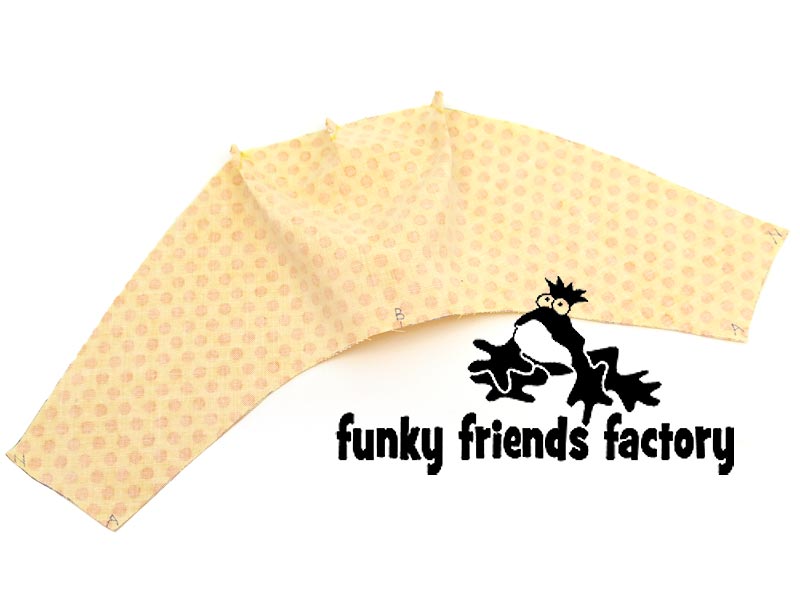
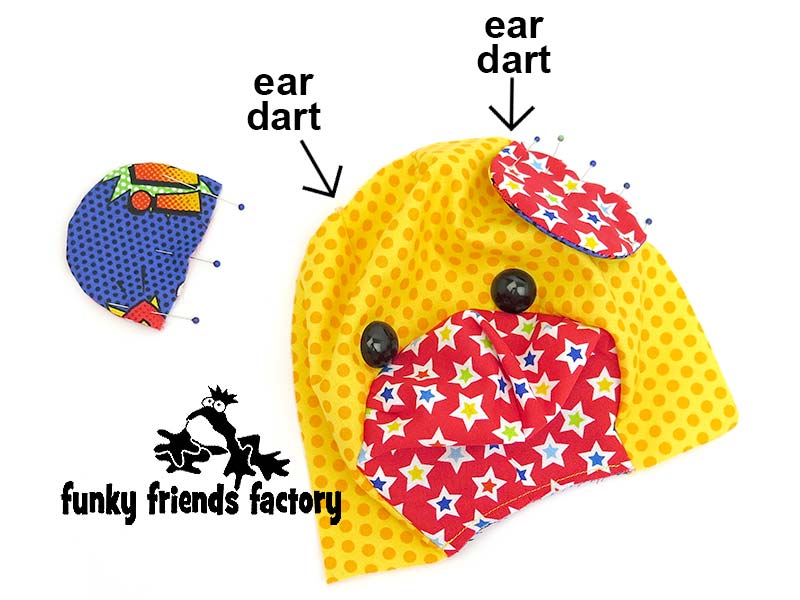
There are 3 darts on the FACE PIECE. (See the tip about DARTS below!)
(Don’t worry)
DARTS are EASY!
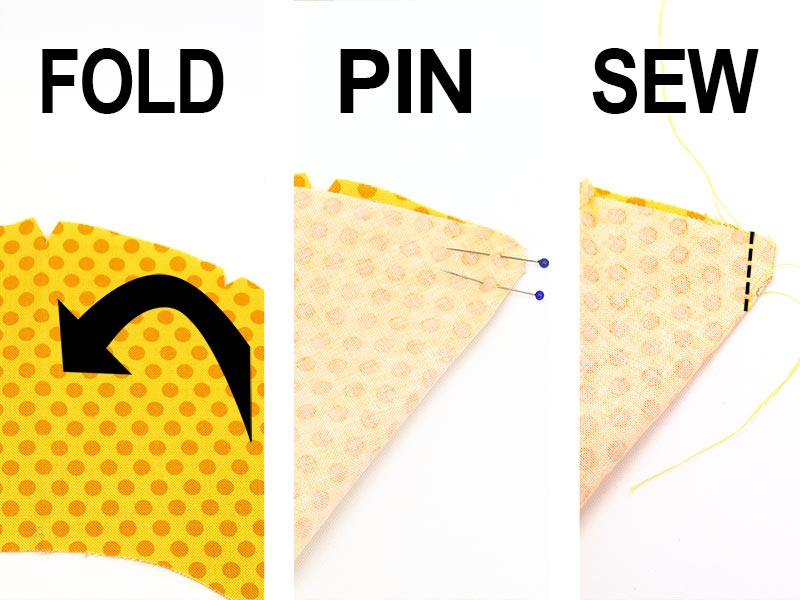
A dart creates a fold or “tuck” in the fabric to give a piece a rounder shape. If you are a beginner, you might be thinking that darts are scary?
Please RELAX!
It’s as easy as 1-2-3.
1. Fold edges together.
2. Pin them closed.
3. Sew the seam.
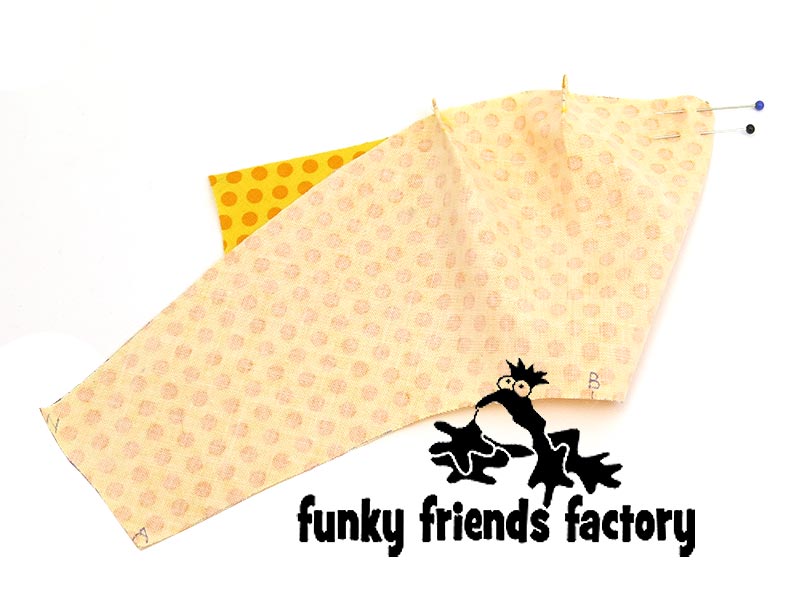
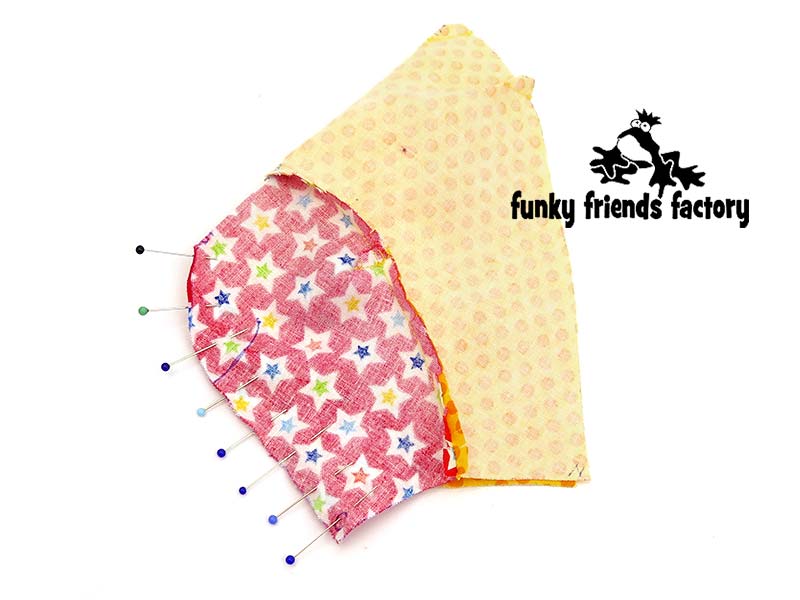
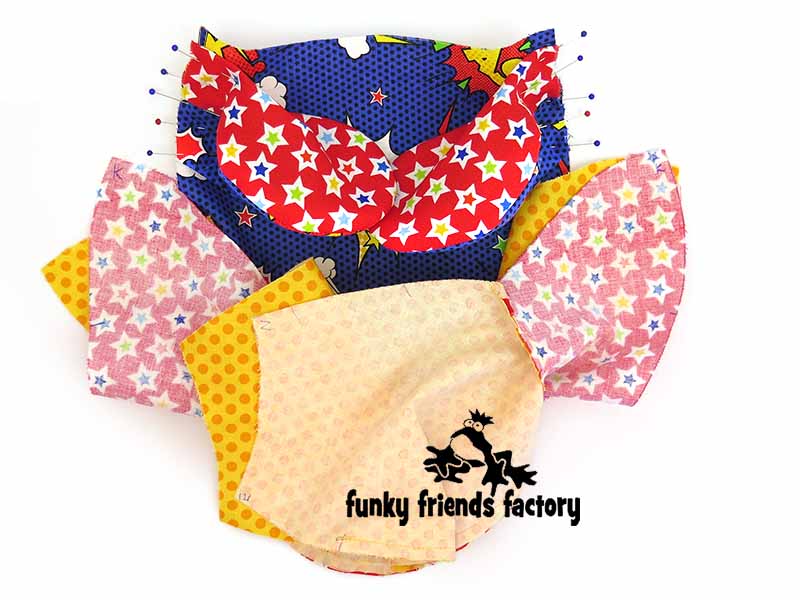
Fold the FACE PIECES with the fabric right sides together and sew the top dart and ear darts.
Here you can see the last dart pinned,
ready to be sewn and…
…here you can see
all 3 darts sewn.
STEP 3
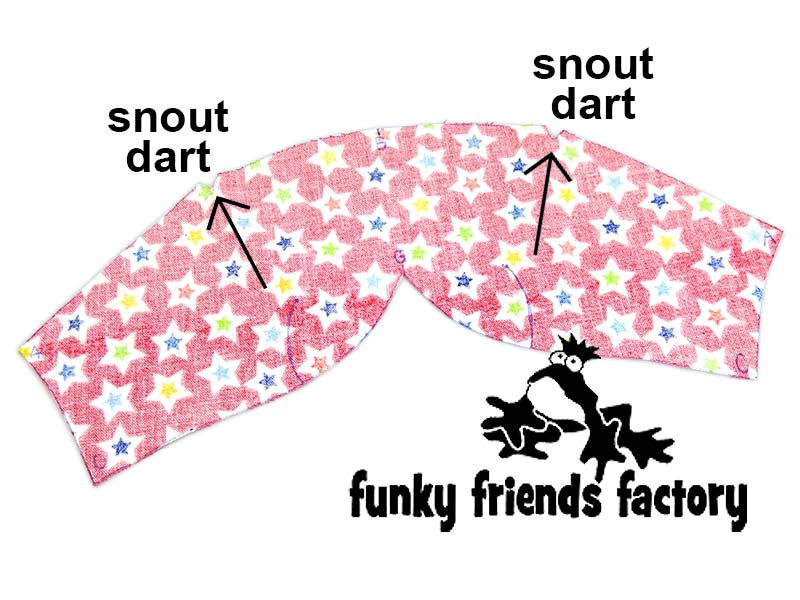
There are 2 darts on the SNOUT PIECE.
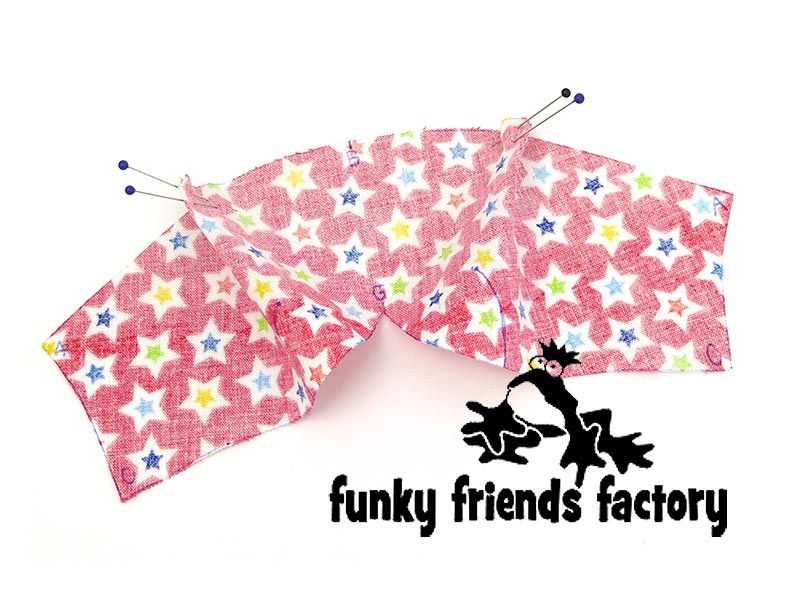
Fold the SNOUT PIECE with the fabric right sides together, pin and sew the snout darts.
STEP 4
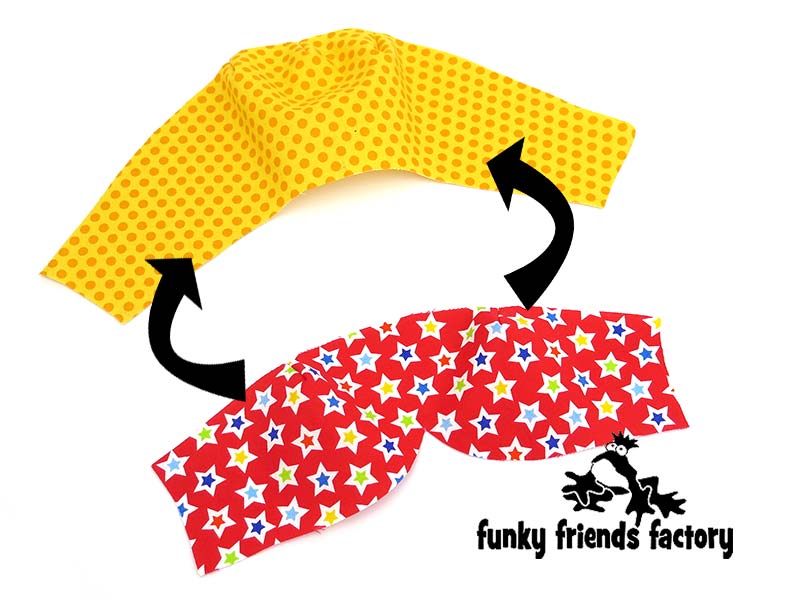
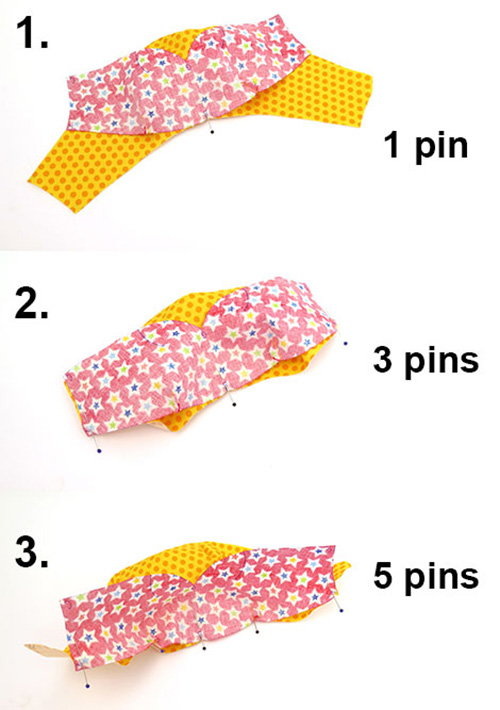
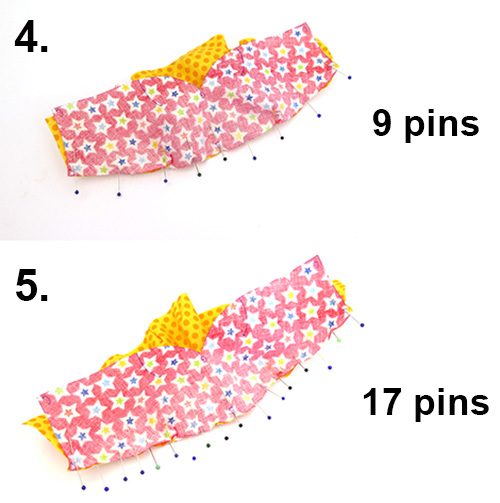
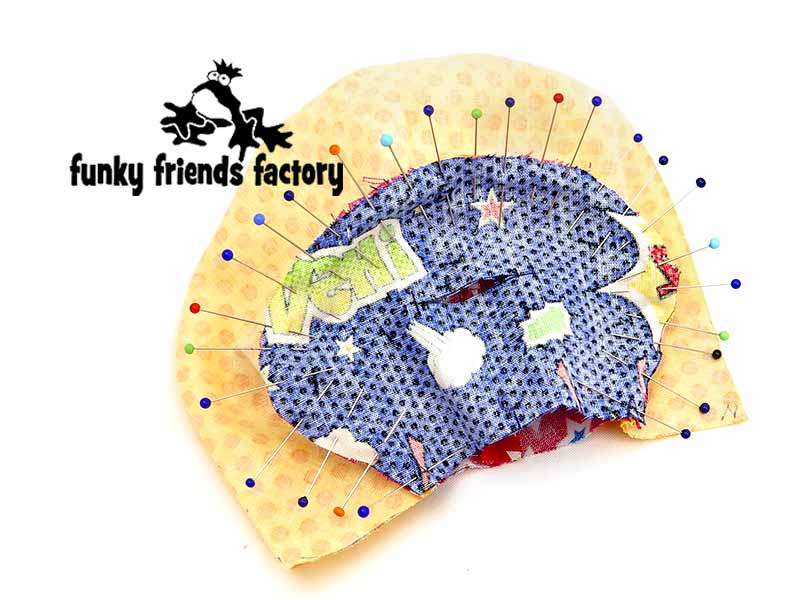
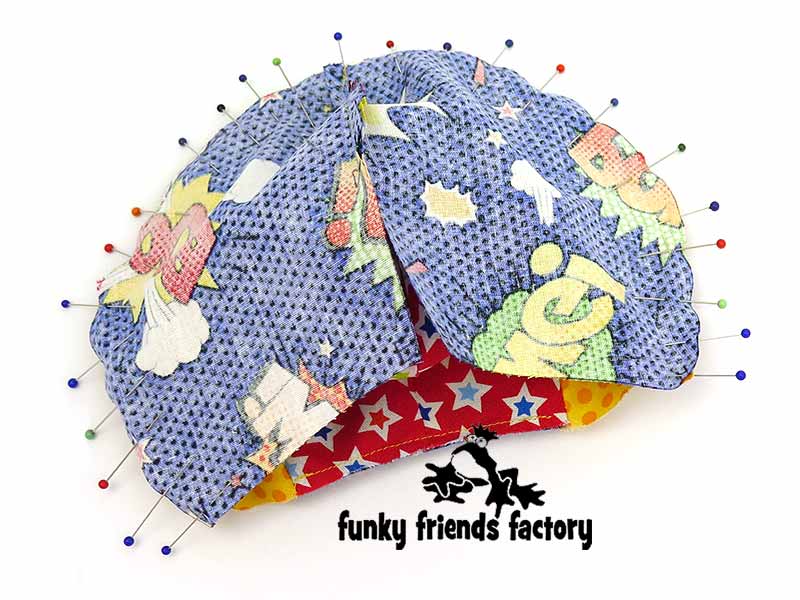
Sew the FACE PIECE to the SNOUT PIECE from A – B – A. (See the tip below about sewing different shaped pieces together).
Opposite curves made simple!
If you’re a beginner, you might be thinking – the FACE PIECE and the SNOUT PIECE won’t fit together because they’re opposite shapes? Don’t worry – it’s easy to join them.
You just need PINS!
Use this method & you’ll be fine:
1. Put the first pin in the center.
2. Put a pin on each end of the pieces.(3 pins)
3. Put a pin in between those pins.(5 pins)
PLEASE NOTE: The PIECES will pucker up in certain areas in order to create a curve. This is normal! (When you have sewn the pieces together you’ll see the result is a lovely rounded shape.)
4. Put a pin in between those pins.(9 pins)
5. Put a pin in between those pins.(17 pins)
LOOK how perfectly the seams line up in that bottom photo no. 5!
See ~>
PINS are your FRIENDS!
STEP 5
Fold the SNOUT PIECE with the fabric right sides together and sew the snout, down the front seam, from C – G.
BACKING:
STEP 6a
To make Ben’s snout round and cute, it NEEDS to have a BACKING PIECE. This holds the toy stuffing in place so you can stuff his snout nice and firm.
*** Please do NOT leave this piece out
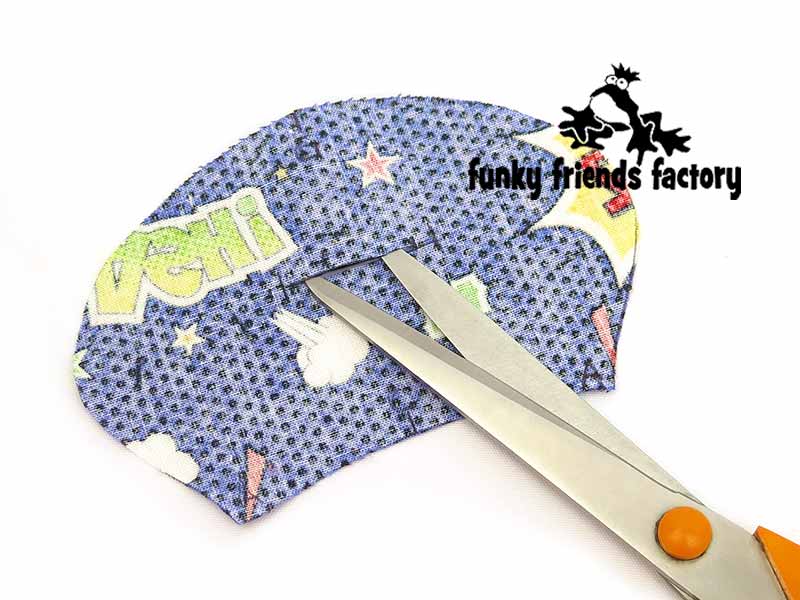
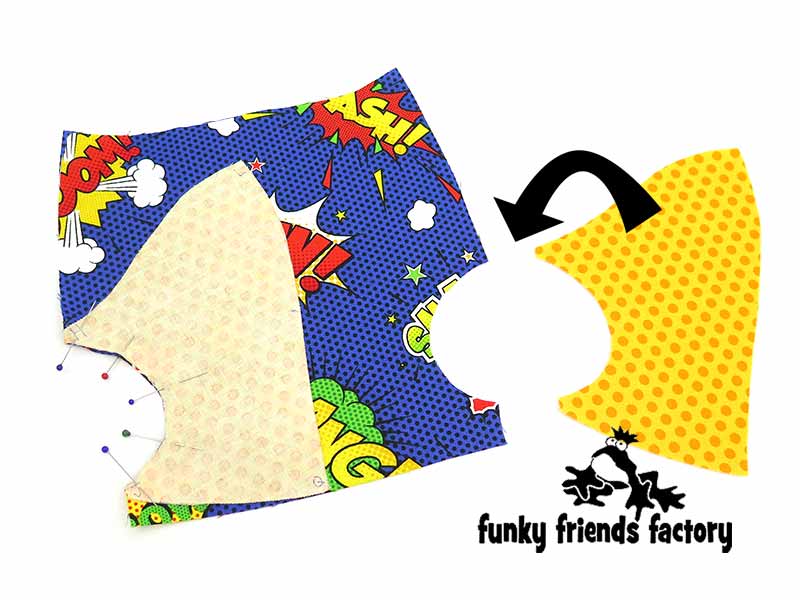
or he will have a misshapen face***Cut the slit in the BACKING PIECE, using the pattern markings to guide you. (I left the scissors in the photo so you can see where I cut the slit!)
STEP 6b
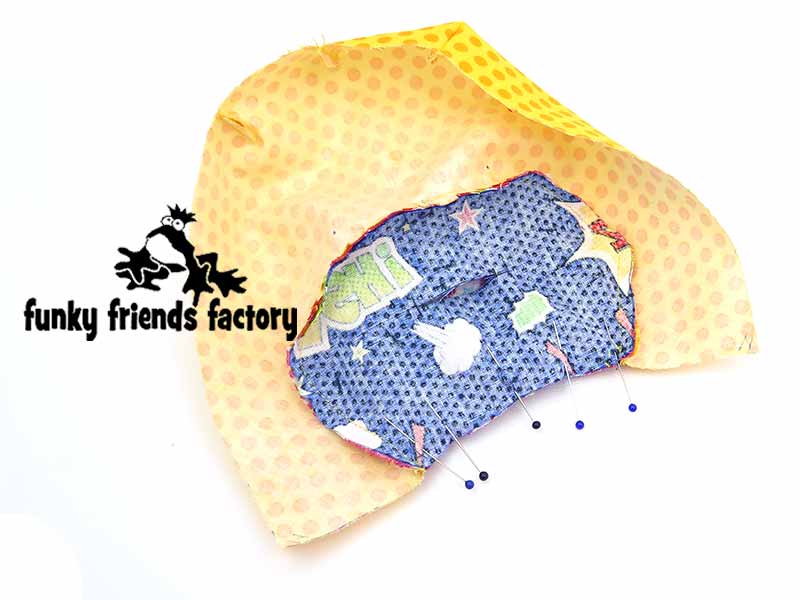
Pin the BACKING PIECE to the wrong side (back) of the SNOUT PIECE, matching A – B and A, on the other side. Make sure that the SNOUT PIECE is in between the BACKING PIECE and the FACE PIECE.
STEP 6c
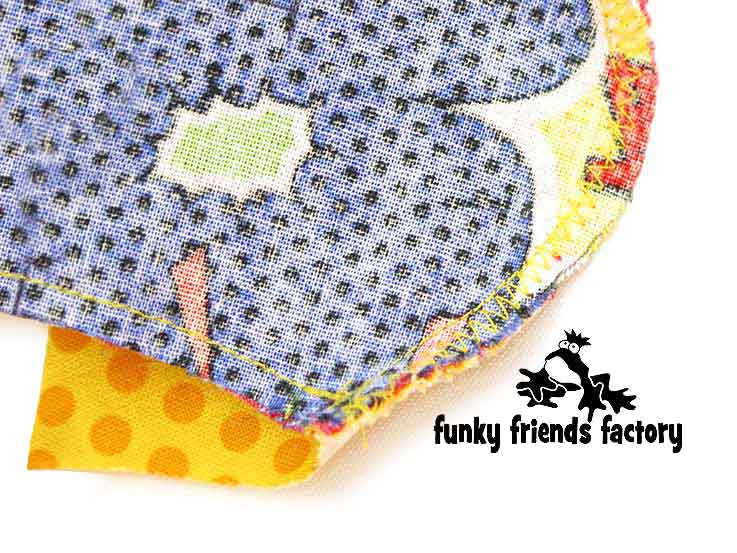
Sew the BACKING PIECE to the SNOUT & FACE PIECE with a 3mm seam allowance (or a zig-zag stitch) and sewing all 3 layers.
TIP: This doesn’t have to be neat or pretty because you won’t see this seam from the outside. You just want to make sure that all 3 pieces are sewn together.
STEP 7
Pin the SNOUT PIECE to the BACKING PIECE and sew them together, along the neck seam, from A – C – A.
EYES:
STEP 8
If you are using CRAFT EYES insert these now.
PLEASE NOTE:
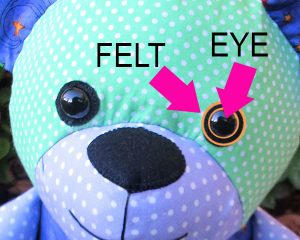
This baby bear has very big endearing eyes. I have included an 18mm EYE PIECE so you can cut a circle of felt this size and place it behind a smaller craft eye if you don’t have 18mm (¾inch) craft eyes!
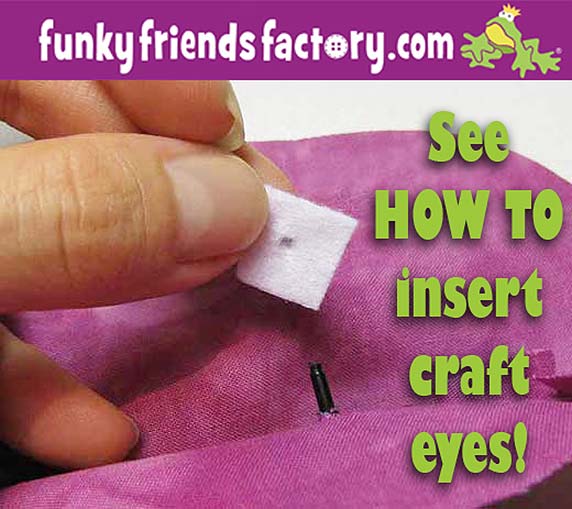
TIP: I have a tutorial to show you how to insert craft eyes HERE on my blog.
Are “SAFETY EYES” safe for BABIES?
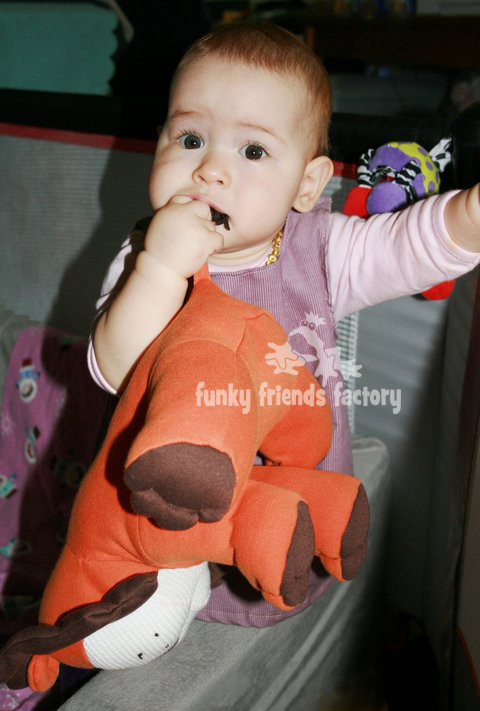
ANY small parts (beads, safety eyes, buttons, etc) are NOT “safe” for children under 3 years old. Anything smaller than 3 cm (that’s just over 1 inch) is small enough to fit in a child’s mouth and they could choke on it! It’s safer to embroider the eyes or use felt circles instead. These can be sewn on or glued on.
I have a blog post with more toy safety tips HERE.
BACK HEAD:
STEP 9
Sew the BACK HEAD PIECES together from from C – D.
STEP 10a
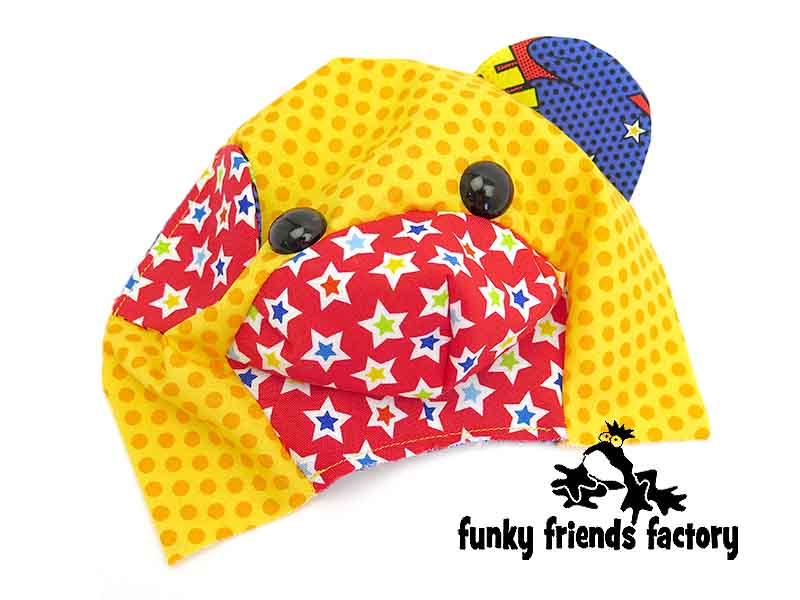
Line up the ‘inside’ edge of the EARS with the ear darts on the FACE PIECE, using the pattern markings to guide you, and pin them in place.
STEP 10b
Use the diagram below to check they’re pinned right!
STEP 10c
Sew the EARS in place, with a 3mm (⅛inch) seam allowance.
STEP 11
Sew the BACK HEAD PIECES to the FACE PIECE, from N – C – N , with the EARS in between.
LEGS, TUMMY & BACK:
STEP 12
Sew the INNER LEG PIECES to the TUMMY PIECE, from H – J, matching the single dot pattern marking.
STEP 13
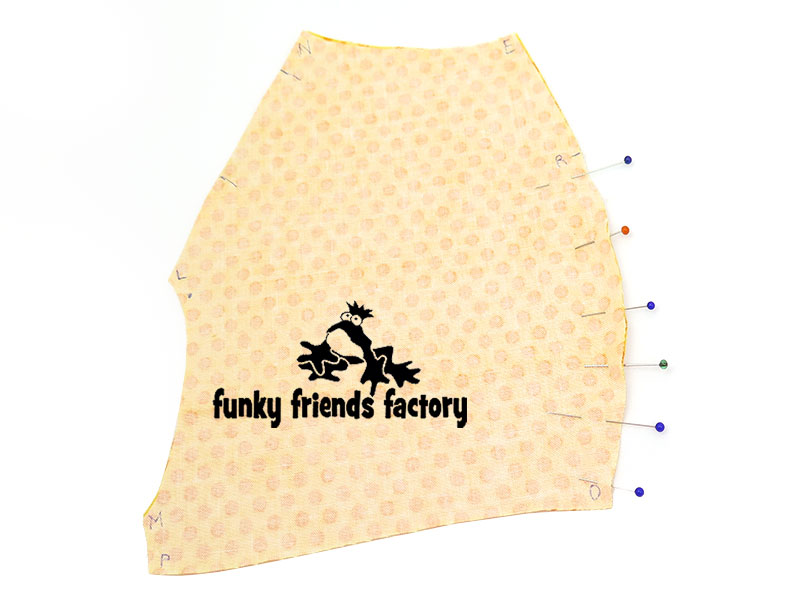
Sew the BACK PIECES together, at the back, from R – O.
STEP 14
Sew the OUTER LEG PIECES to the BACK PIECES, from L – M, matching the double dot pattern marking.
STEP 15
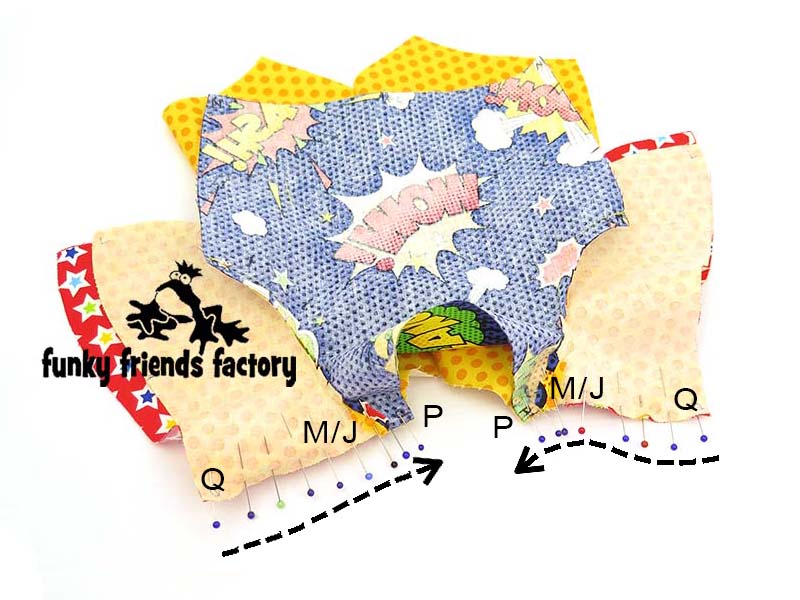
Sew the TUMMY & INNER LEGS to the BACK & OUTER LEG PIECES. Sew from Q – M/J – P, on both sides.
BASE:
STEP 16a
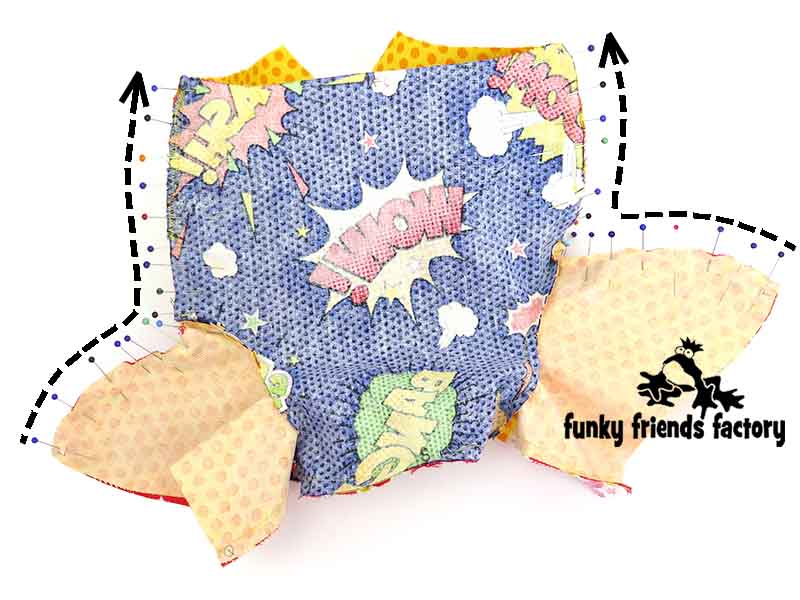
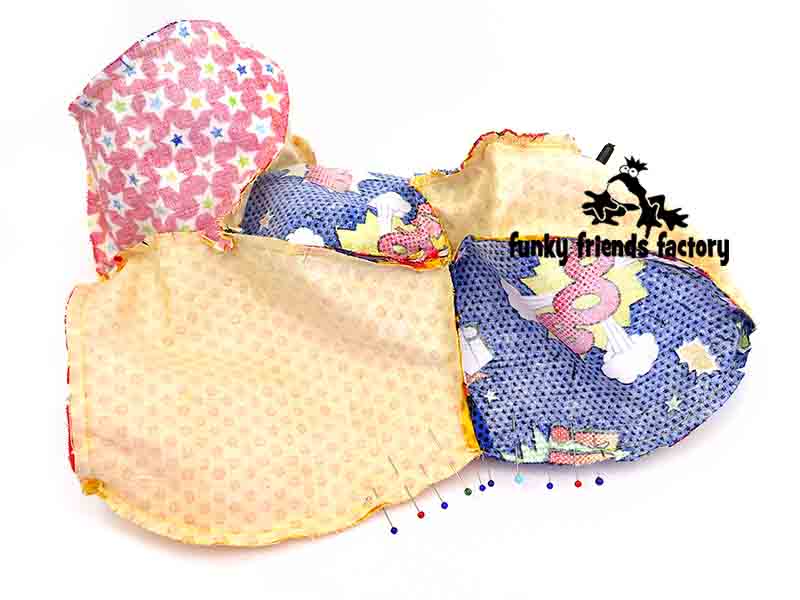
Sew the BASE PIECES together from O – S, leaving the stuffing gap open (See the black arrow in the photo below).
STEP 16b
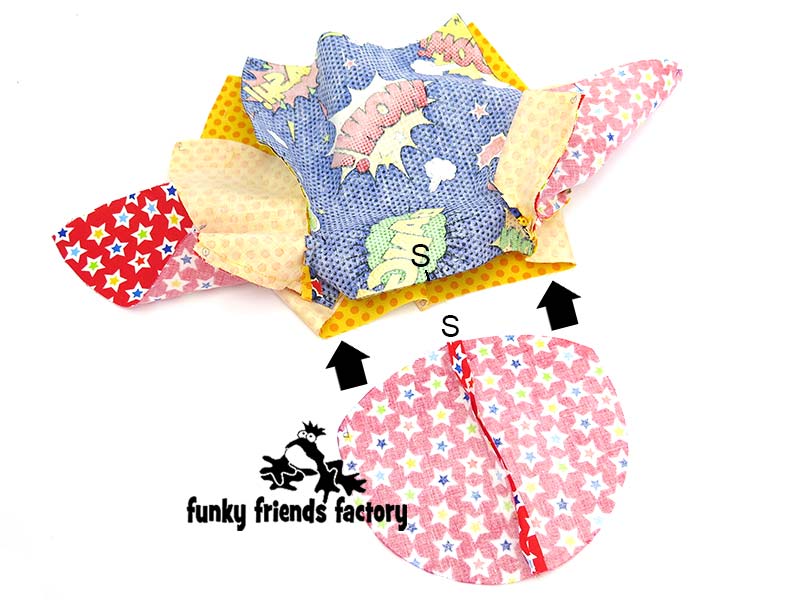
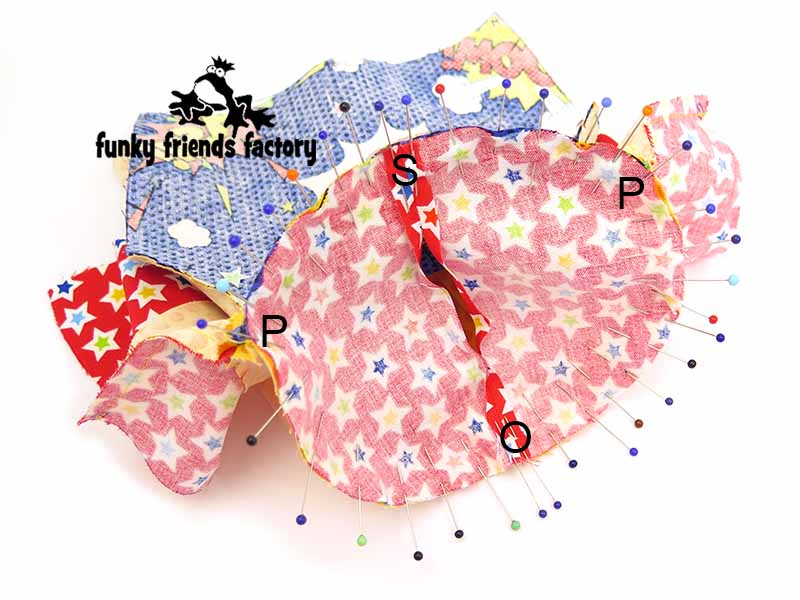
Pin the BASE PIECES to the TUMMY & BACK PIECES, matching O, S and P, sew right around (without a gap).
TIP: Make sure to match point P on each side so you don’t pin the BASE PIECES back to front! This is a tricky seam to sew so use LOTS of pins to stop the pieces slipping as you sew. Take your time and sew with the BASE PIECES facing down.
ARMS:
STEP 17a
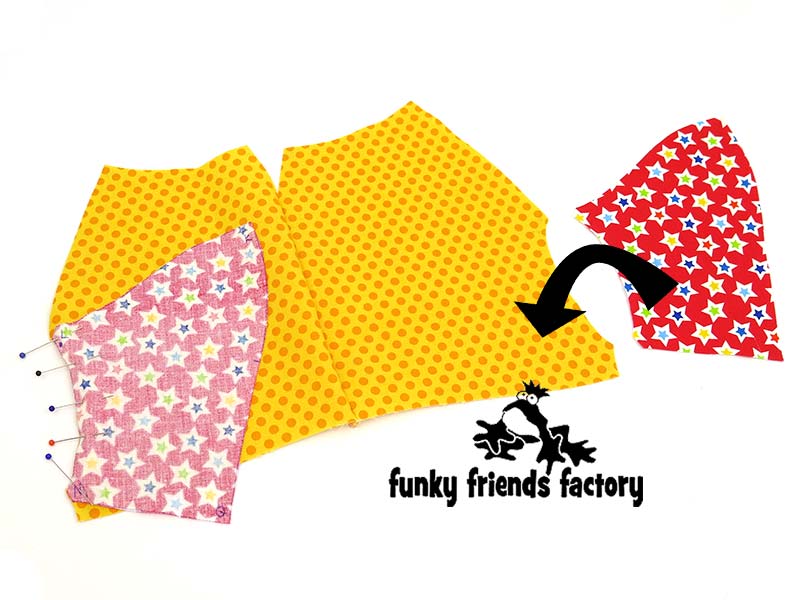
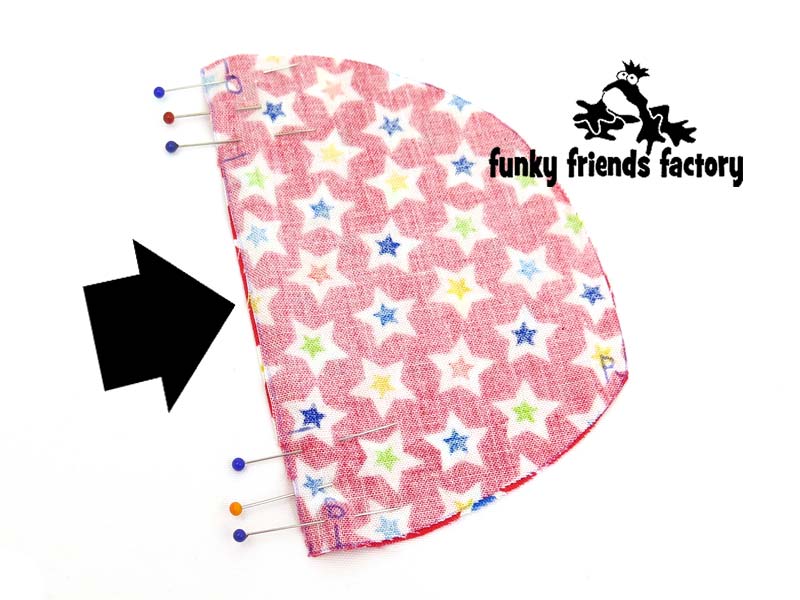
Sew each UPPER ARM PIECE to an UNDER ARM PIECE, leaving them open at the top and leaving the gap open for stuffing.
STEP 17b
Clip the curved seam well. Turn the ARMS right sides out and use a chopstick to smooth the seams.
STEP 17c
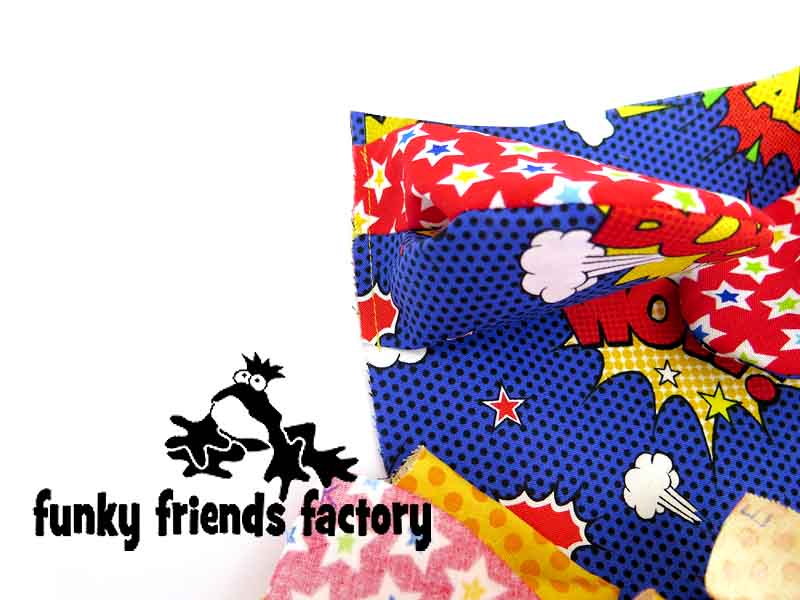
Fold the ARMS, as shown on the pattern markings, so that the seams line up in the middle (center), and pin the ARMS closed at the top.
STEP 18a
Pin the ARM PIECES to the TUMMY PIECE, so the UPPER ARM PIECES are closest to the neck seam.
TIP: It is important to check that the stuffing gaps are facing ‘UP” and NOT facing towards the TUMMY PIECE when you pin the ARMS on – or they will be on
backwards!I have pushed my chopstick through the ARM stuffing gap so you can see where it is in the photo below!
STEP 18b
Sew the ARMS to the TUMMY PIECE with a 3mm(⅛ inch) seam allowance to hold them in this position to make sure they won’t slip as you sew the bear.
TIP:If the toy is for a young child, go back and zig-zag across the top of the ARMS to make them nice and secure.
SIDE SEAMS:
STEP 19
Sew the bear closed at the sides and along the top of the legs, from K – L/H – N, with the ARMS in between.
FOOT PADS:
STEP 20
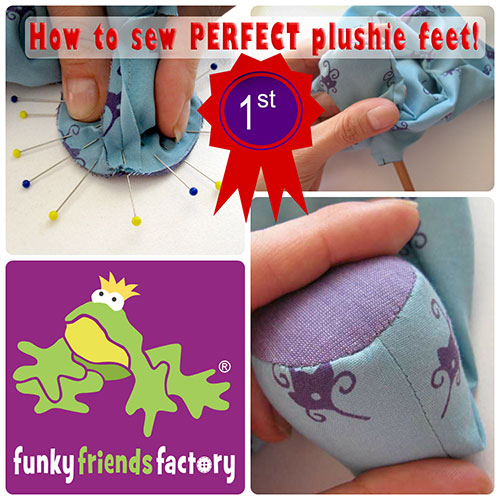
Pin and sew the FOOT PADS to the LEG PIECES, matching point K and Q.
TIP: I have a tutorial to show you how to sew the FOOT PADS in place. Click HERE to check it out!
SEW THE HEAD TO THE BODY:
STEP 21
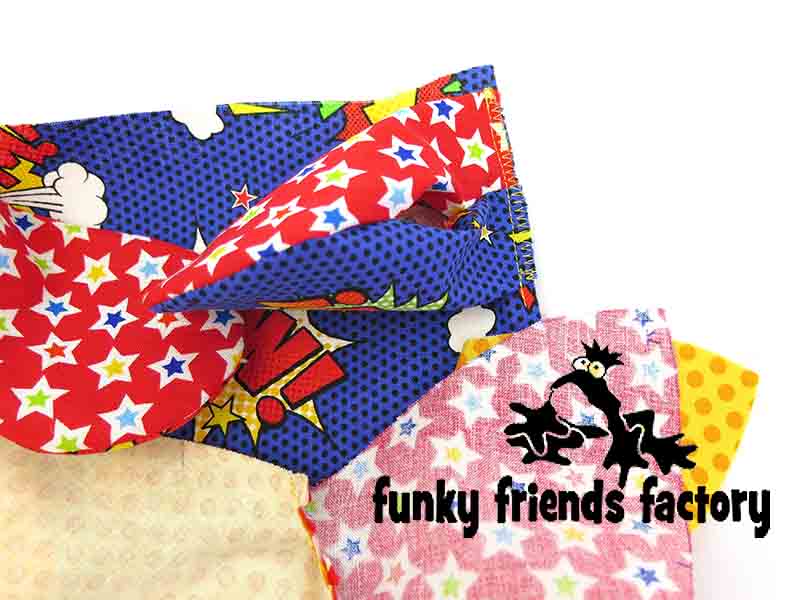
Pin and sew the SNOUT, FACE & BACK HEAD PIECES to the TUMMY & BACK PIECES at the neck seam. I find the best way to do this is to turn the head right sides out and push it, top first, into the body so you can pin the pieces together at the neck seam, with the fabric right sides together.
BEST WAY TO PIN THE NECK:
Don’t panic! Joining the head to the body will feel strange at first. If you use this tip – the neck seam will turn out BEAUTIFULLY!
I find the easiest way is to:
1. Turn the head right sides out first.
2. Push the head (top first) into the body.
3. Pin the pieces together at the neck seam, with the fabric right sides together.
STEP 22
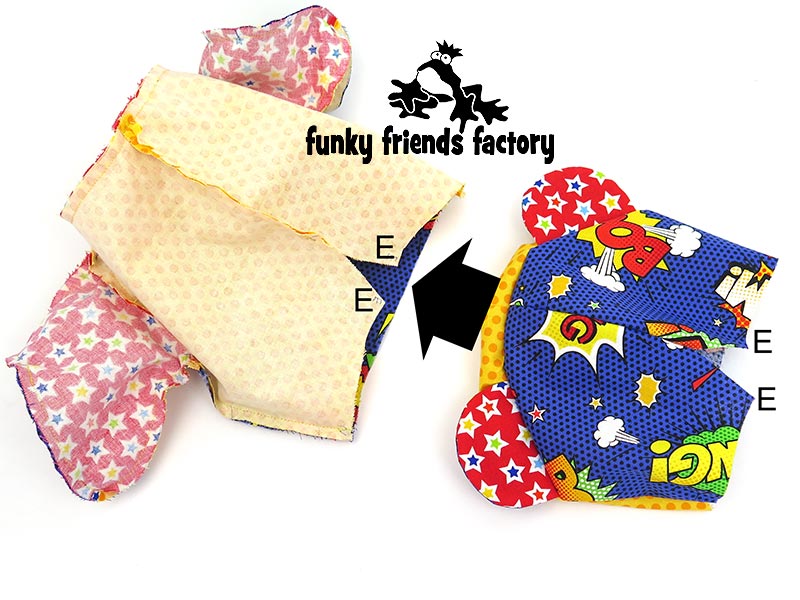
Pull the HEAD back out of the body so all of the PIECES are wrong sides out. Pin the bear closed at the back and sew it closed from D – E (on the HEAD PIECE) – R (on the BACK PIECES).
ASSEMBLY:
STEP 23
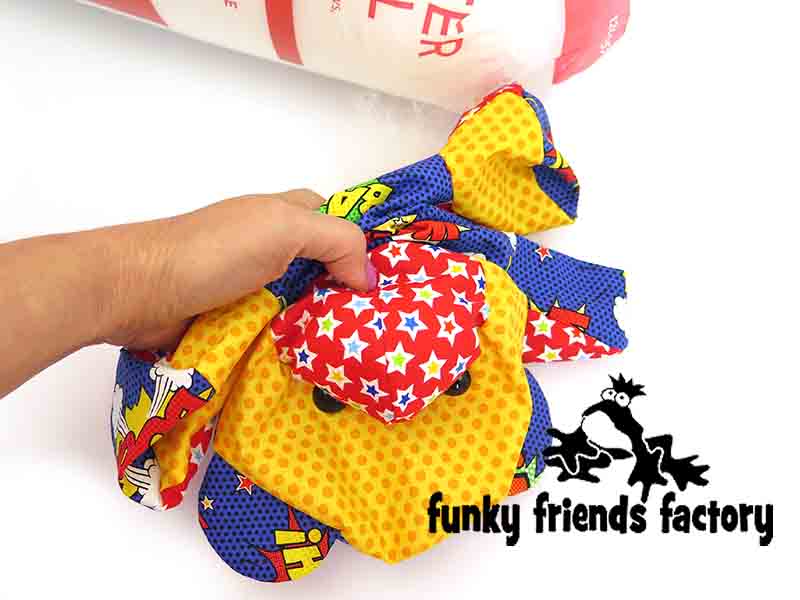
Turn the bear right sides out through the turning gap. Stuff muzzle area first. Make sure the MUZZLE is nice and firmly stuffed so that it makes it easy to sew the NOSE and mouth. Stuff the rest of the HEAD. Stuff the LEGS next. Make sure to stuff them as firmly as you can to get rid of wrinkles around the FOOT PADS. Stuff the rest of the bear’s body and ARMS.
TIP: Scrunch up the body so the stuffing gap is close to the backing piece – this makes it MUCH easier to stuff the MUZZLE!
FACE:
STEP 24a
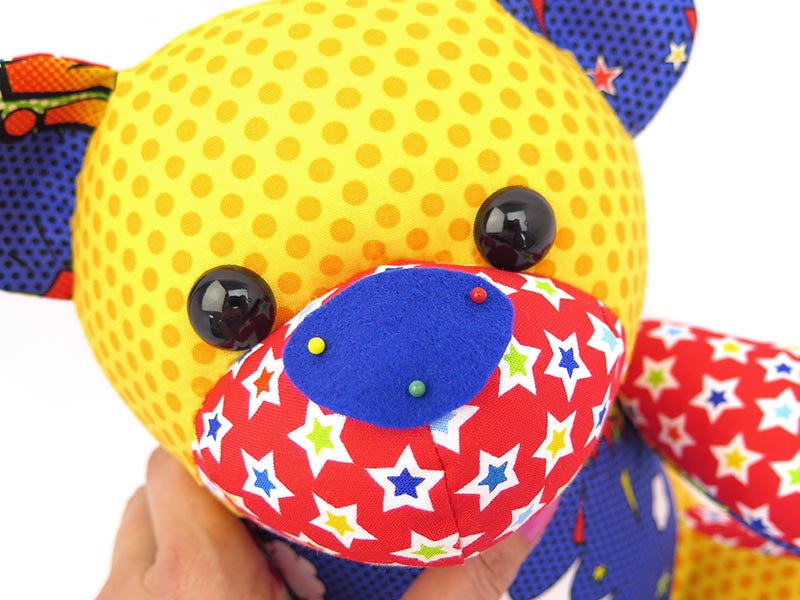
Cut the NOSE PIECE from felt and pin it in place, but don’t sew it on yet. If you are hand-embroidering the eyes, sew them now.
STEP 24b
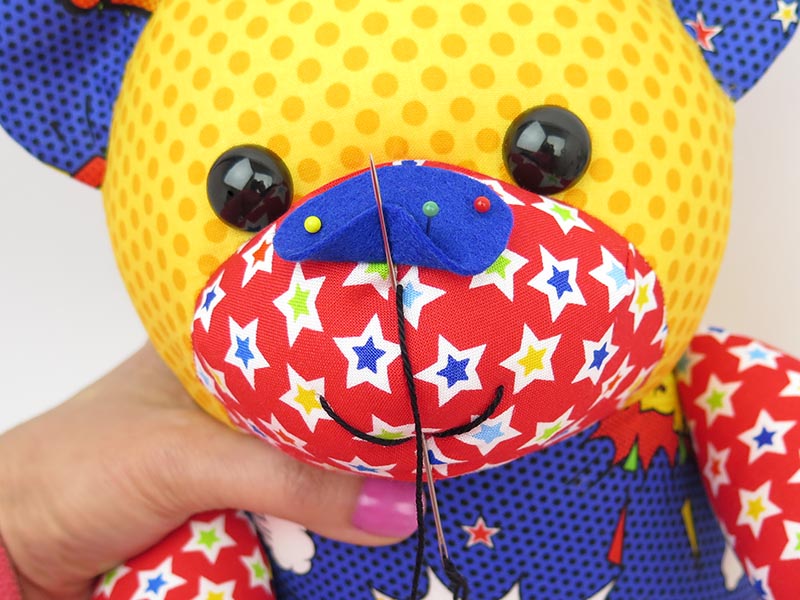
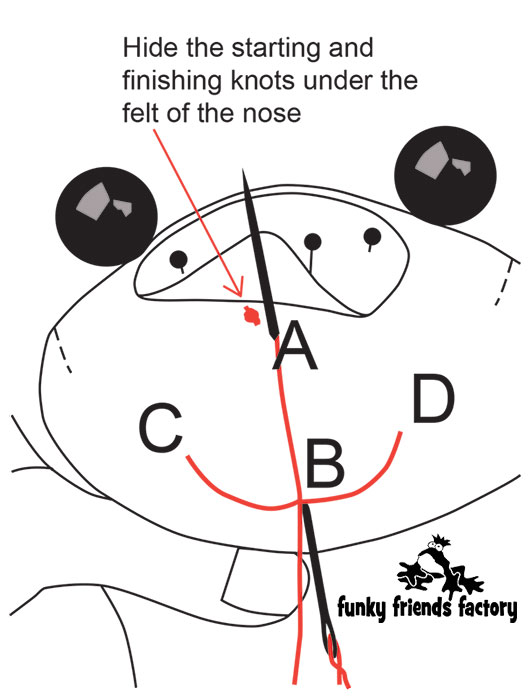
First sew the mouth with embroidery thread, hiding the starting and finishing knots under the felt of the NOSE PIECE.
STITCHING THE MOUTH
Don’t worry if you’ve never done any hand sewing before… you may need to practice a few times to get a smile you like, but that’s okay!
~> Sewing the mouth
only takes 4 long stitches!
Stitch 1:
Sew into the SNOUT at A & come out at B.Stitch 2:
Sew back in at C & come out at D, to make the left half of the ‘smile’.Stitch 3:
Sew back in at B & come out at A to create the other side of the ‘smile’. Don’t pull too tight – the curve of the snout will give the smile it’s shape.Stitch 4:
Now you need a long downward stitch from the nose to the mouth. Sew back in at B & come out at A. Finish with a knot.
Your bear has a happy smile!
STEP 25
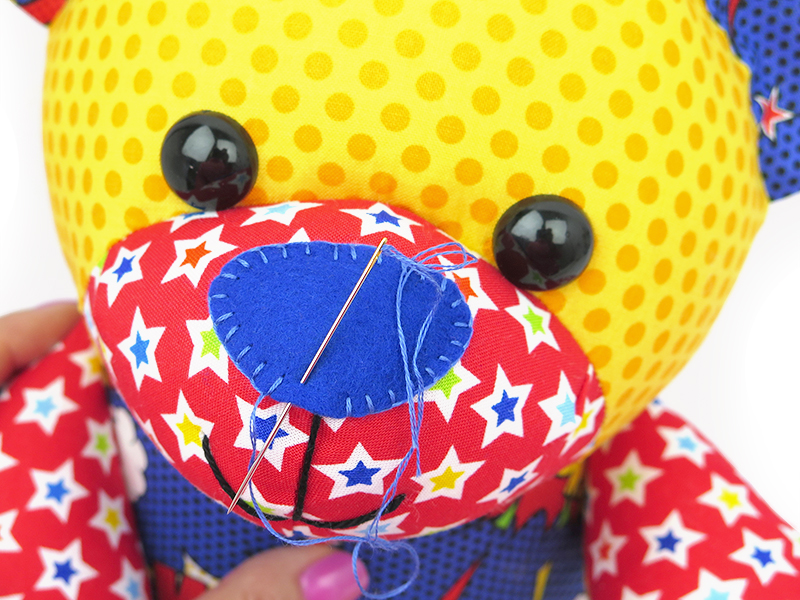
Sew the NOSE in place with embroidery thread and a blanket stitch.
‘NO-SEW’ NOSE TIP:
If you don’t like hand sewing – glue on a felt nose with non-toxic/fabric glue (not for children under 3). Heat transfer vinyl and fabric paint/markers are baby-safe.
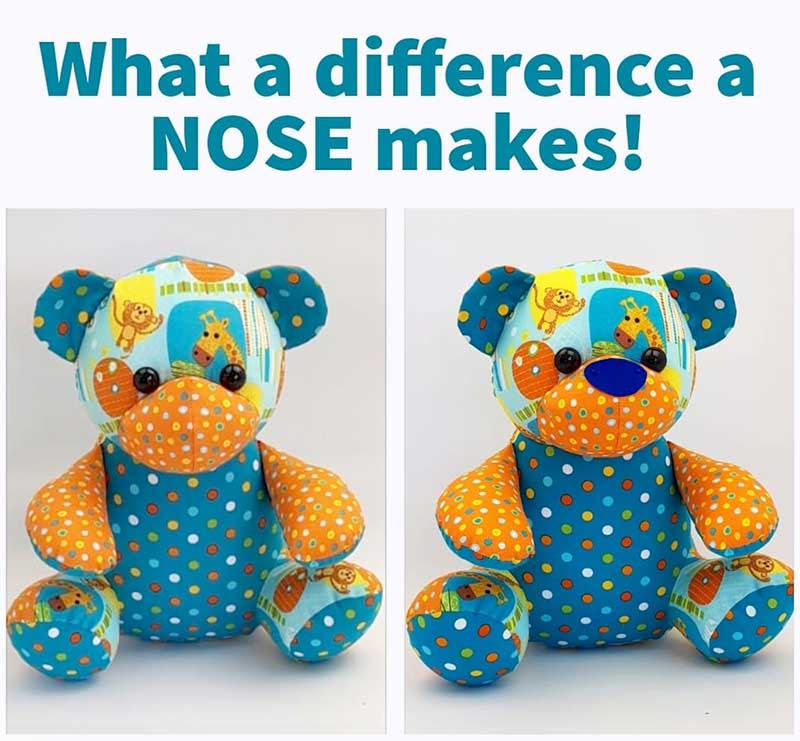
Ben begs you –
“Please don’t leave off my nose!”
STEP 26
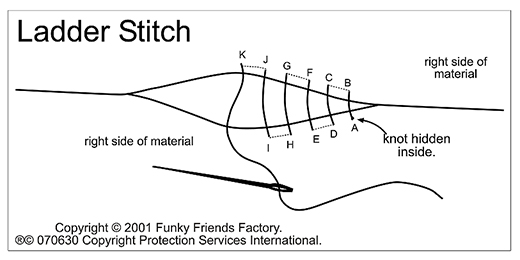
Sew the stuffing gaps closed, on the ARMS, and BASE PIECES, with a ladder stitch.
Your Beginner Bear is ready to LOVE!
Want to win a
FREE toy pattern?
It’s so EASY to enter our Pattern GIVEAWAY!

ALL you need to do is post a photo of a FUNKY FRIENDS FACTORY toy that you have made on the Funky Friends Factory Facebook Page .
At the end of each month I draw a winner and post the winner’s name on the Blog the following MONTH. I have an Album on Facebook for all the MAKEROFTHEMONTH winners. You can check it out HERE!
NOT on Facebook? ENTER by email! 😀
*** You can send me your photos by email too!
So come on! Share your photos ~>
The next winner could be YOU!!!
 .
.
Till next time,
Happy Sewing,
Pauline
xxx
![]()


